Master Z-Image-Turbo: ControlNet, Inpainting & 4K Upscale Guide
Z-Image Advanced Features: What You Can Do Beyond Text Prompts
Recently, this new image generator called Z-Image was released. This is by far the best open-source model you can use right now. I already did a full installation tutorial when it first came out, but there's way more you can do than just making images with a text prompt.
You can control the composition of your generation with a reference image. You can also control the pose of your character with another reference photo. You can already kind of edit photos even though the main editing model isn't out yet. You can generate photos over 4K in resolution with incredible detail using Z-Image.
If you're new to Z-Image, I would highly recommend that you go through the full installation tutorial first. I’ll make everything here as easy as possible to follow.
Z-Image Advanced Features: ControlNet for Composition and Pose
The first thing I’m going to show you is how you can control the composition of your generation or the pose of your character with a reference image. This is called ControlNet, and we already have a working ControlNet for Z-Image.
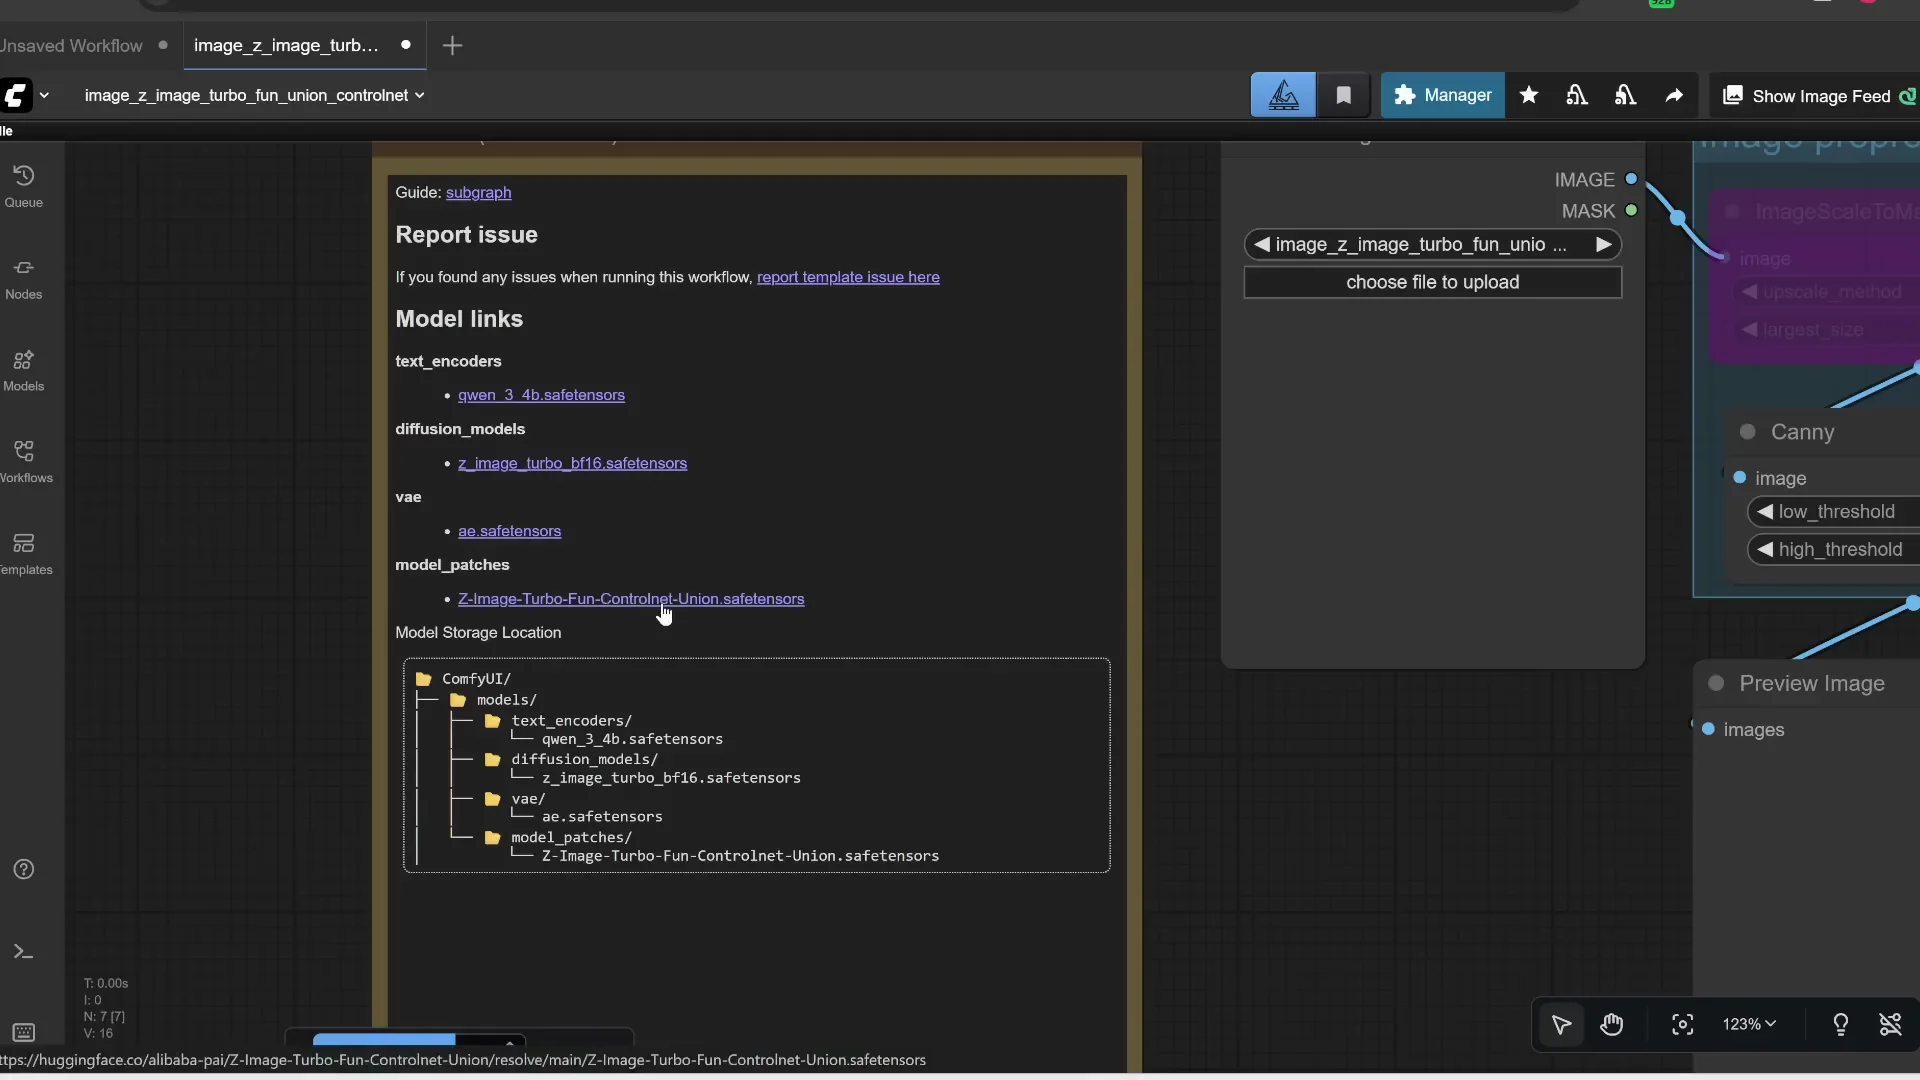
Download the Workflow and Required Models
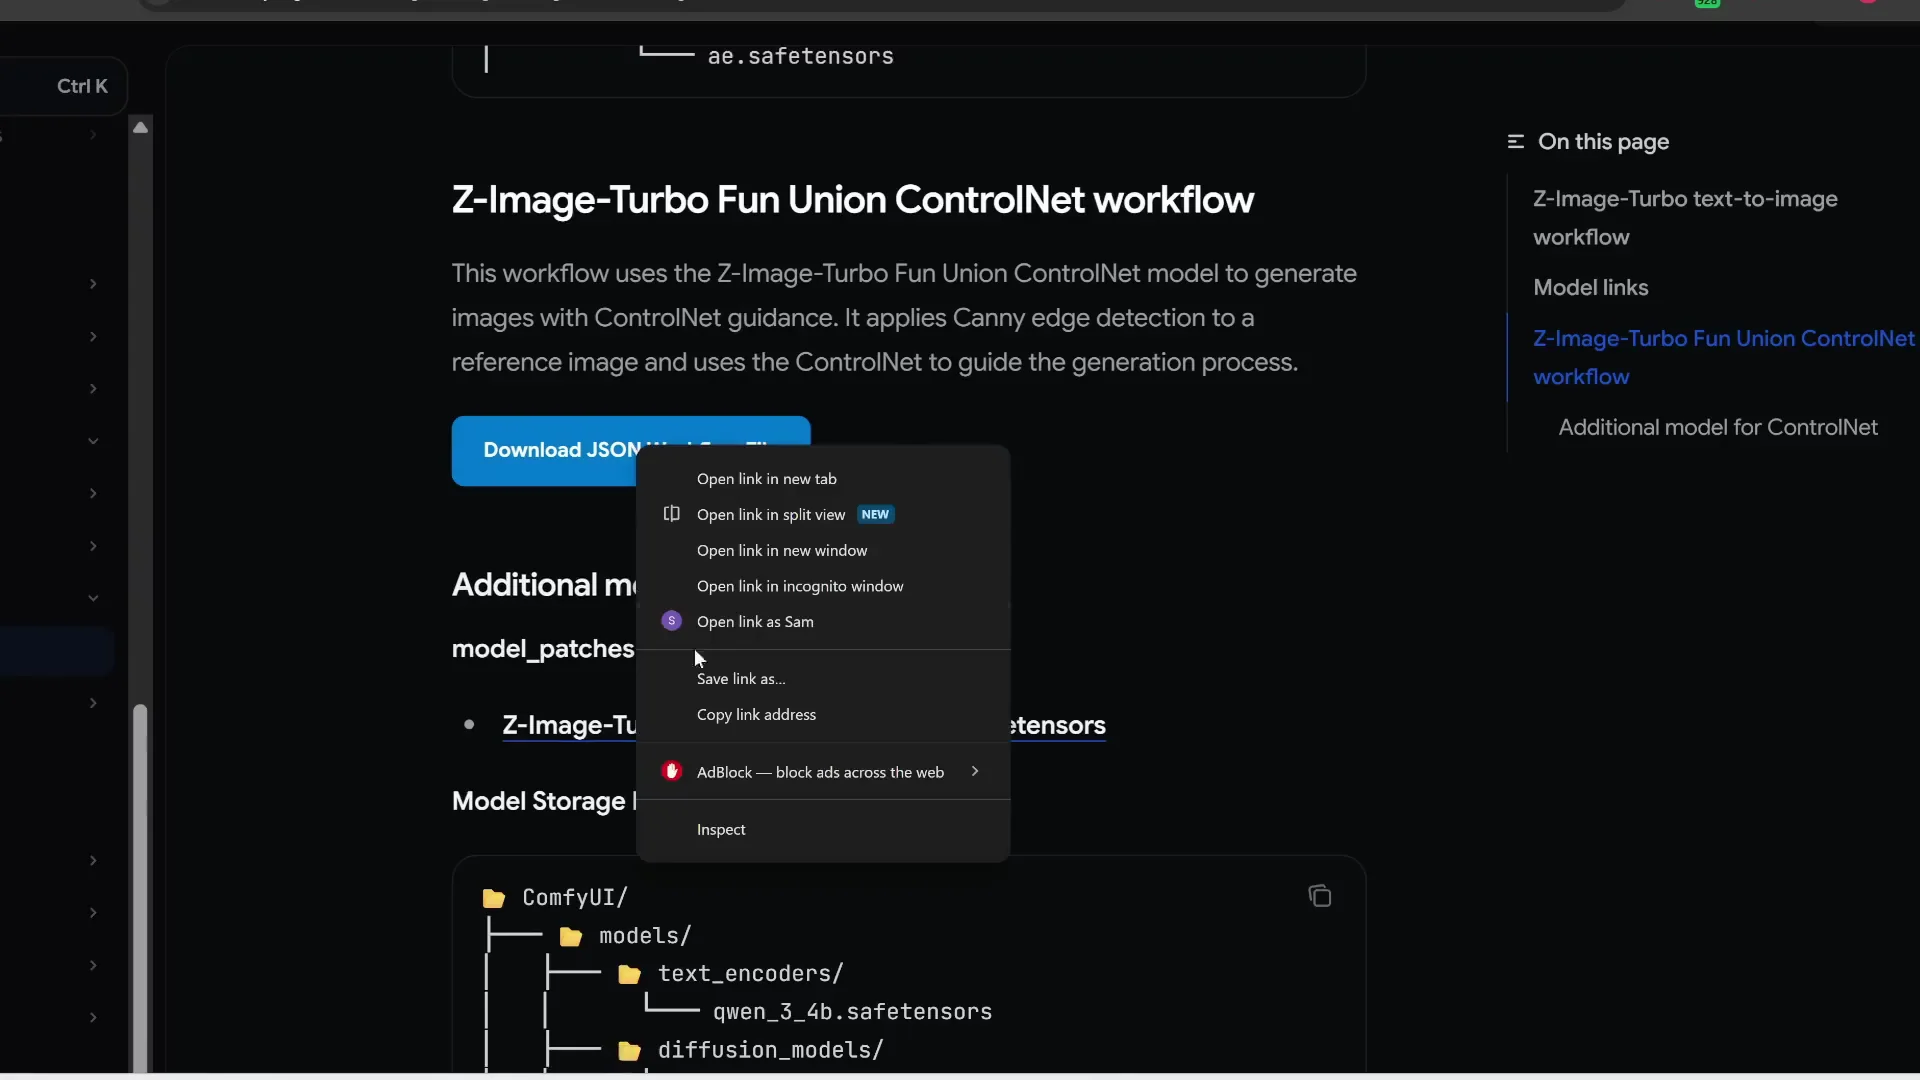
There is a Z-Image Turbo ControlNet workflow you need to download as a JSON file. If it opens in a new tab, right-click and choose Save link as. Save the workflow anywhere, like your root Comfy folder.
Open ComfyUI. Before you do anything, update ComfyUI:
- Click Manager
- Click Update ComfyUI
- Click Restart, then Confirm
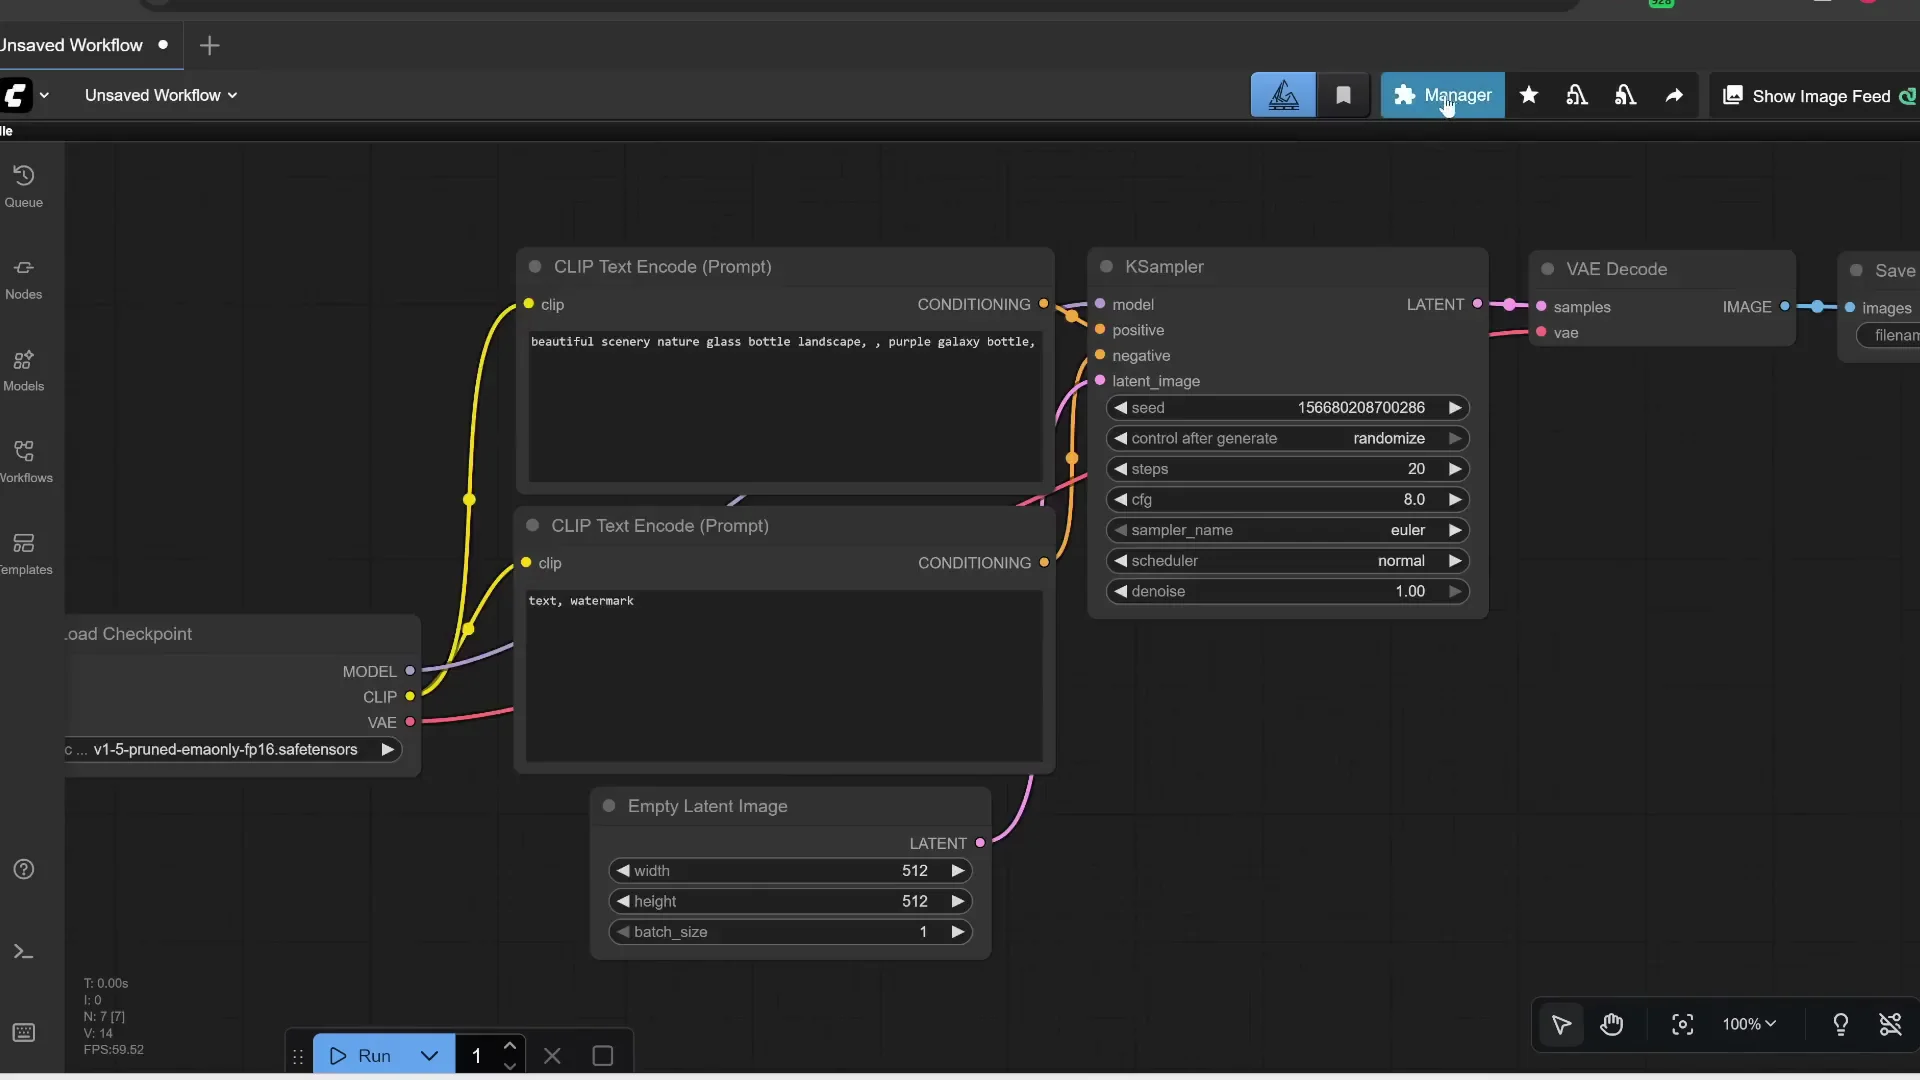
Drag and drop the downloaded workflow onto the interface.

If you haven’t downloaded Z-Image before, there are a few models to grab:
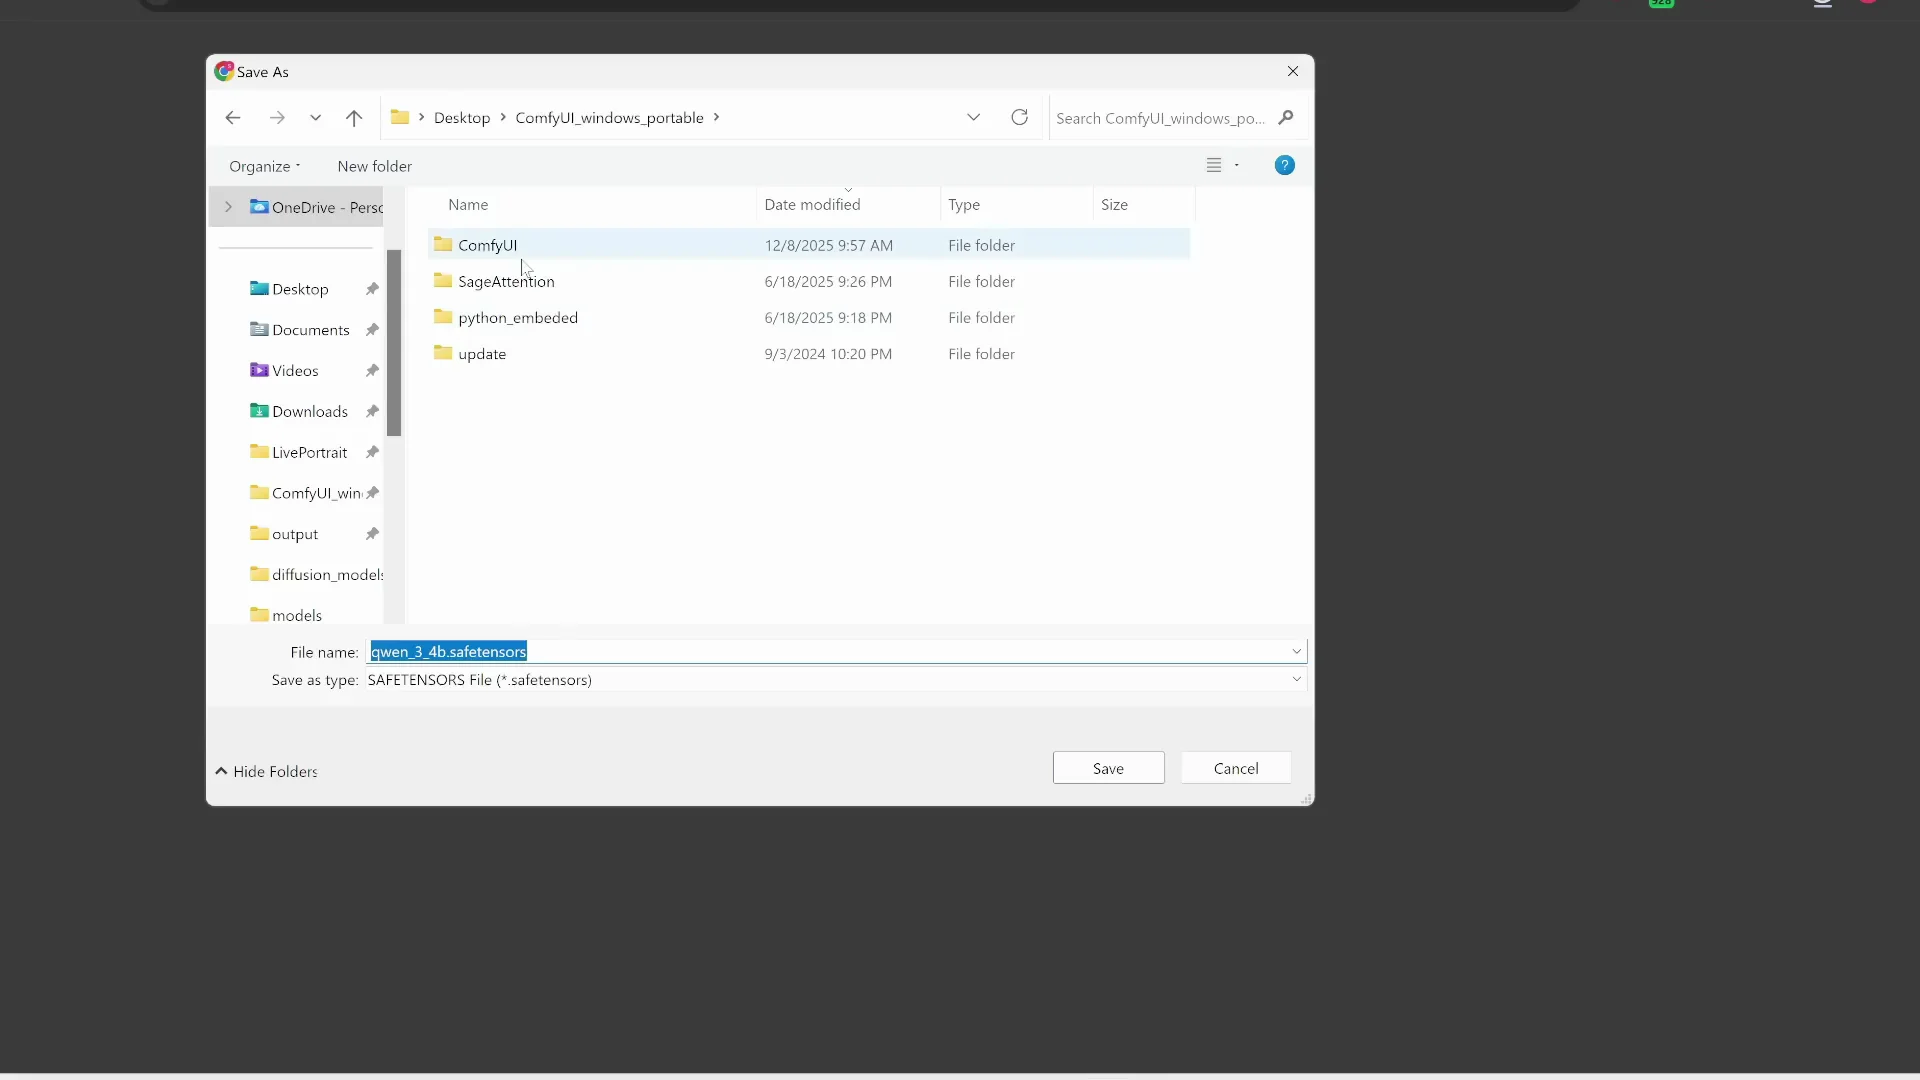
- Qwen 3 text encoder - put this in ComfyUI/models/text encoders - about 7.8 GB
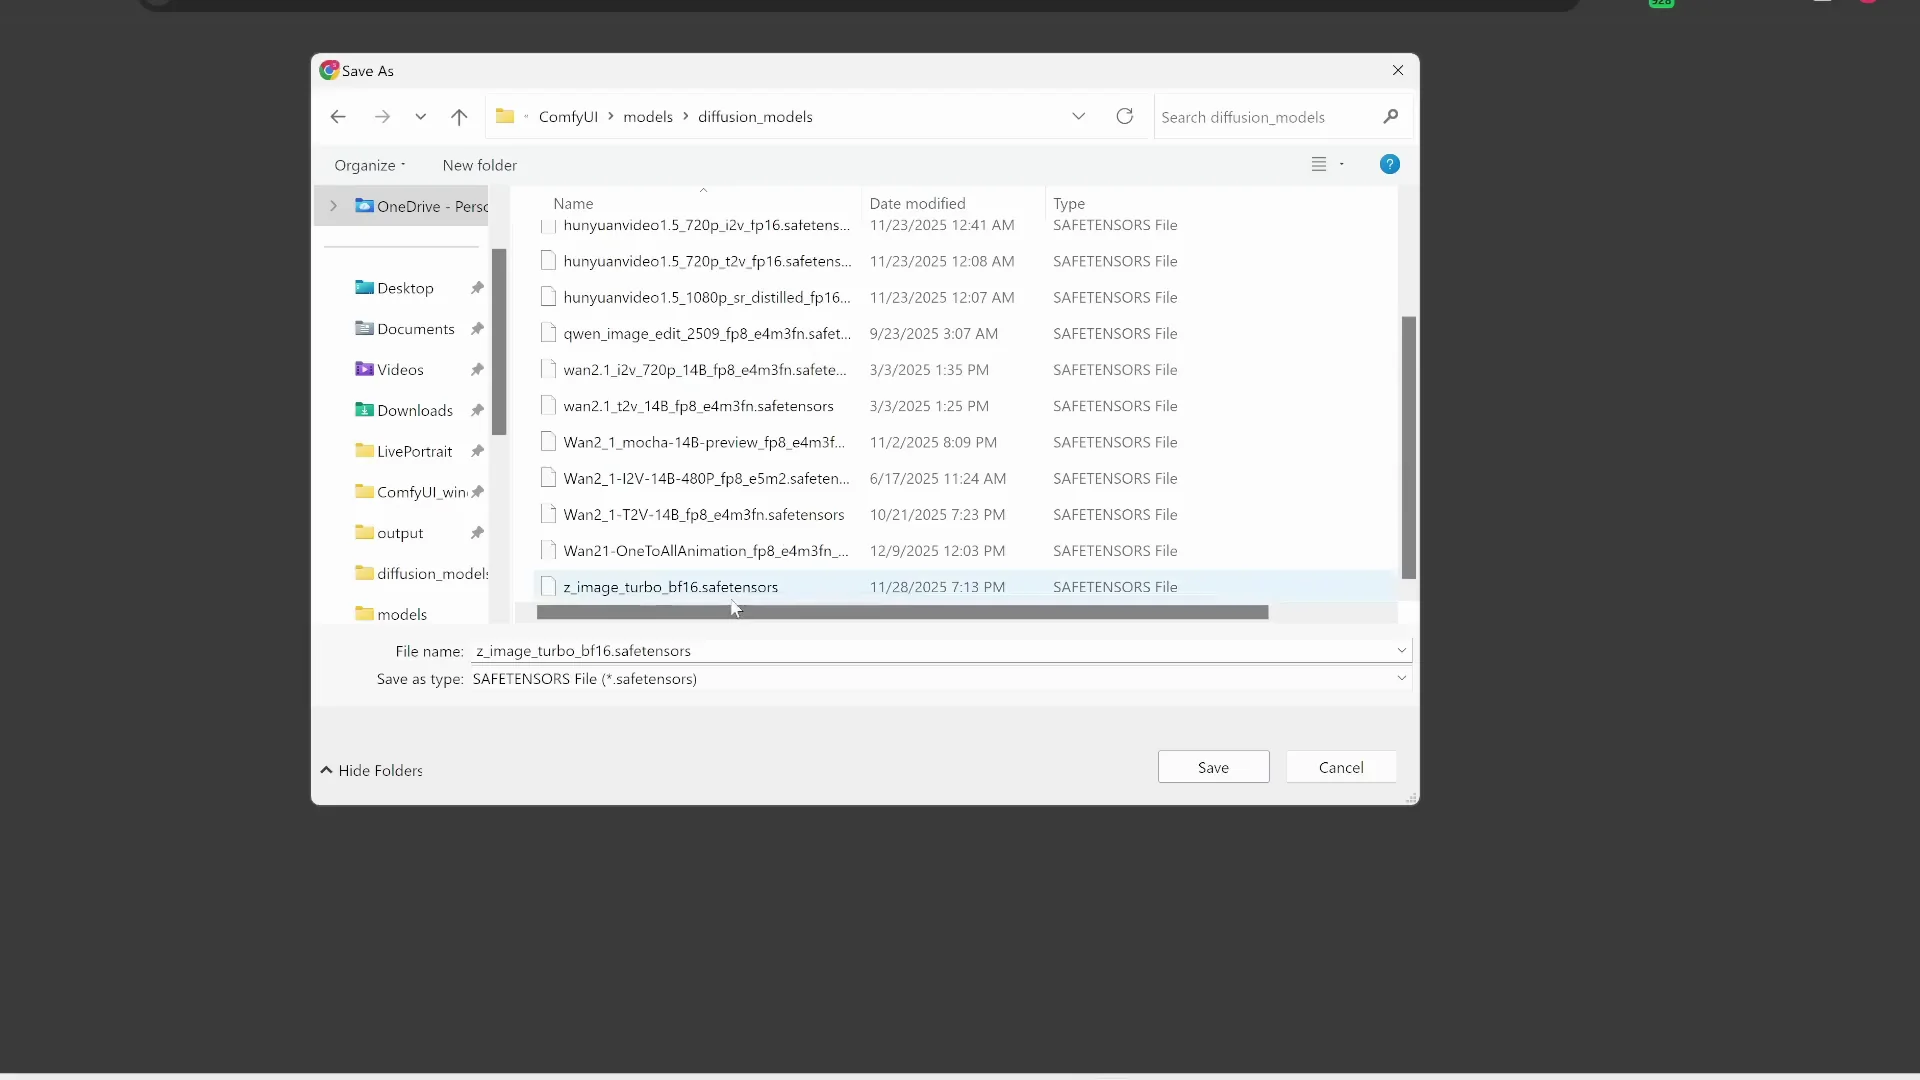
- Z-Image Turbo model - put this in ComfyUI/models/diffusion models - about 11.4 GB
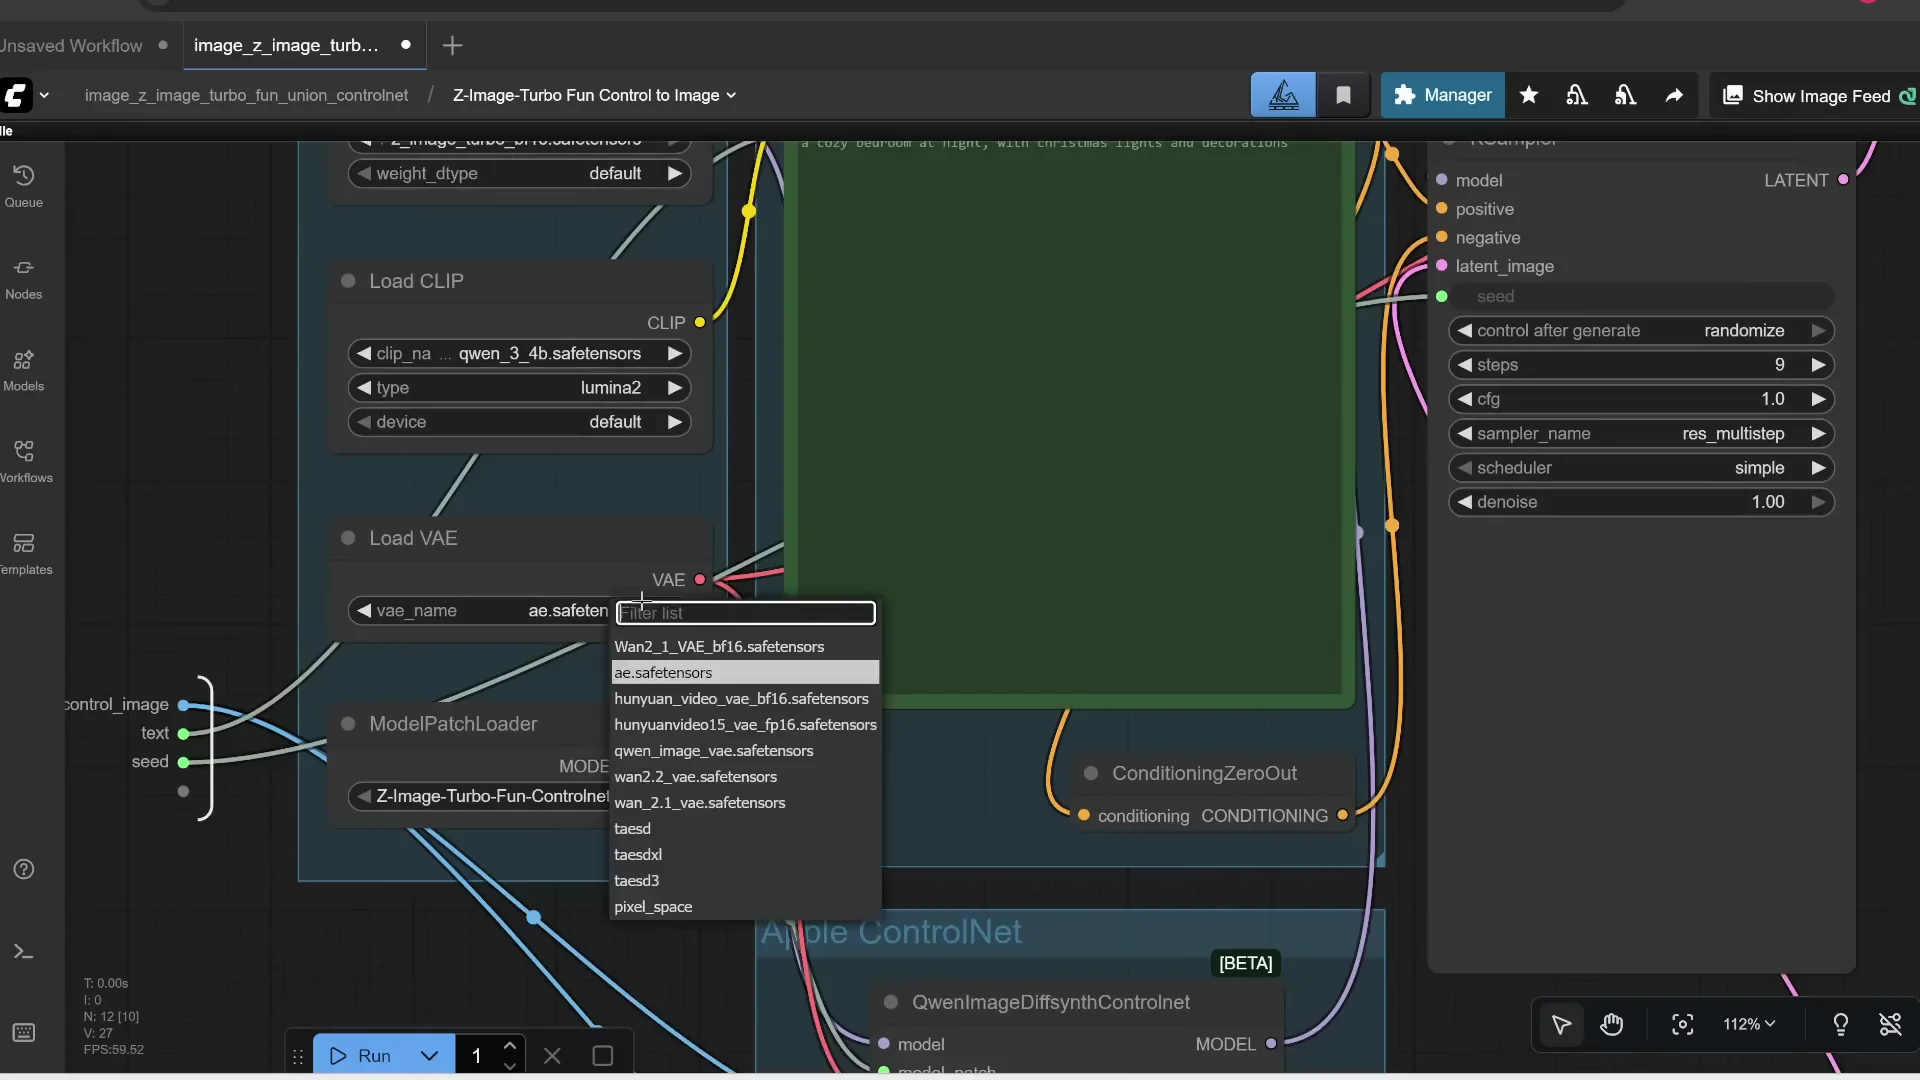
- AE.safetensors VAE - put this in ComfyUI/models/VAE - about 327 MB
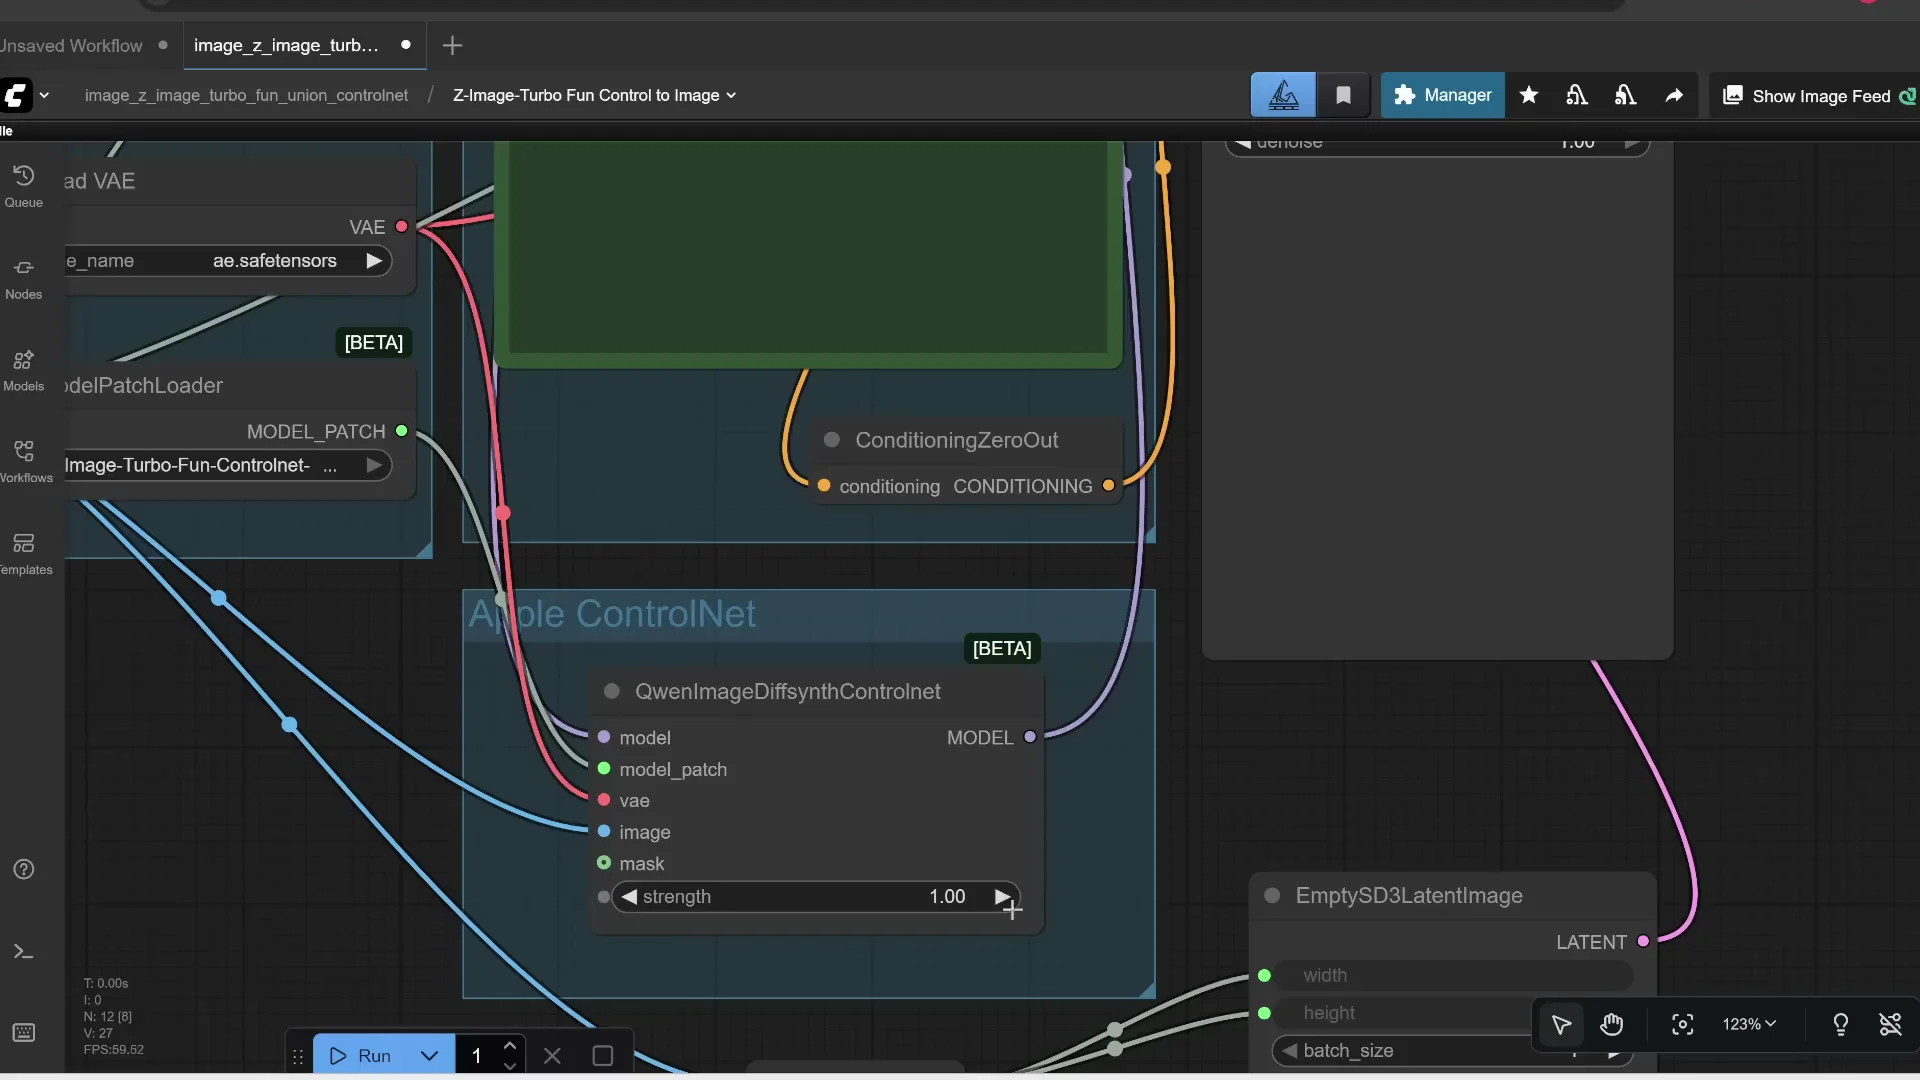
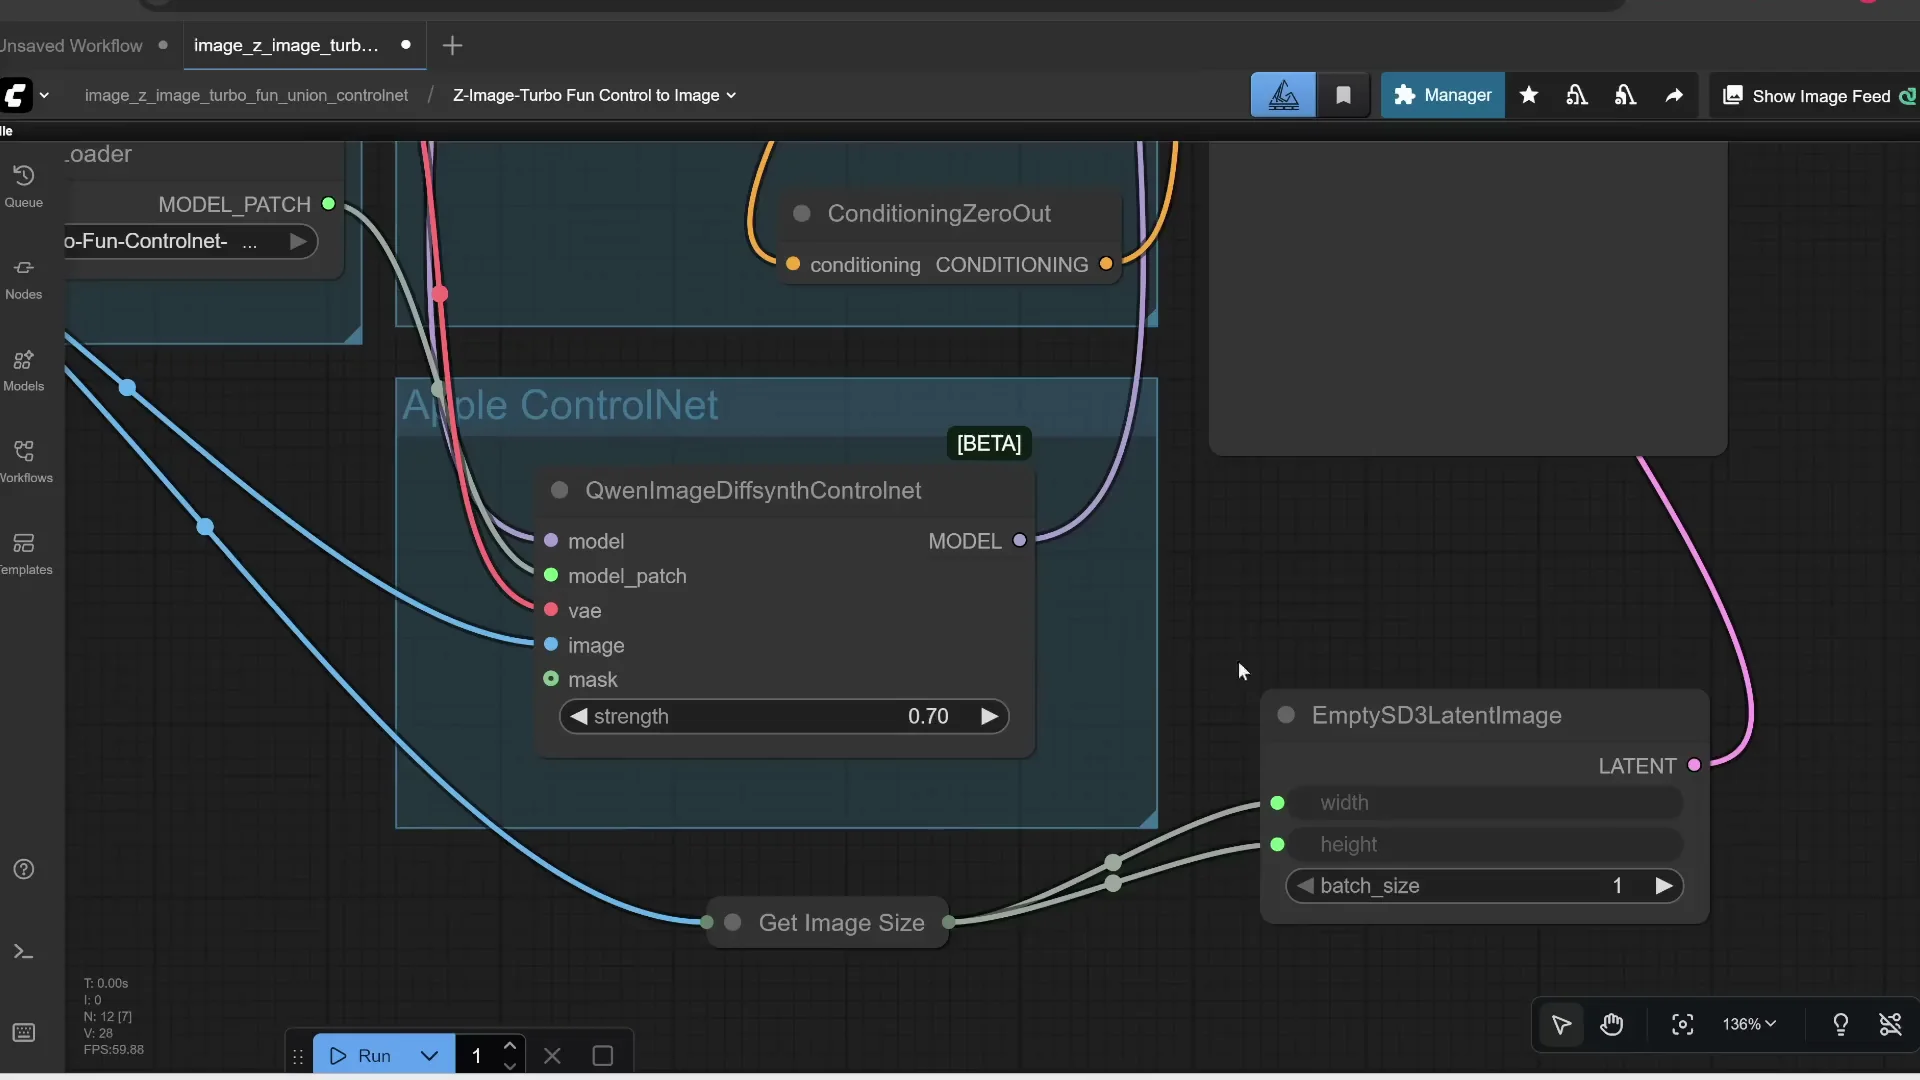
You should already have these three if you installed Z-Image earlier. The only new model you need is the ControlNet Union safetensors file:
- Put it in ComfyUI/models/model patches - about 2.9 GB
Press R to refresh your models list.
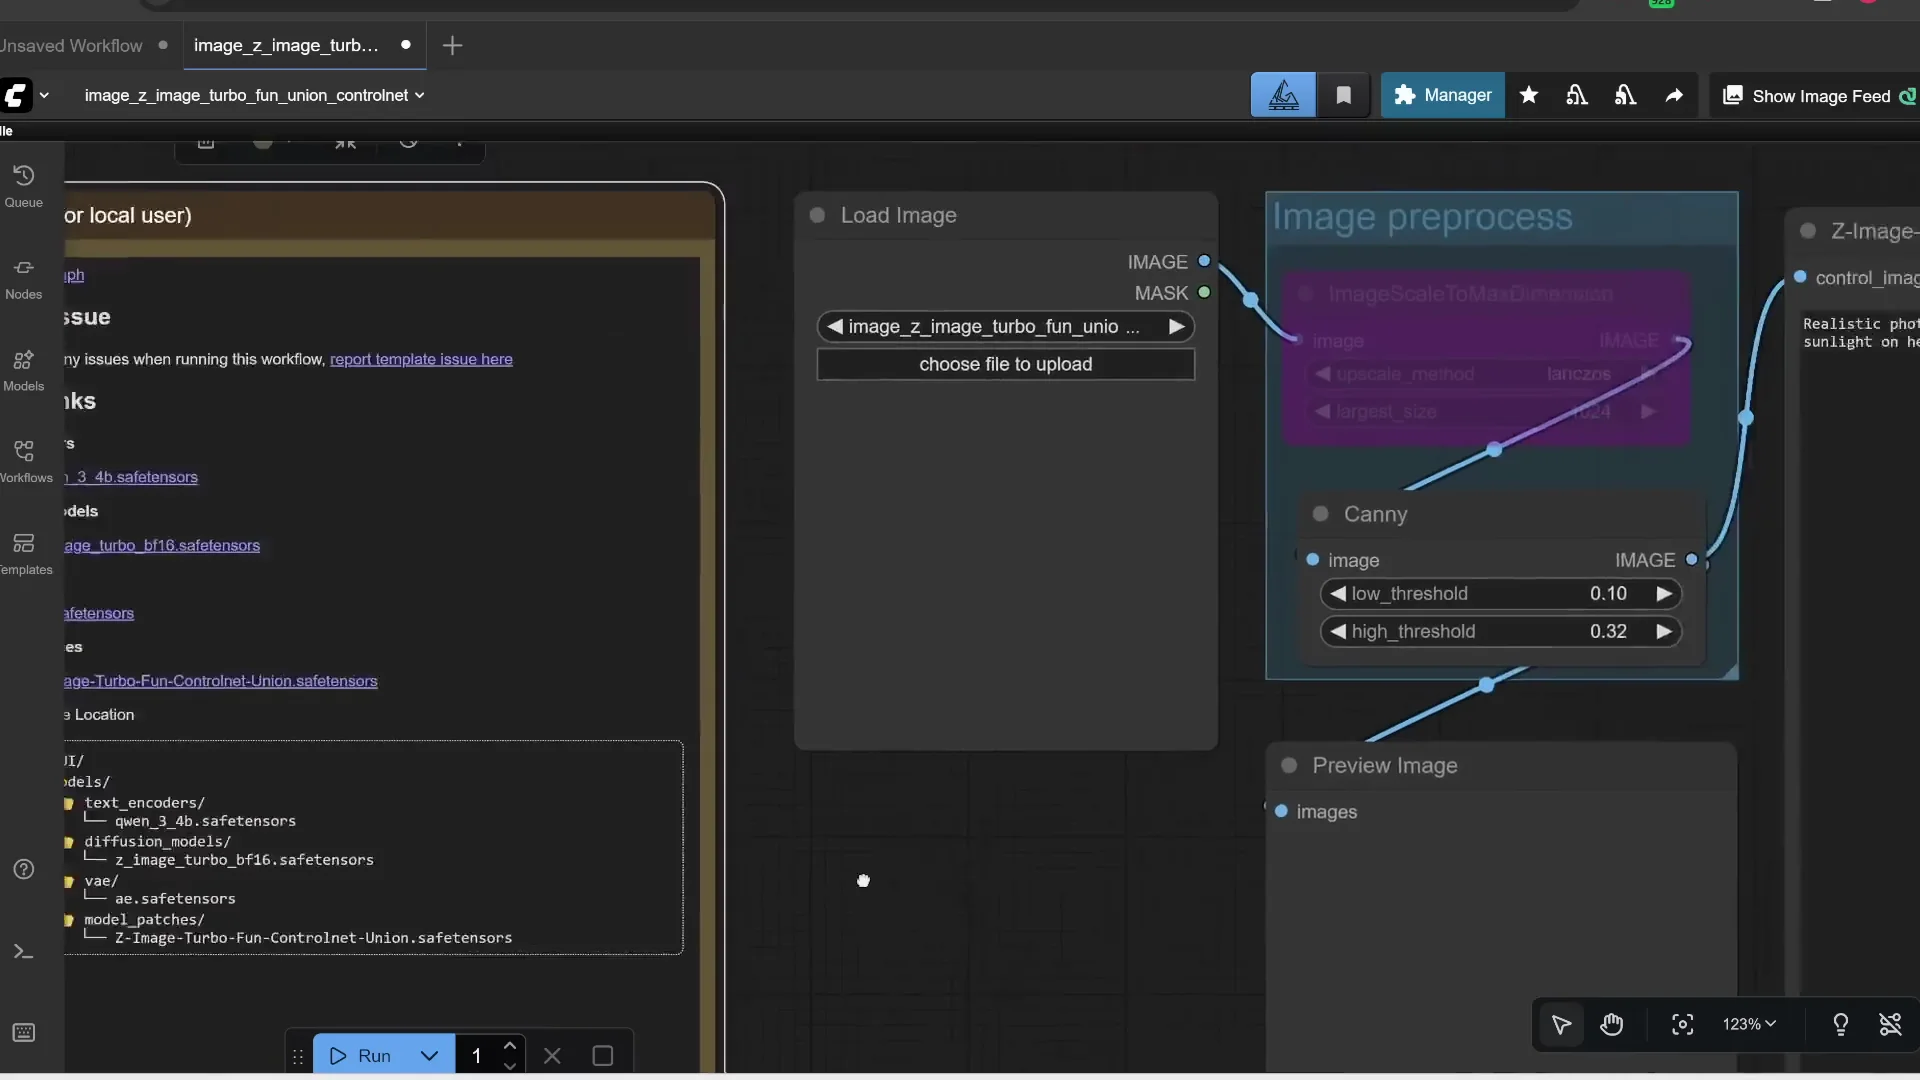
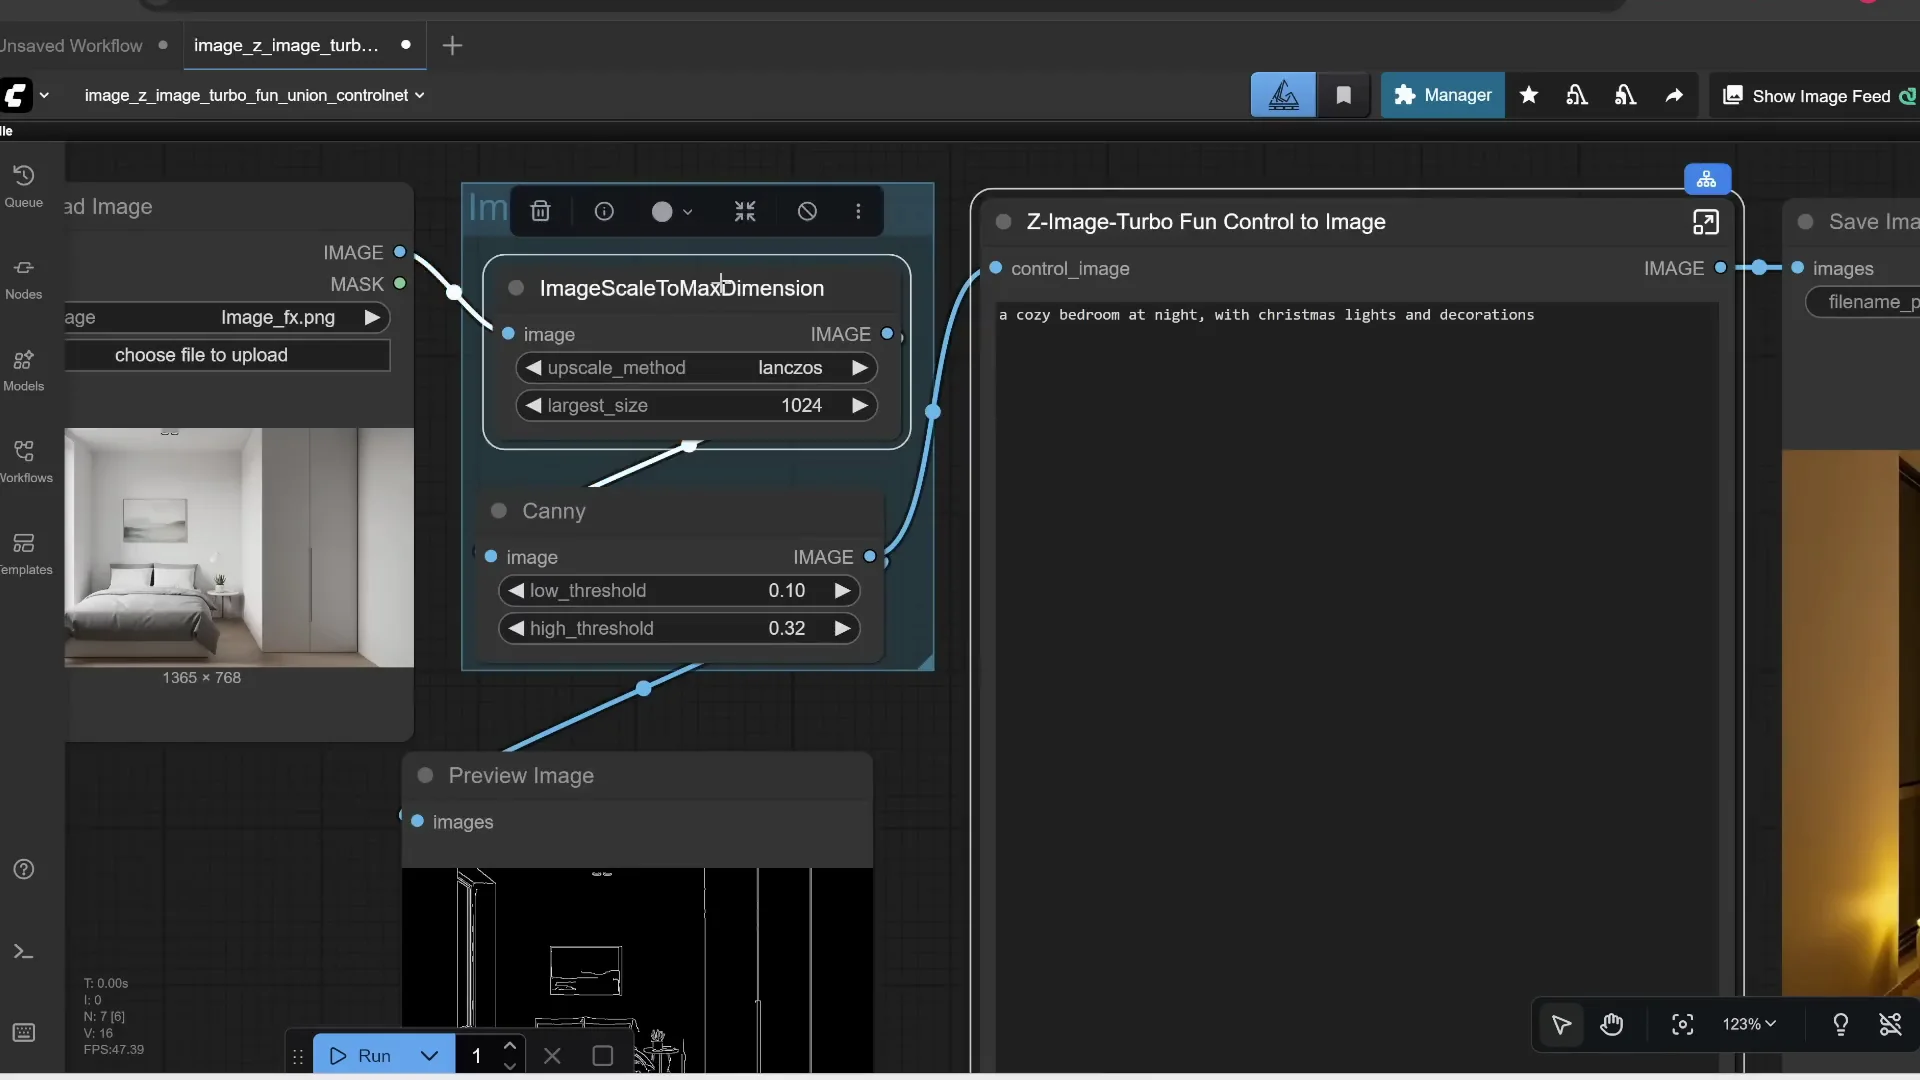
Using Canny Edges to Match Composition
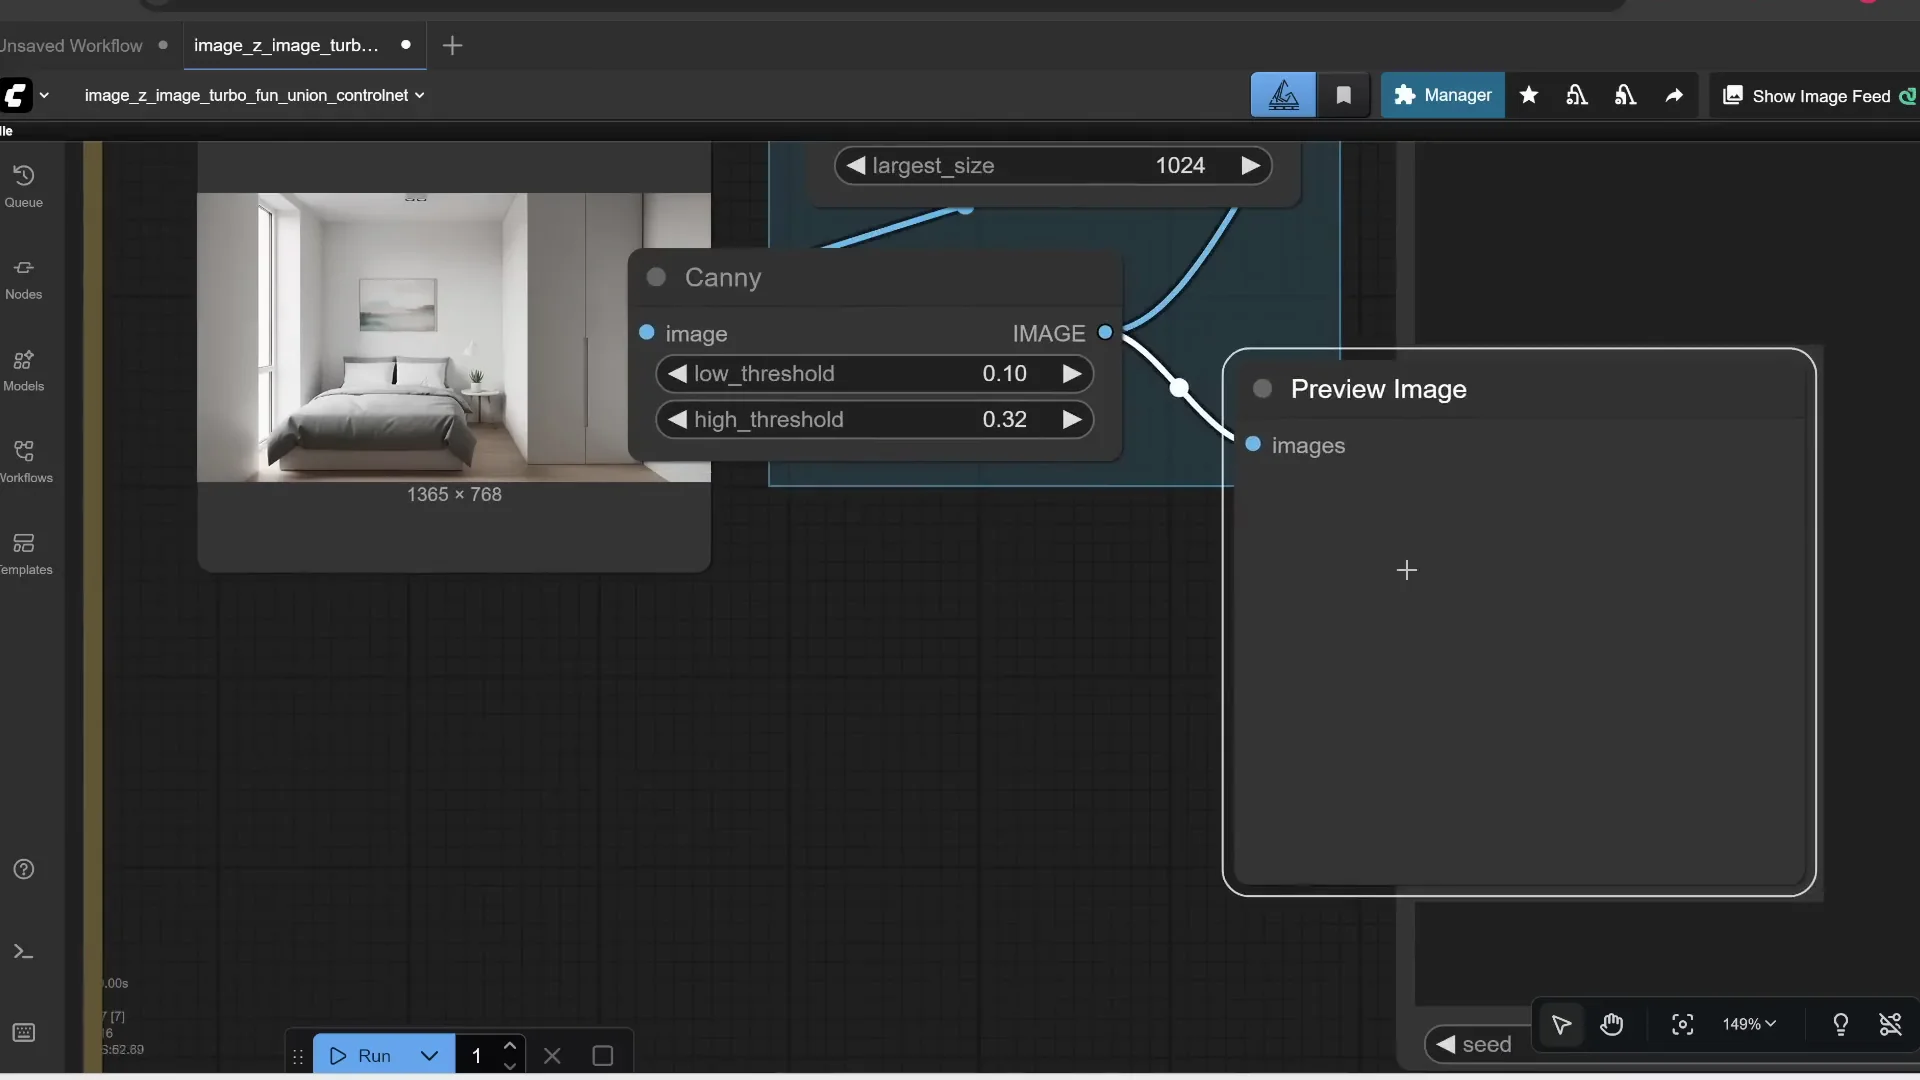
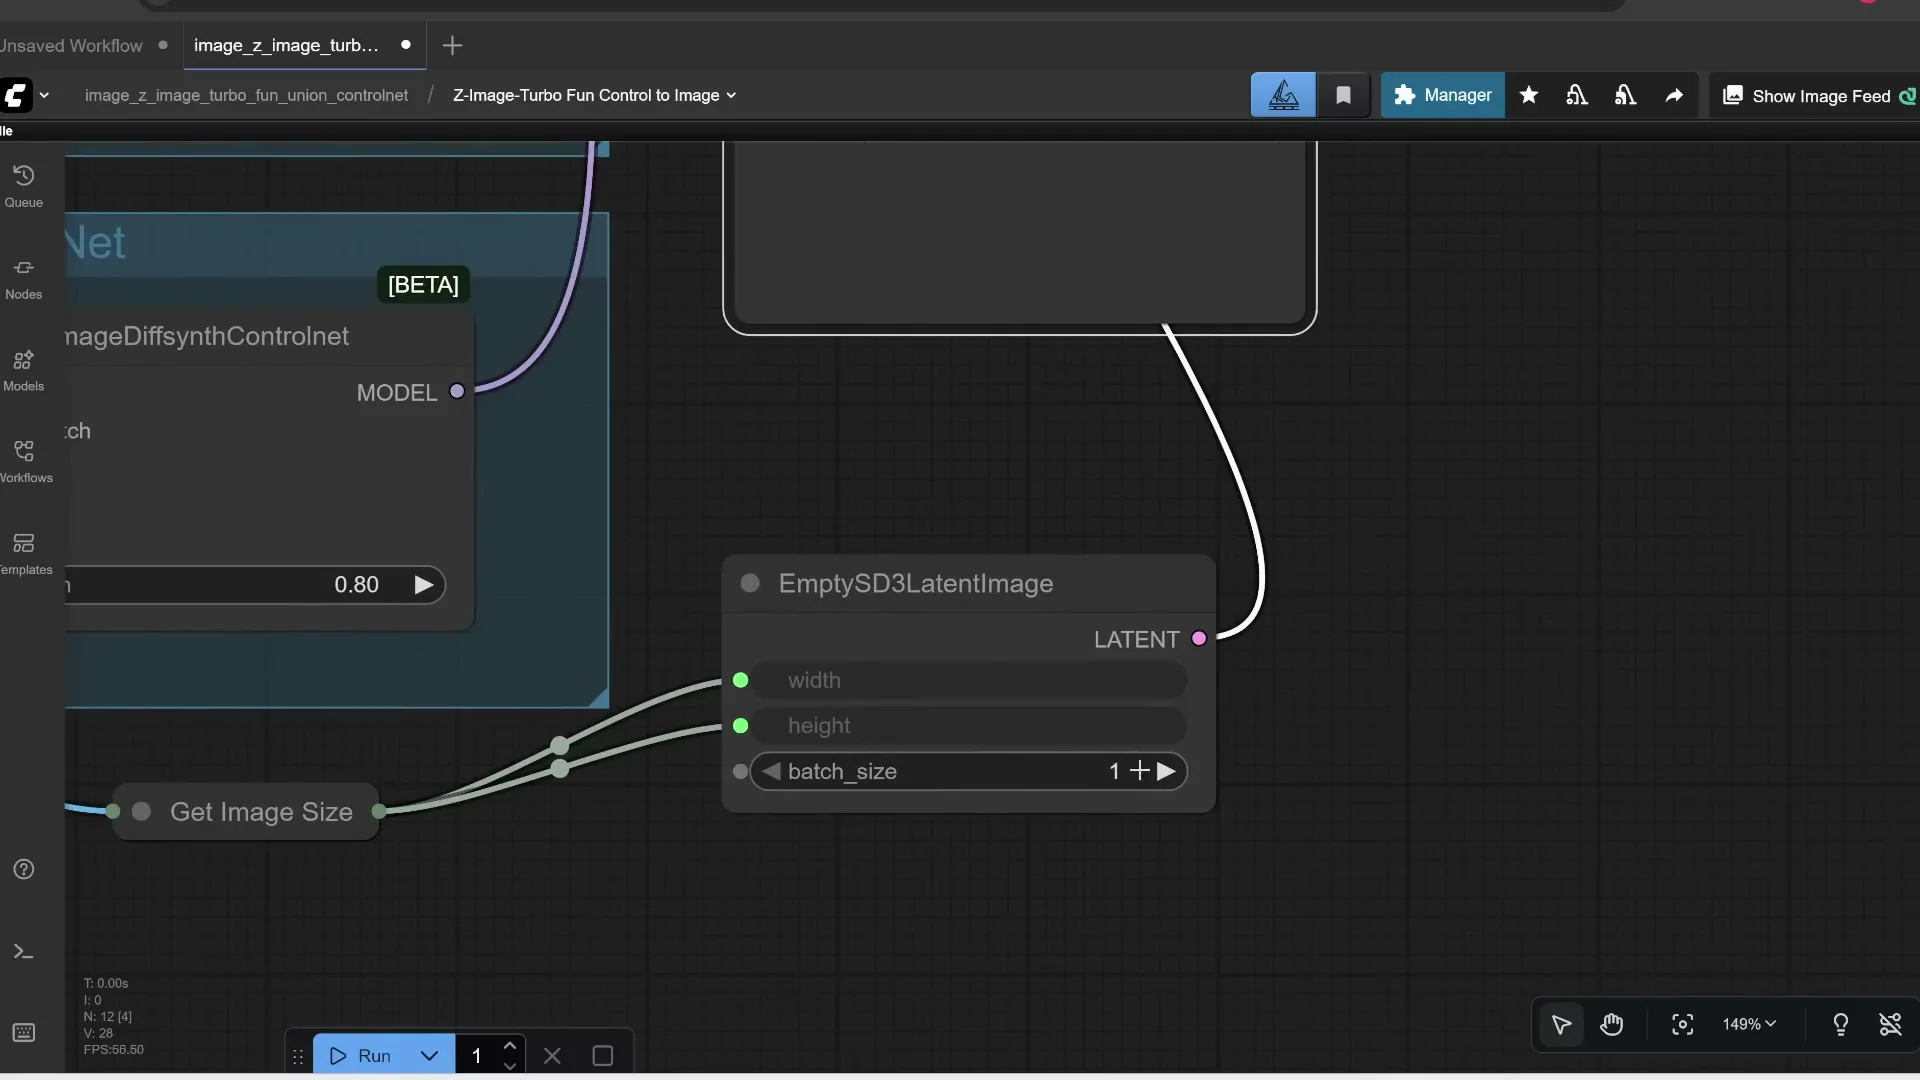
Upload an image to use as a reference. It goes to a scaler node, which is off by default. Turn it on if you want to resize the largest edge to a specific value. For example, if the original longest edge is 1365 and you set it to 1024, it scales to 1024 while keeping aspect ratio.
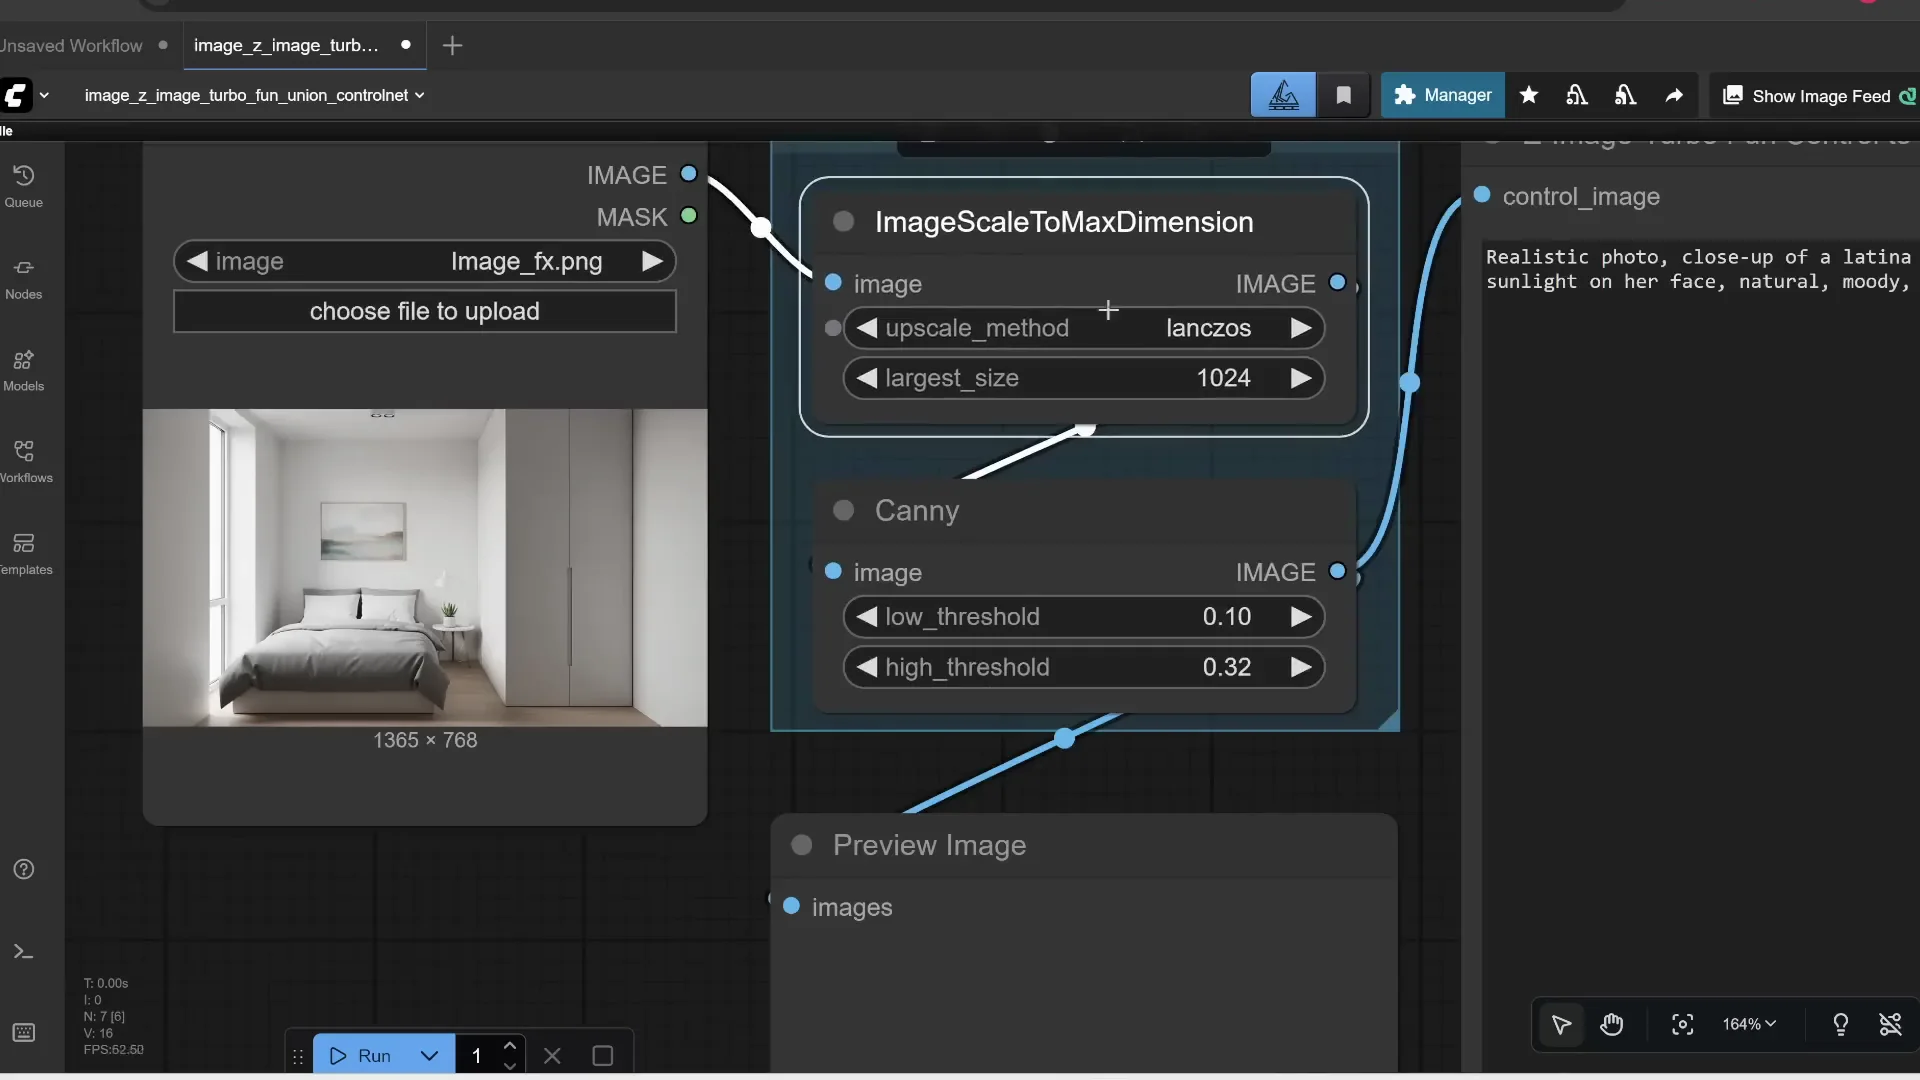
The image then passes through a Canny node to detect edges and preview an edge map. That edge map, plus your prompt, is sent into hidden nodes you can expand. This is the normal Z-Image workflow.
Load your models:
- Press R to refresh the model list
- For CLIP, select the Qwen 3 encoder
- For VAE, select AE.safetensors
- For Model Patch Loader, select the ControlNet Union file
There is a node that lets you control how much influence your reference image has. At 100 percent it follows the edge map fully. Lower values reduce its influence. For example, set it to 80 percent.
The workflow runs through Shift and KSampler. If you’re not familiar with these settings, the defaults work well. You can also set the number of images to generate at once.
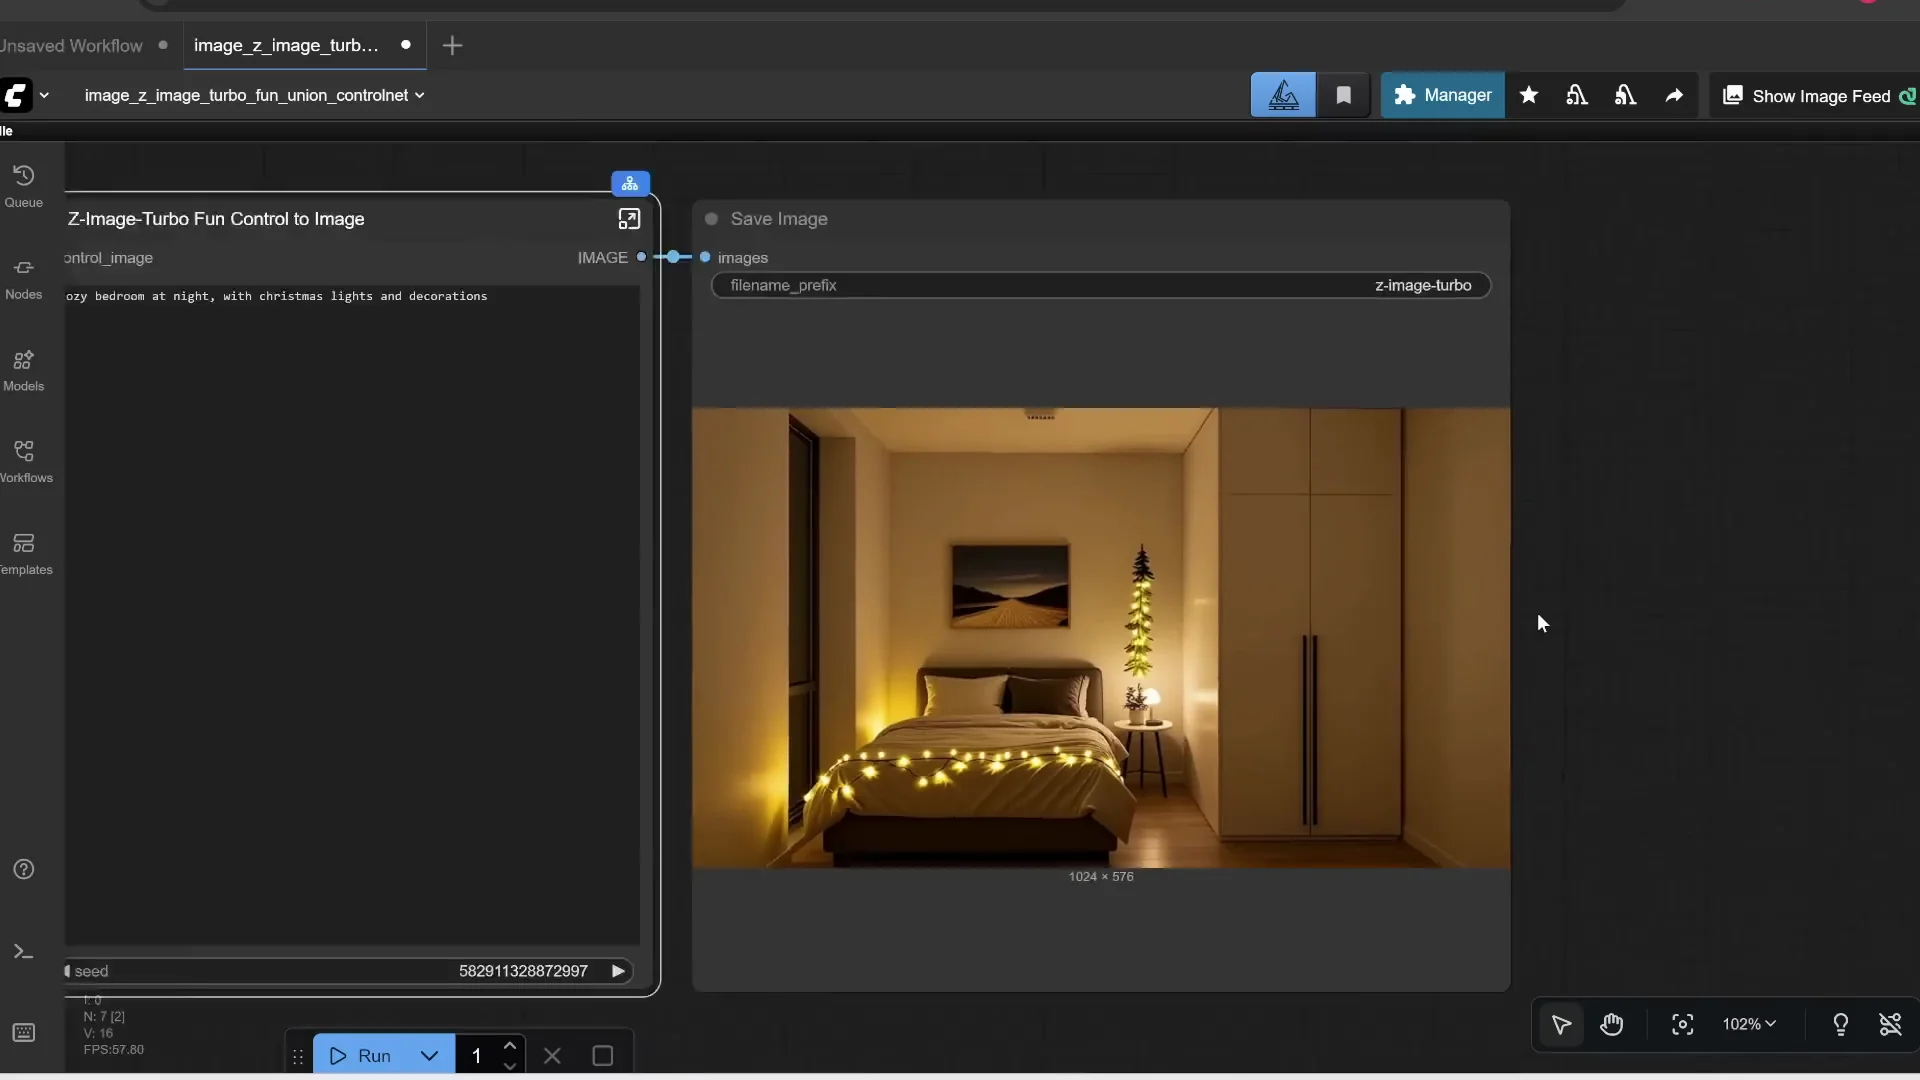
Click Run. On a 16 GB VRAM GPU, 9 steps took under 10 seconds with the full Z-Image Turbo model. I uploaded a photo of a room, resized the longest edge to 1024, generated a Canny edge map, set edge influence to 80 percent, and prompted: a cozy bedroom at night with Christmas lights and decorations. The result followed the composition of the reference but matched the prompt.
You can bypass the scaler to keep the original dimensions by selecting it and pressing Ctrl+B.
Using OpenPose to Match Character Pose
Instead of edges, you can estimate the pose of a reference image and apply it to a new character.
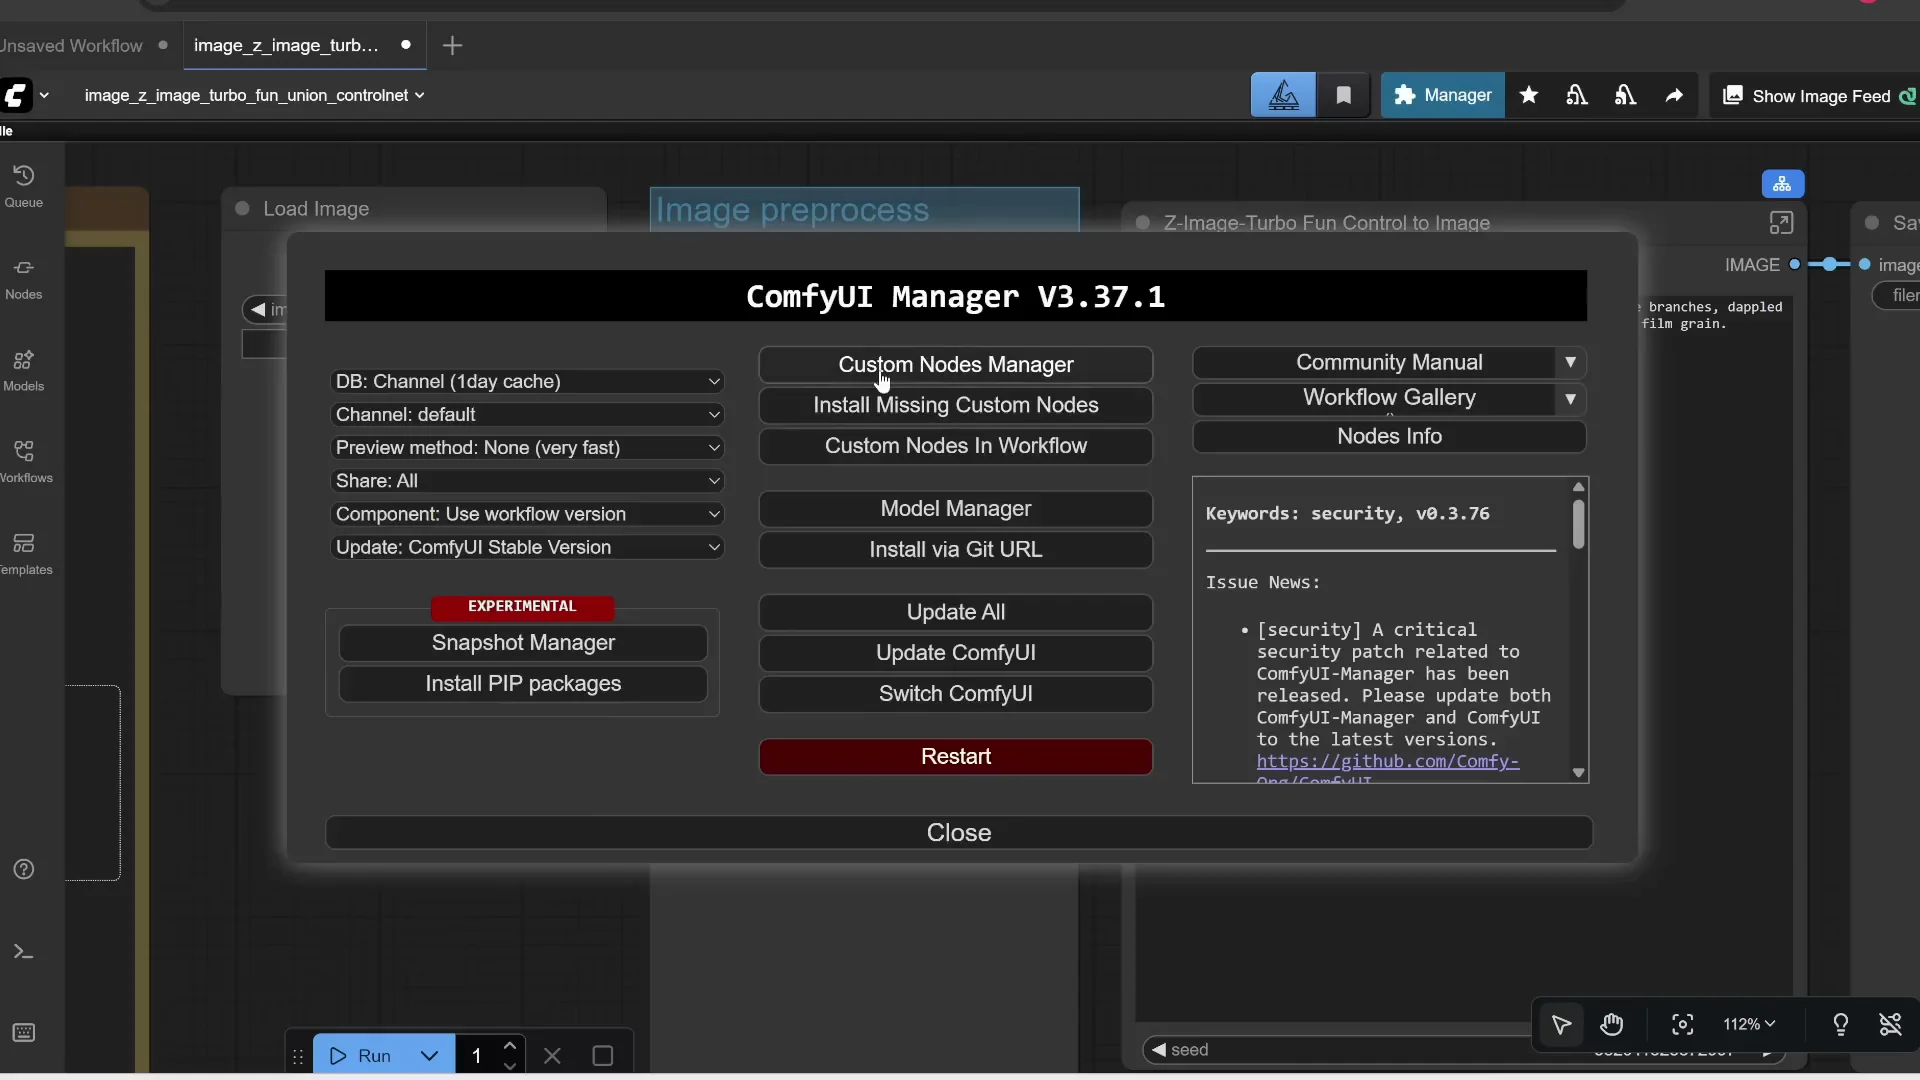
Install a custom node to get more ControlNet detectors:
- Click Manager
- Click Custom Nodes Manager
- Search for ControlNet and install ComfyUI ControlNet Auxiliary by Fannovel16
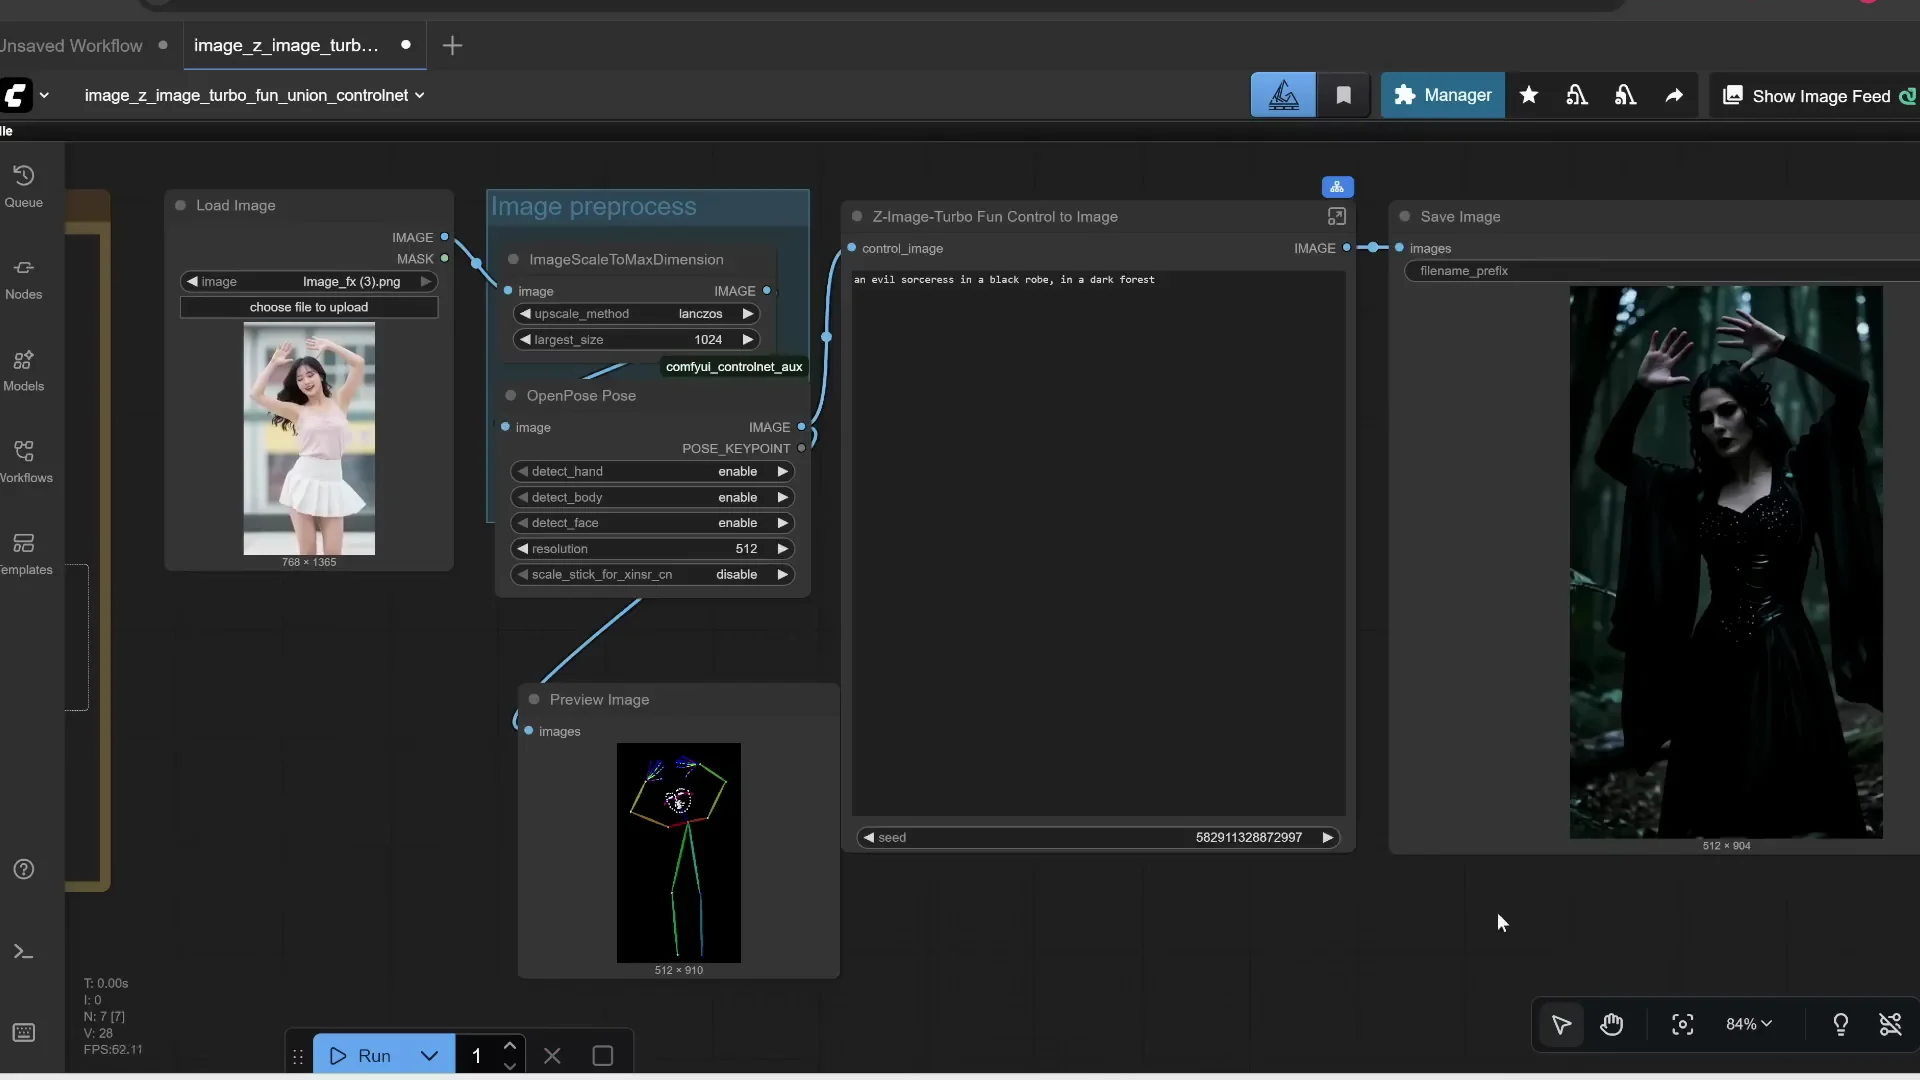
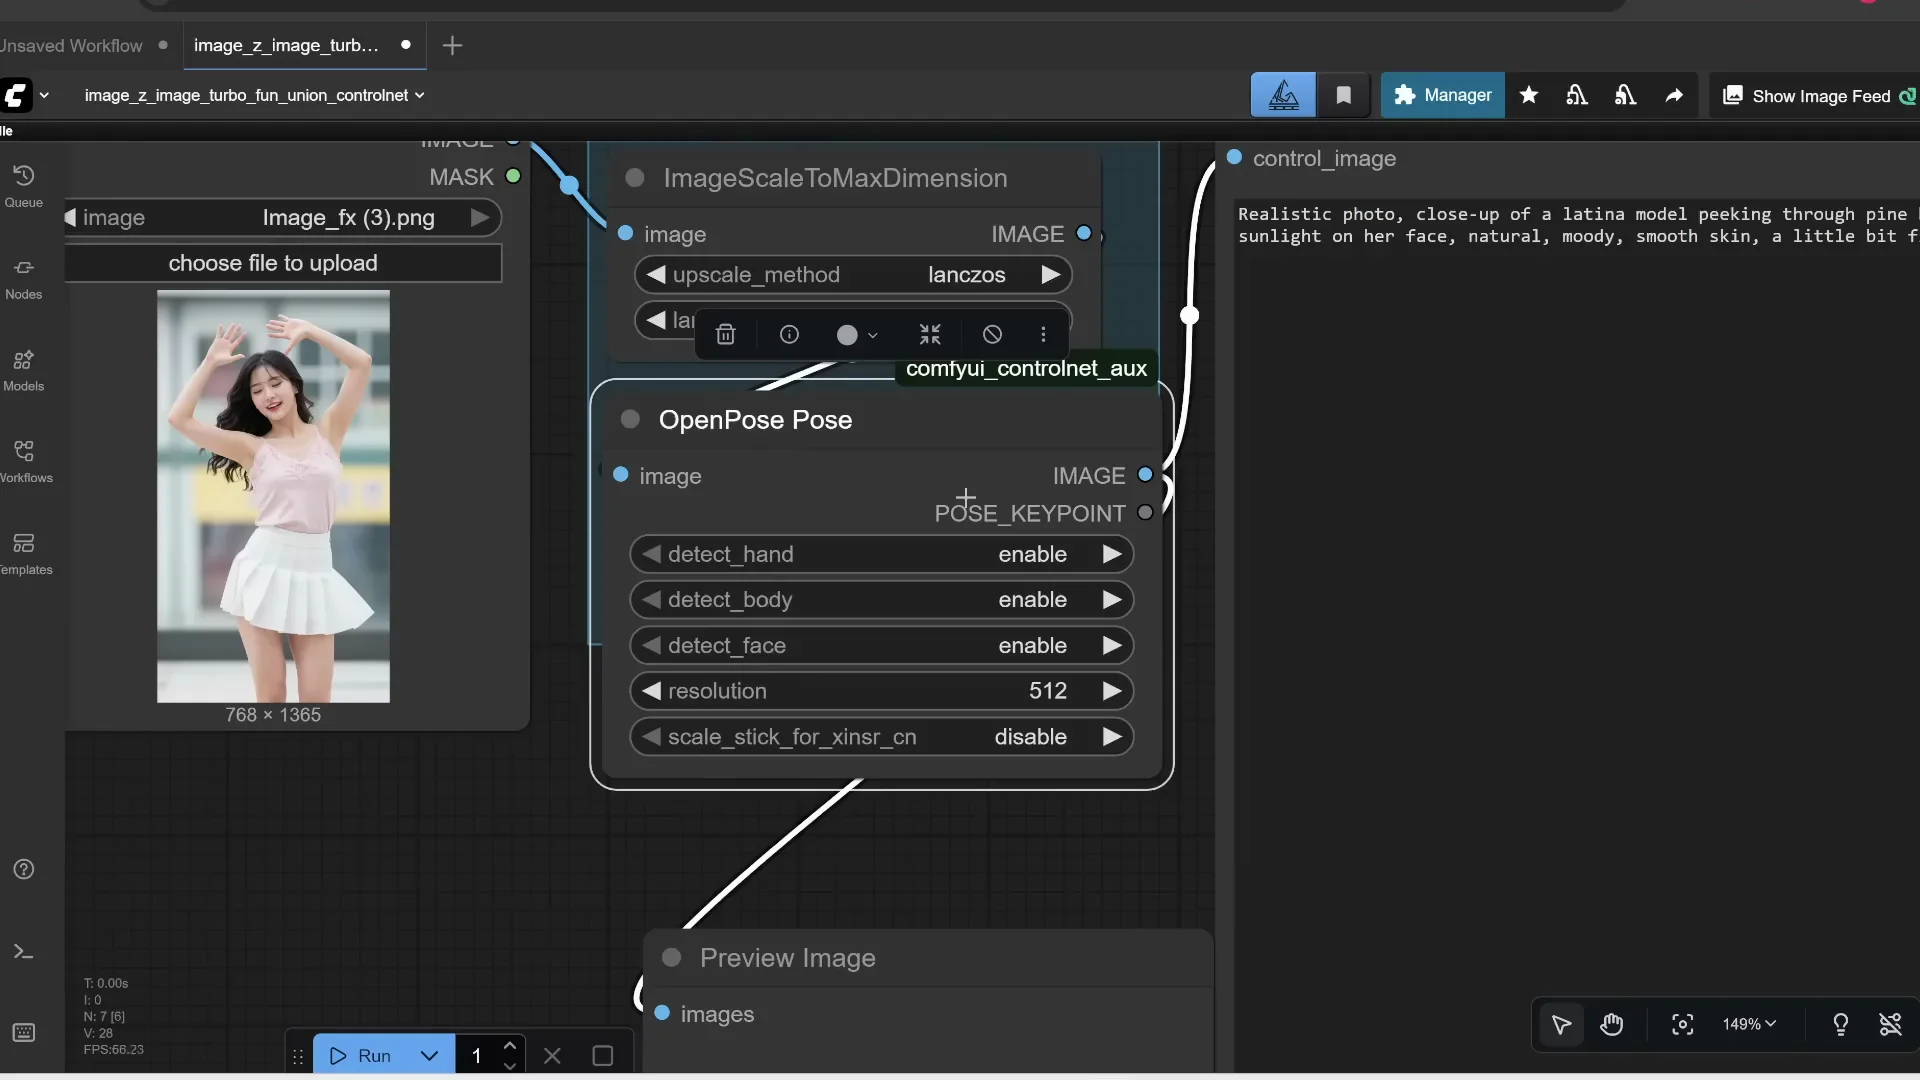
Replace the Canny node with an OpenPose node:
- Double-click the canvas and search for pose
- Choose OpenPose
- Connect the input image to OpenPose and route its outputs to preview and the prompt
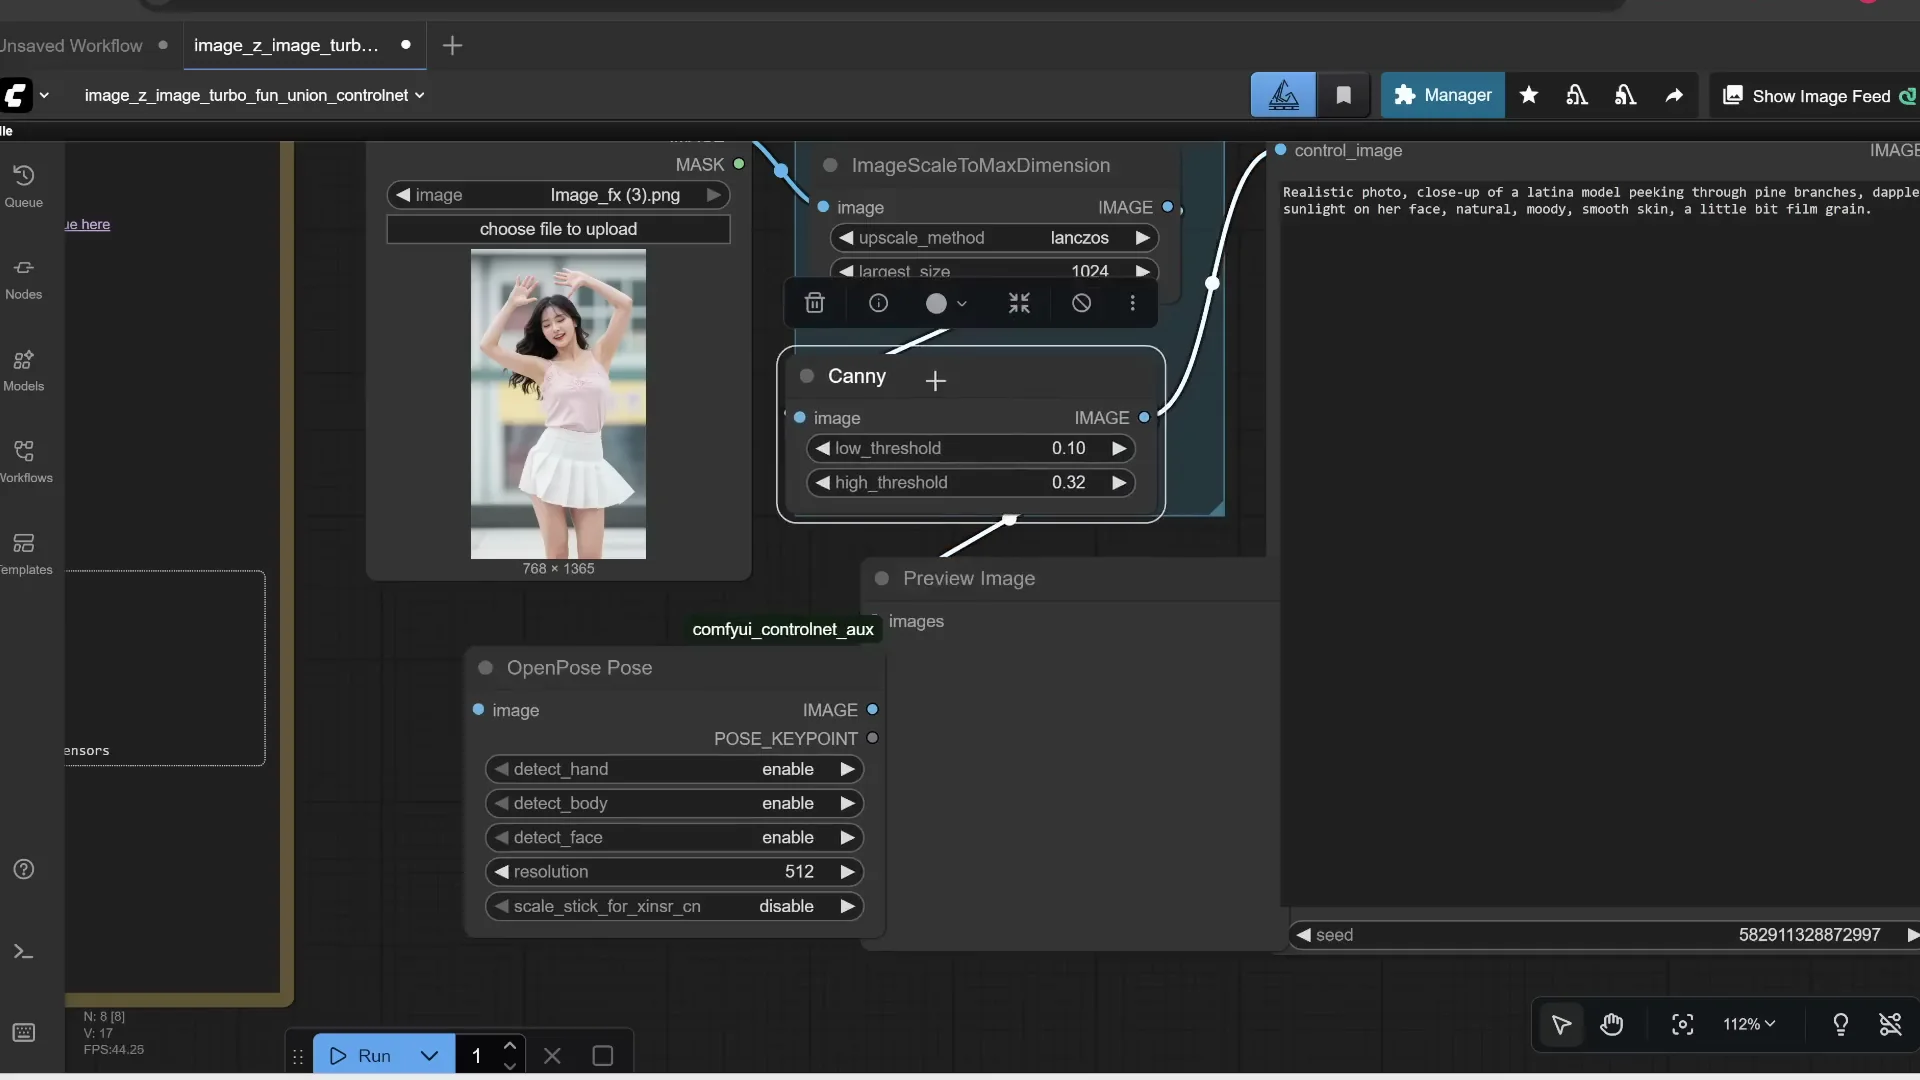
Enable hands, body, and face detections. Prompt something like: an evil sorceress in a black robe in a dark forest. Set pose influence to 70 percent. Set the step count to 8. Run it. The output maintains the pose while matching your new subject and prompt.
Using Depth Maps for Stronger Composition Control
You can also use depth maps. Replace the detector node with a depth estimator:
- Double-click and search for depth
- Choose Depth Anything v2 from the detectors list
 This may download an additional model automatically the first time you run it. Use a prompt like: a cosplayer girl at a convention. Run it. The workflow extracts a depth map, which guides the composition of the result.
ControlNet makes it easy to control composition from a reference image. You can extract edges, pose, or depth. There are other detectors like line art, anime line art, and scribble, but I mostly use edge, pose, or depth.
Z-Image Advanced Features: Inpainting - Edit Existing Photos With Z-Image Turbo
They are planning to release a separate model called Z-Image Edit, which allows you to edit an image using natural language, but it’s not out yet. You can still edit existing images using the current Z-Image Turbo model. Here’s a quick hack.
Load and Encode the Image
Start with the standard Z-Image workflow. Upload the image you want to edit:
- Double-click and type Load Image
- Load your photo
- Replace the previous image node with this Load Image node
You need to convert pixels to latent space:
- Double-click and add VAE Encode
- Connect the image pixels to VAE Encode
- Connect your VAE model to the VAE input
Paint a Mask That Blends Naturally
Find the node that lets you draw a mask on the image. Right-click it and open Mask Editor. Draw over the area you want to replace. Adjust brush size and hardness. A harder brush makes sharp edges. A softer brush makes feathered edges that blend more smoothly.
For example, replace a diary with a sleeping cat. Draw over the diary. Add softer brush strokes around the edges so the change blends with the photo. Click Save to apply the mask.
Set the Latent Noise Mask and Denoise Strength
Transfer the mask to the latent image before KSampler:
- Double-click and add Set Latent Noise Mask
- Connect the mask output to its mask input
- Connect the latent from VAE Encode into Set Latent Noise Mask
- Connect the result to KSampler
- Bypass any redundant latent image node
Prompt something like: sleeping cat.
Adjust Denoise. This controls how much to change the masked area:
- 1.0 means change 100 percent of the masked region
- Lower values keep more of the original
Run it. You’ll get a replacement in the masked area.
Try another example. Open the Mask Editor, clear the mask, and paint over another object. Feather the edges so the new content blends with the original image. Prompt: a vase of flowers. Run it. This works, but it’s not as good as a real image editor like Nano Banana or the upcoming Z-Image Edit. If you can’t wait, this is a quick way to edit images with the existing model.
Z-Image Advanced Features: Upscaling to 4K and Beyond
I’m going to go over two main ways to upscale.
- Method 1: A multi-pass workflow that only uses Z-Image. No additional models required.
- Method 2: Use an external upscaler model called SeedVR2. The file is about 16 GB, but it adds a lot of detail.
Method 1 - Multi-pass Upscale Inside Z-Image
Start from the standard Z-Image workflow. Normally, it generates an image in one go. Instead, generate a smaller image first, then pass it through Z-Image again at a higher resolution.
Steps:
- Select the KSampler and related nodes, then Ctrl+C and Ctrl+V to duplicate them
- Convert the first pass image to latent space with VAE Encode
- Add Upscale Latent By and set scale to 2x
- Connect the upscaled latent to the second KSampler
- Connect the model, positive, and negative prompt nodes to the second pass
Settings:
- Initial resolution: 768 x 1024
- Seed 42, Fixed
- First pass step count: 6
- Second pass Denoise: 0.5 to retain about half of the original details while adding more
Run it. The first pass creates the base image. The second pass regenerates at 2x size and adds detail. Compare with generating a single large image in one pass at 1536 x 2048 with 9 steps. Even with the same seed, changing resolution alters the image, but in general the two-pass method sharpens faces and hair better. I prefer generating a smaller image first, then upscaling if I like it.
Method 2 - SeedVR2 Model Upscaler
Standalone Upscaling Workflow
Load the SeedVR2 4K image upscale workflow JSON. If you get missing nodes:
- Click Manager
- Click Install Missing Custom Nodes
- Install what it detects
- Restart
Torch compile can improve speed after the first run, but it’s not needed for single images. Upload your image, keep the default 4K settings, and run. The first time, ComfyUI downloads the SeedVR2 upscaler - around 15 GB - and a VAE - about 478 MB. The output is saved to your output folder.
Side-by-side with the original, details in the shirt, face, and hair are much sharper. You can zoom in a lot, and it still looks good.
Link It Directly After Z-Image Generation
If you want Z-Image to create an image and immediately upscale it:
- Load the standard Z-Image workflow
- Copy all nodes from the SeedVR2 workflow into the same canvas
- Delete the Load Image node in the upscaler flow
- Add Split Image With Alpha between Z-Image’s output and the upscaler inputs
- Connect image to Split Image With Alpha, then route image and alpha to the SeedVR2 inputs
Prompt example: Latina female with thick wavy hair. Width x Height: 768 x 1280. Step count: 7. Run it. Z-Image first generates the base image, then SeedVR2 upscales it to 4K. Compared side-by-side, the upscaled version has much clearer eyes, eyelashes, eyebrows, skin, hair, and clothing details.
Final Thoughts
Z-Image is not just a text-to-image model. With ControlNet, you can drive composition with edges, pose, or depth. You can inpaint by masking, encoding to latent, and controlling denoise to replace objects cleanly. For resolution, a two-pass Z-Image upscale adds noticeable sharpness, and the SeedVR2 upscaler pushes detail much further into 4K and beyond. These Z-Image Advanced Features let you guide structure, make edits, and scale quality in a practical workflow.
Recent Posts
How to use Grok 2.0 Image Generator?
Learn how to access Grok 2.0’s AI image generator (Premium required), write better prompts, and avoid pitfalls like real people and brands. Step-by-step tips.
How to use Instagram AI Image Generator?
Use Meta AI in Instagram DMs to turn text into images—and even animate them. It’s free, fast, and built in. No external apps needed; create art right in chat.
Leonardo AI 2026 Beginner’s Guide: Create Stunning Images Fast
Learn Leonardo AI step by step—sign up, explore Home, and generate or enhance photos with free, powerful tools. A quick, clear starter for beginners.