Leonardo AI 2026 Beginner’s Guide: Create Stunning Images Fast
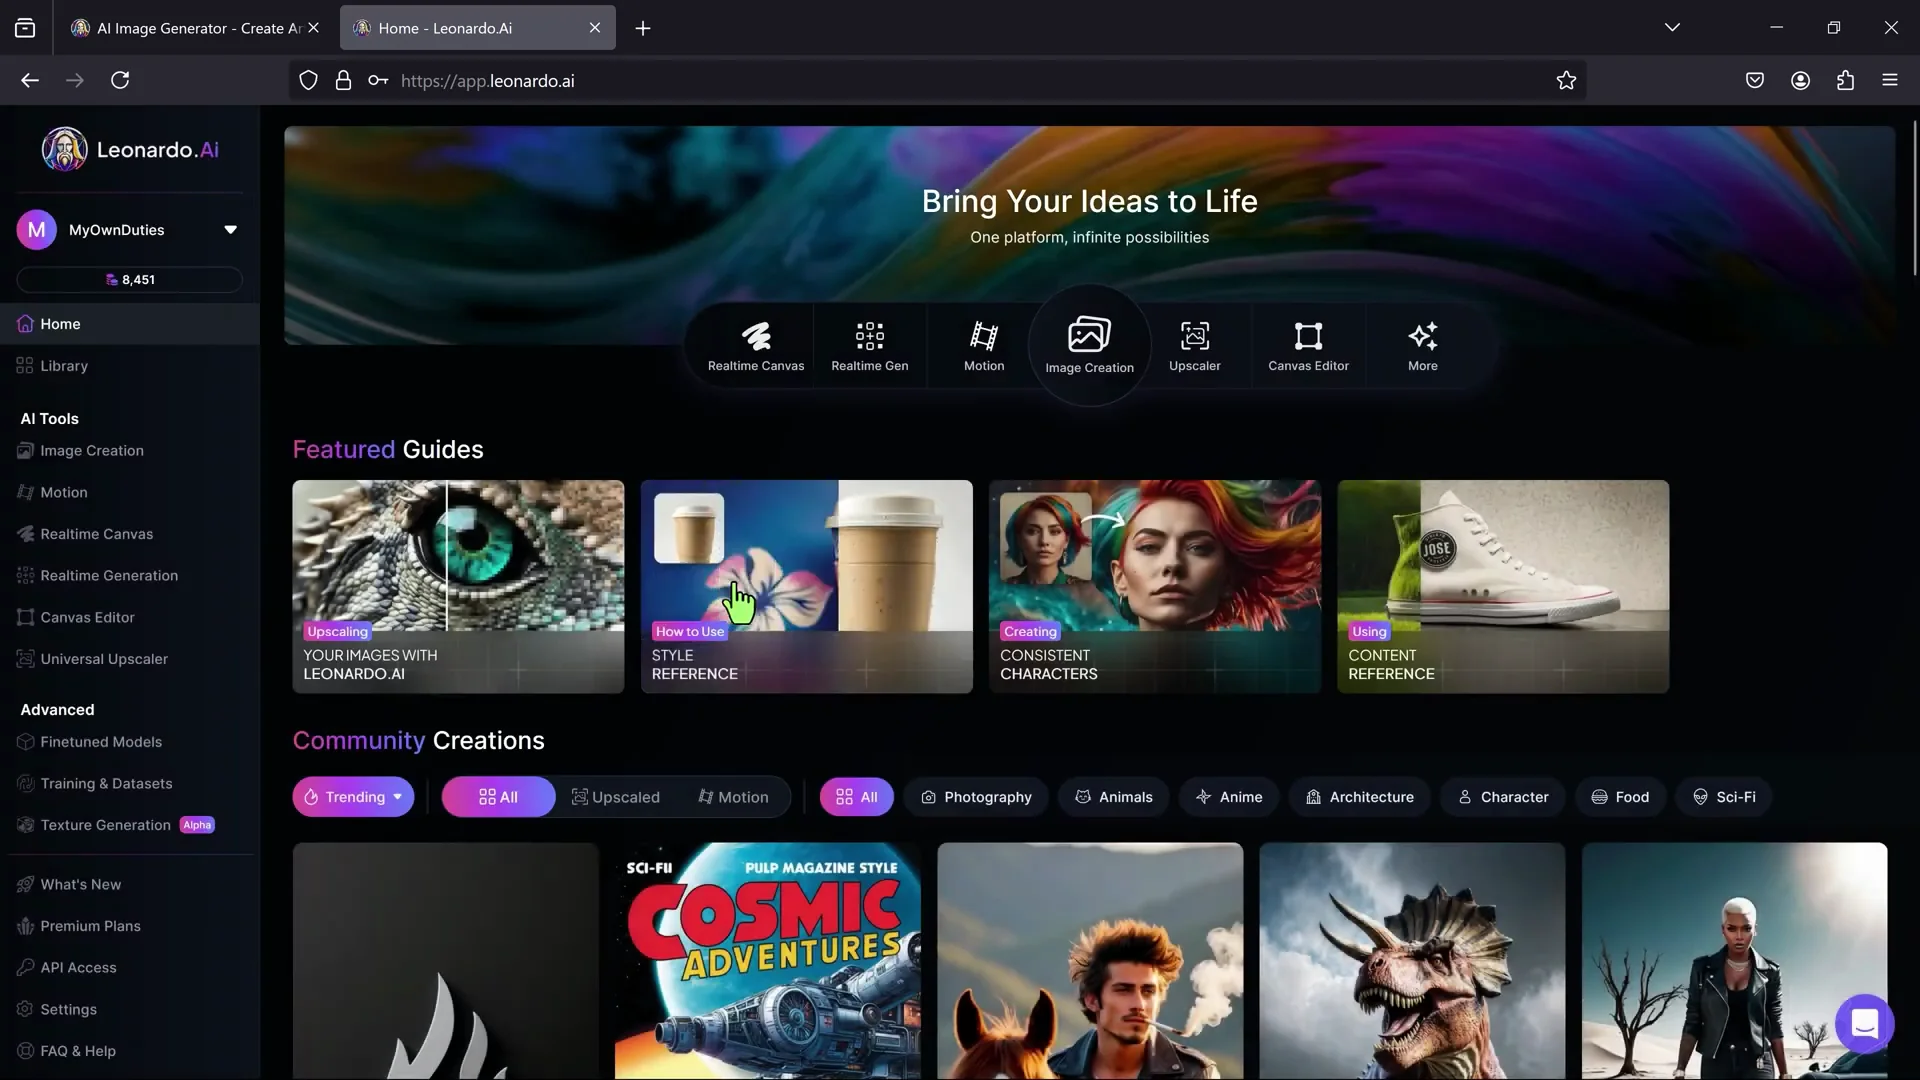
Leonardo AI comes with a wide range of tools for AI-powered image modification and enhancement, and it is a free valid alternative to other image-editing platforms on payment. Sign in with any account and enter into the Home page. Here, you get featured guides and the latest images generated by the community. On the left, you get the complete list of tools. This guide does not cover the Universal Upscaler, used to increase the image resolution of your generations.
Leonardo AI Beginner Tutorial: Image Creation
To generate images from text-based prompts, click on Image Creation. Its interface has been updated, but you can come back to the older one with Legacy Mode in the top right corner. This is more complex to use but allows more control on the AI models and options.

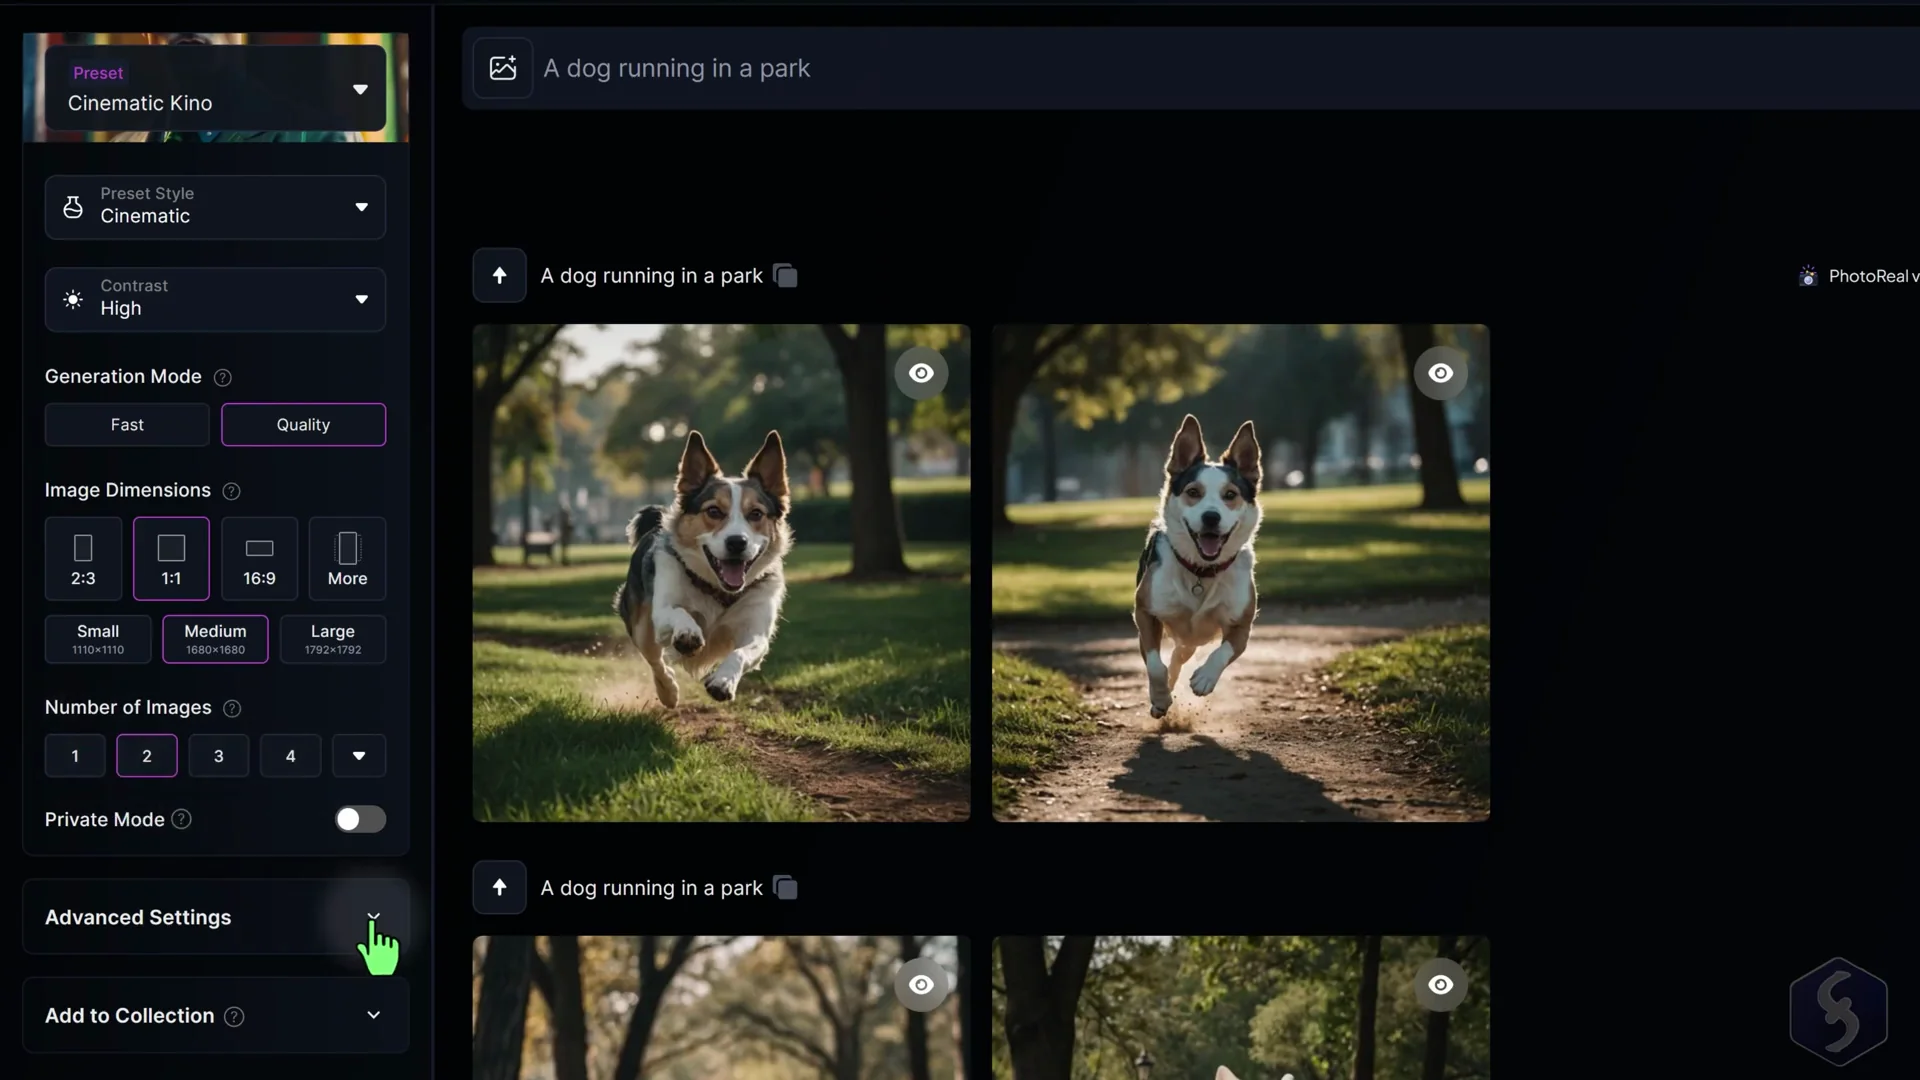
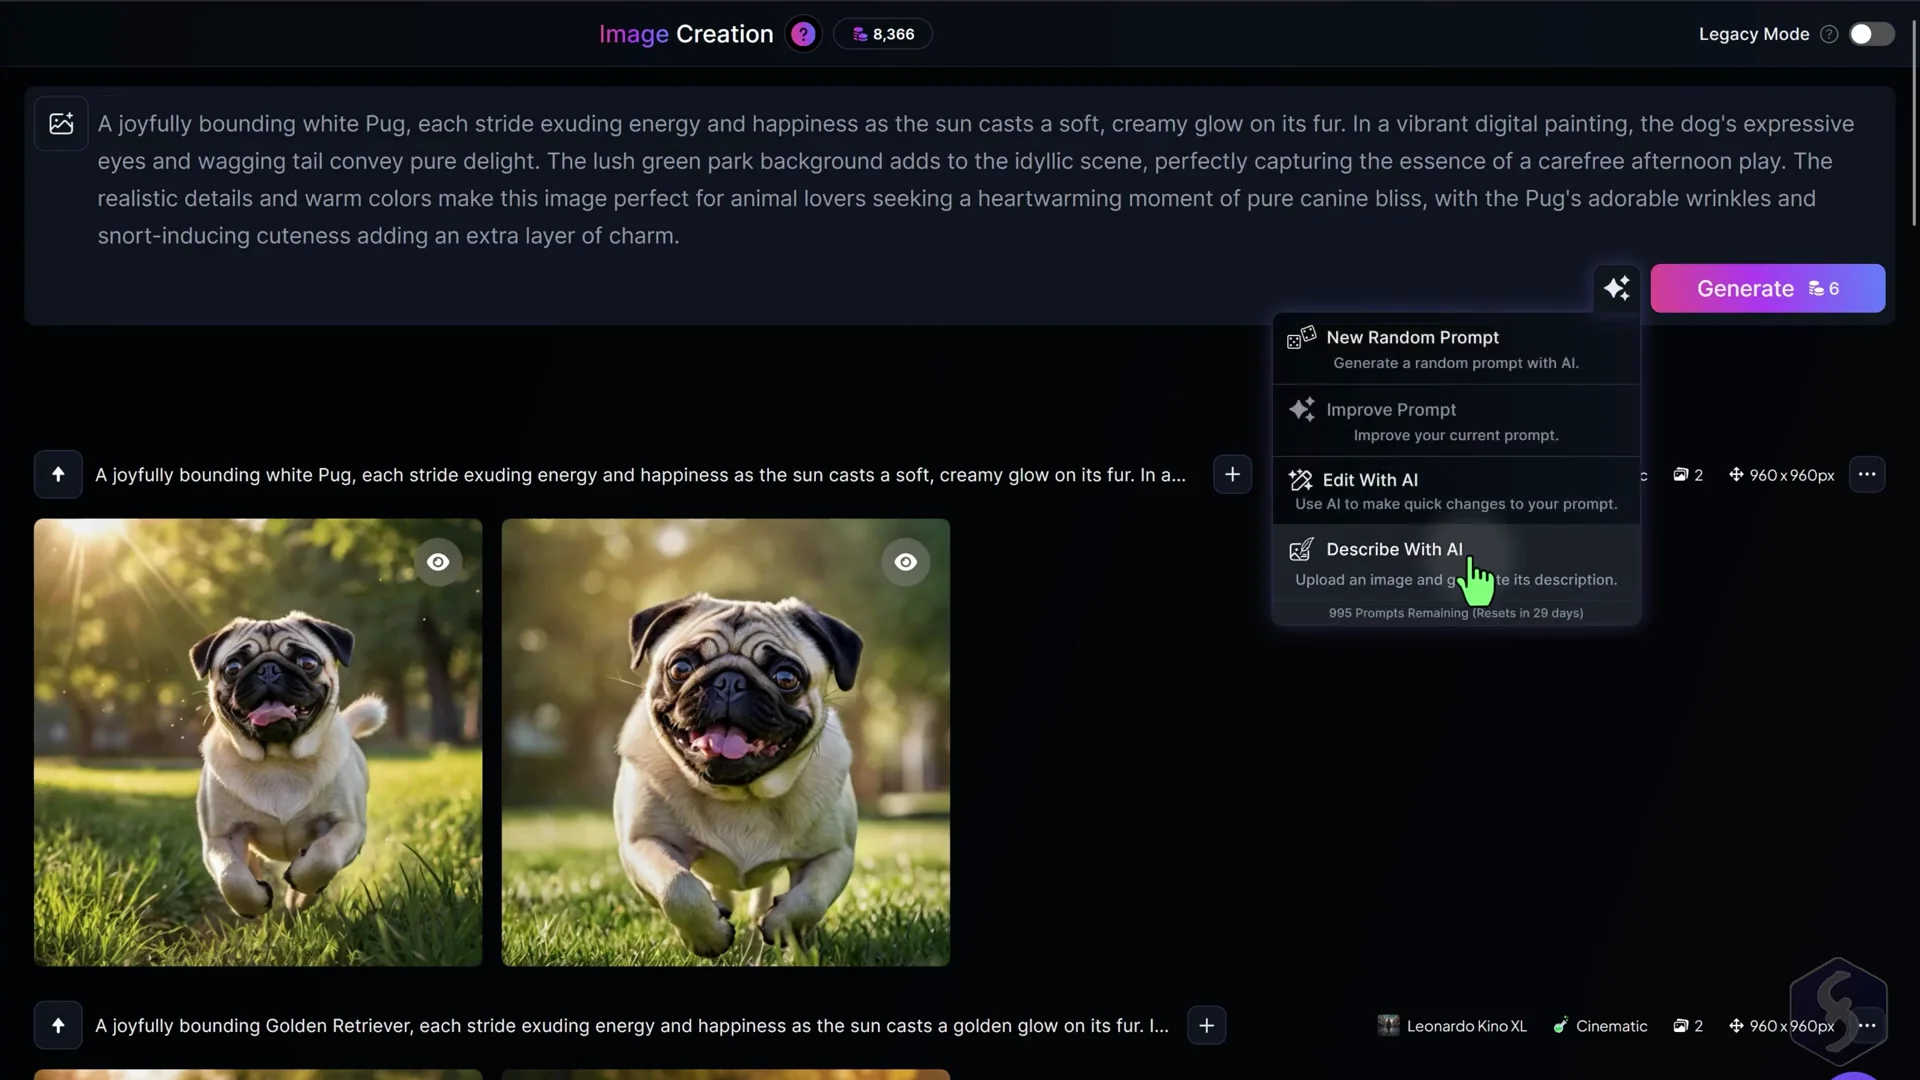
To generate an image, enter your text prompt at the top and hit Generate, checking the result at the bottom. Each generation consumes tokens, that you can check at the top. Free plans have 150 tokens per day with limited functions, but you can upgrade to a subscription plan for more tokens and features. All generated images are royalty-free and can be used commercially by everyone. If you want to keep your images private, enable Private Mode on paid plans.

Presets and Styles
Leonardo AI has loads of options for your generation on the left. Select the main AI Preset to fix the general appearance for your image between anime, cinematic, animation, graphics, or real-like images. You can also adjust the Preset Style as you want and the Contrast level for the image.
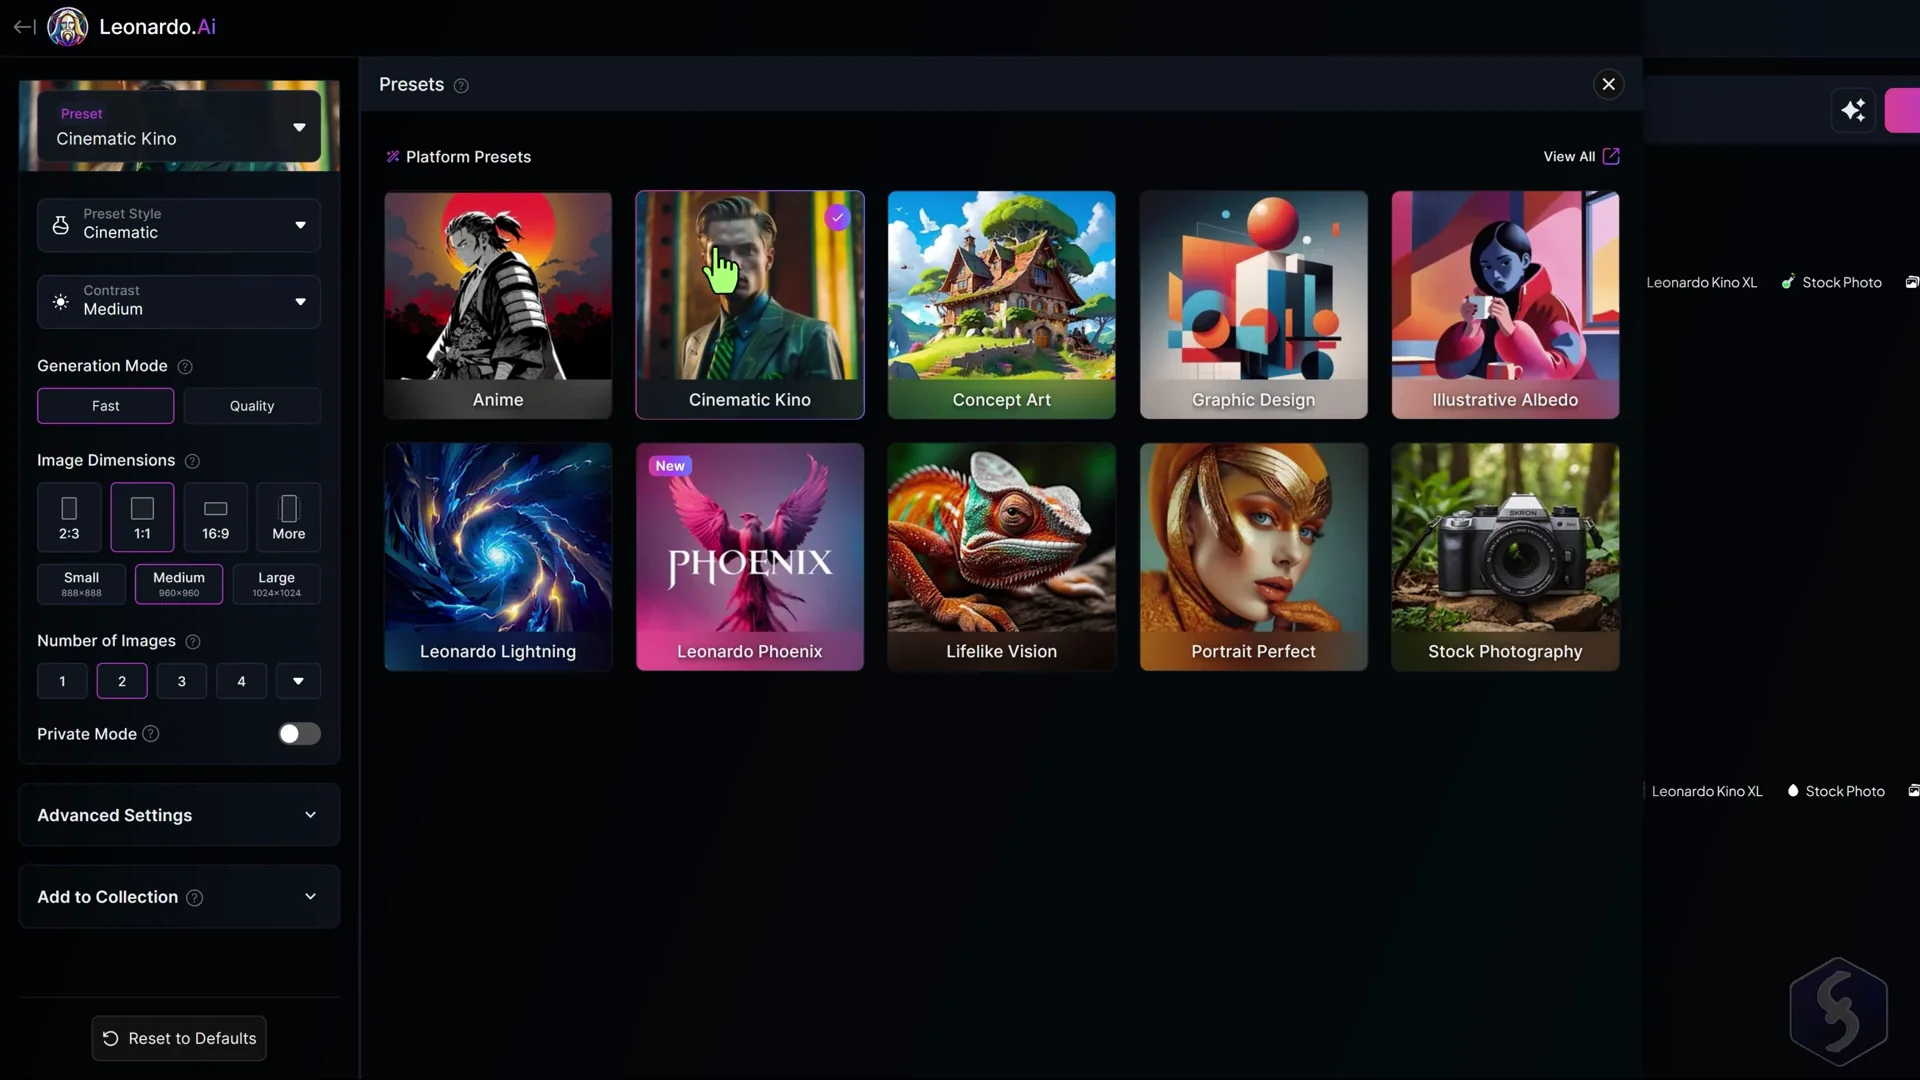
Generation Mode and Dimensions
On Generation Mode, select between fast results or higher-quality images with enriched details. On Image Dimensions, set the aspect ratio and size, with templates ready for social media platforms. You can also choose how many images to generate per prompt. Select 1 or 2 images to save tokens, if you own a paid plan.
Advanced Settings
Open Advanced Settings to select the basic AI model to use, enable the PhotoReal option to get real-like images on paid plans, or turn on Negative Prompt to specify what you do not want in your image generation. You can also enable Transparency to generate images with a transparent background or Tiling to generate patterns.
Leonardo AI Beginner Tutorial: Writing Effective Prompts
First of all, define the main subject, describe it properly and set the style and vibe you want. Specify also the kind of background, environment, camera view and other details if you need.
If you are stuck, you can click the right button to get inspired, such as generating a random prompt, improve yours with AI or even edit it with AI to apply specific changes. Switch to Describe with AI to upload an image and extract a prompt based on it, in order to generate another image with similar content and style.
Leonardo AI Beginner Tutorial: Elements and Image Guidance
For more advanced options, click the left button. Go to Elements to fine-tune the AI model and apply some filters, by adding one or more elements with proper weight on each. With Image Guidance you can upload an image to use as reference for your generation, provided that it matches your prompt content. Choose Image to Image to match the reference image in general or select another option to match its style, content, subject and much more. You can also adjust the Strength level to set how much the generation must adhere to the reference image.
Leonardo AI Beginner Tutorial: Managing Your Generations
All your generated images are listed at the bottom. Click on any image to preview it, download it in JPG format or perform actions such as removing its background or upscaling the image if you own a paid plan. You can also get inspired by the generations from the community on the main page, checking the prompts and AI models used or taking these as reference to generate other media.
Leonardo AI Beginner Tutorial: Realtime Tools
Realtime Generation
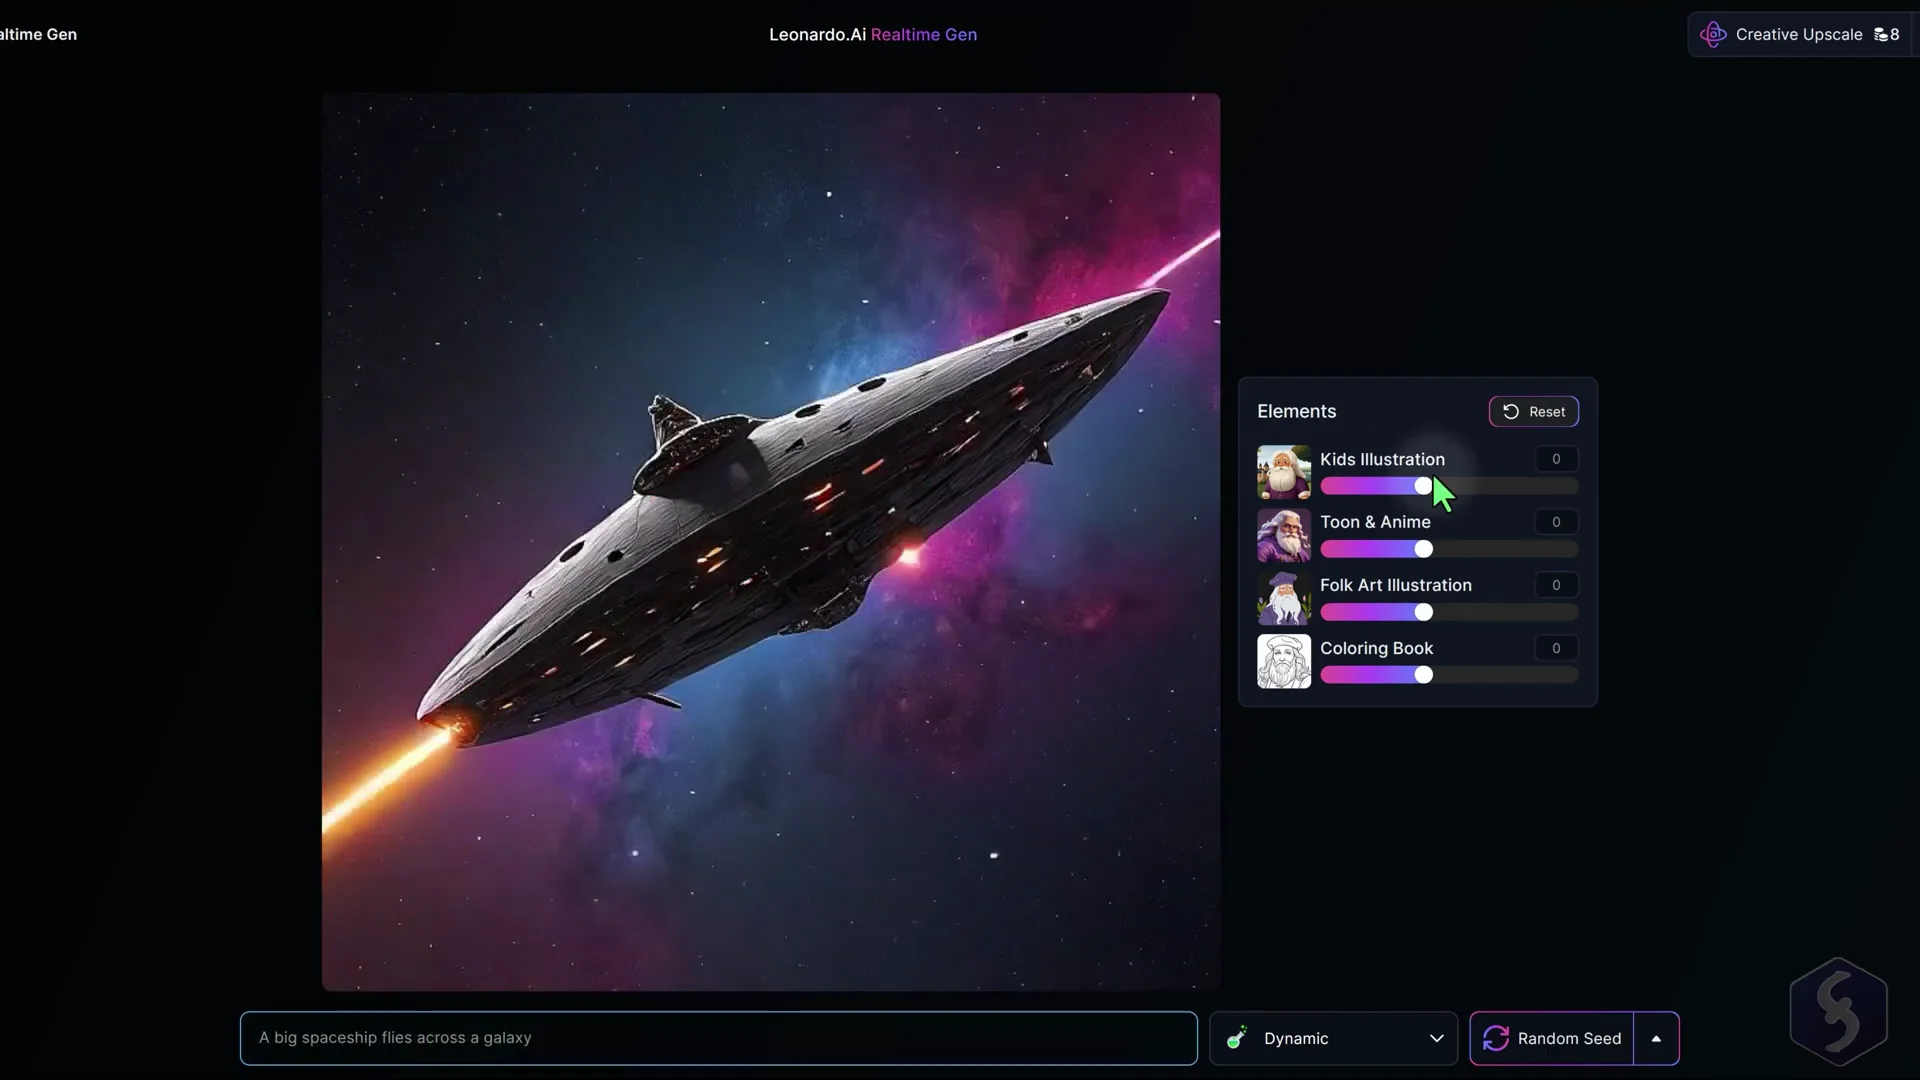
With Realtime Generation, you can create instant images while you type your prompt, adjusting four Elements on the right and the style at the bottom. This tool is simple and efficient, especially when you need images on the go.
Realtime Canvas
Switch to Realtime Canvas to generate and edit images from sketches with the creativity of AI. You can also regulate strength level and preset to use. On the extreme left, import and place any image to use as reference or switch to Generate to generate an image and start from there.
Draw Mode
In Draw Mode, you can draw sketches on the left canvas, that become images on the right, according to the sketches color, shape and prompt guidance at the bottom.
Inpaint Mode
Switch to Inpaint Mode to modify the image uploaded on the left through sketches and prompt at the bottom as seen for the Draw mode, with the difference that here, the original content, subject, style and background of the image are preserved.
Select and Output to Input
Enable the Select tool to click and select any image or sketch and move, resize or rotate these as you like and use the Backspace key to delete. If the output is good, you can click on Output to Input to save the result as input and continue working from there.
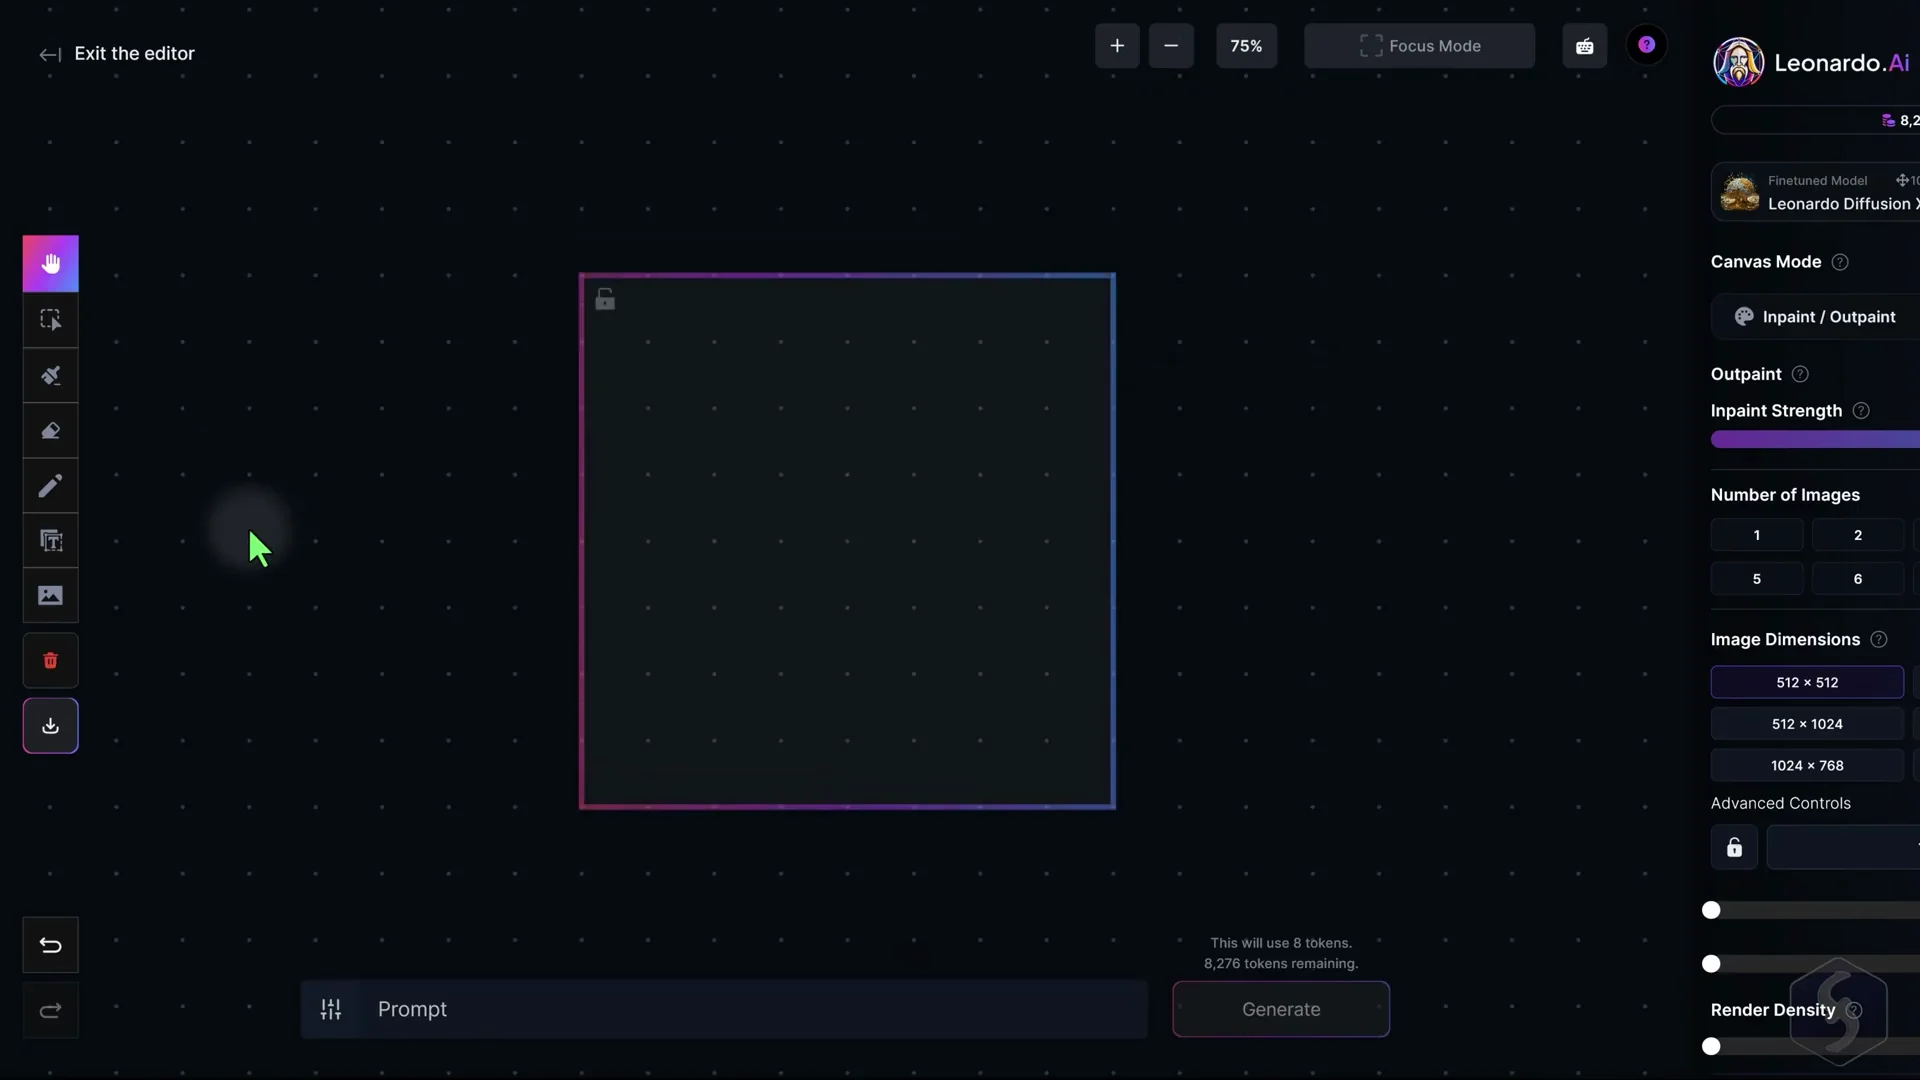
Leonardo AI Beginner Tutorial: Canvas Editor
Starting a Canvas
For more precise and manual modifications with the help of the AI, open the Canvas Editor from the left menu. The canvas is empty at first, so click on Upload Image on the left to browse for any image, from either your computer or your generation list. You can also drop multiple images on the canvas at the same time.
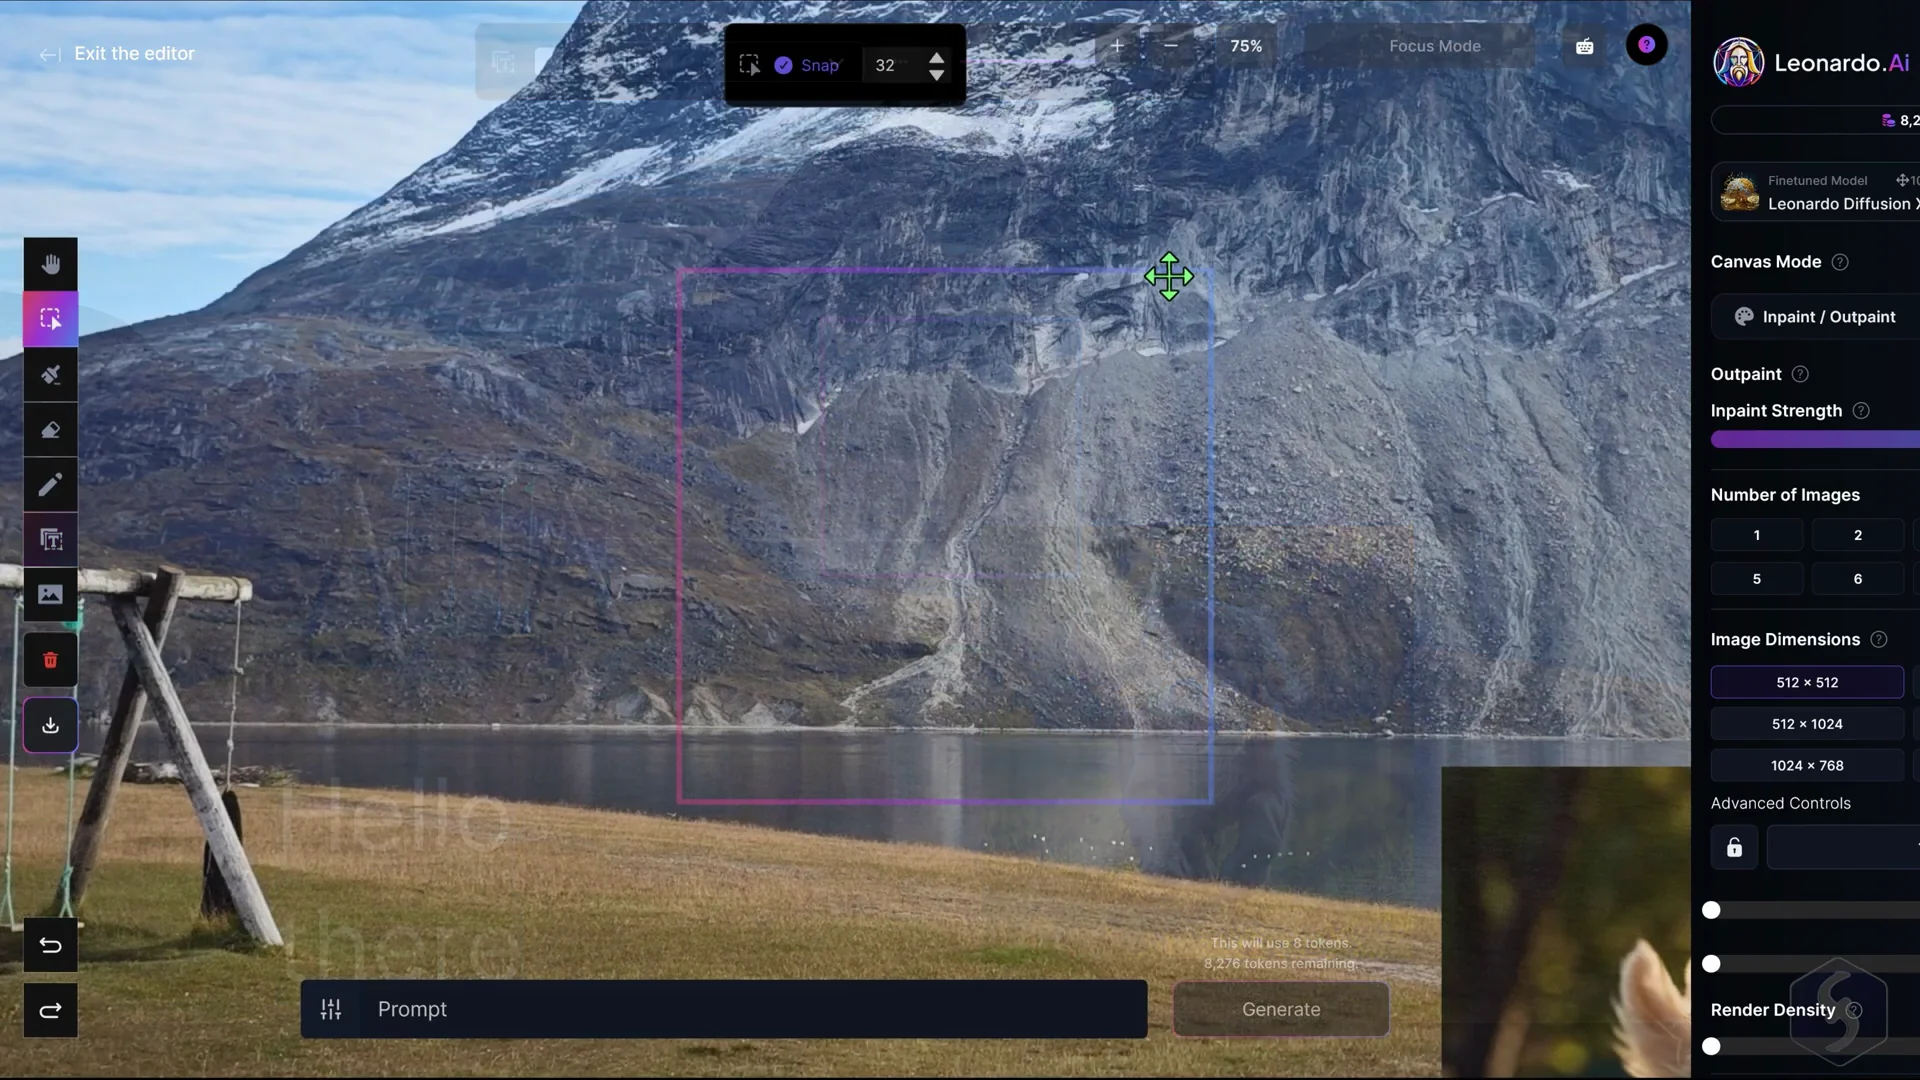
Navigation and Basic Tools
Hold CTRL (or CMD) and use your mouse wheel to zoom in or out and hold down the Spacebar key to pan around the canvas, making it easier to focus on different areas of the image. To interact with your images, enable the Select tool to select, move, scale and rotate any image and use the Backspace key to remove it. If you make a mistake, you can undo with CTRL (or CMD) and Z. On the left you can also enable the Sketch tool to brush on the canvas, or the Text tool to drop pieces of text.
Generation Frame and Mask
On the canvas, you have a colored box called generation frame, delimiting the region where the AI can analyze content and work. Move and place this frame with the Select tool and then enable the Draw Mask tool to specify where the AI must apply edits, leaving the rest intact.
Once done, define your prompt at the bottom and hit Generate, selecting between the different variations.
If the mask tool does not work well, switch to the Erase tool to remove unwanted regions and generate the modification again. The Draw Mask is very useful to preserve any specific subject while editing the background, or changing any detail such as hair style and color.
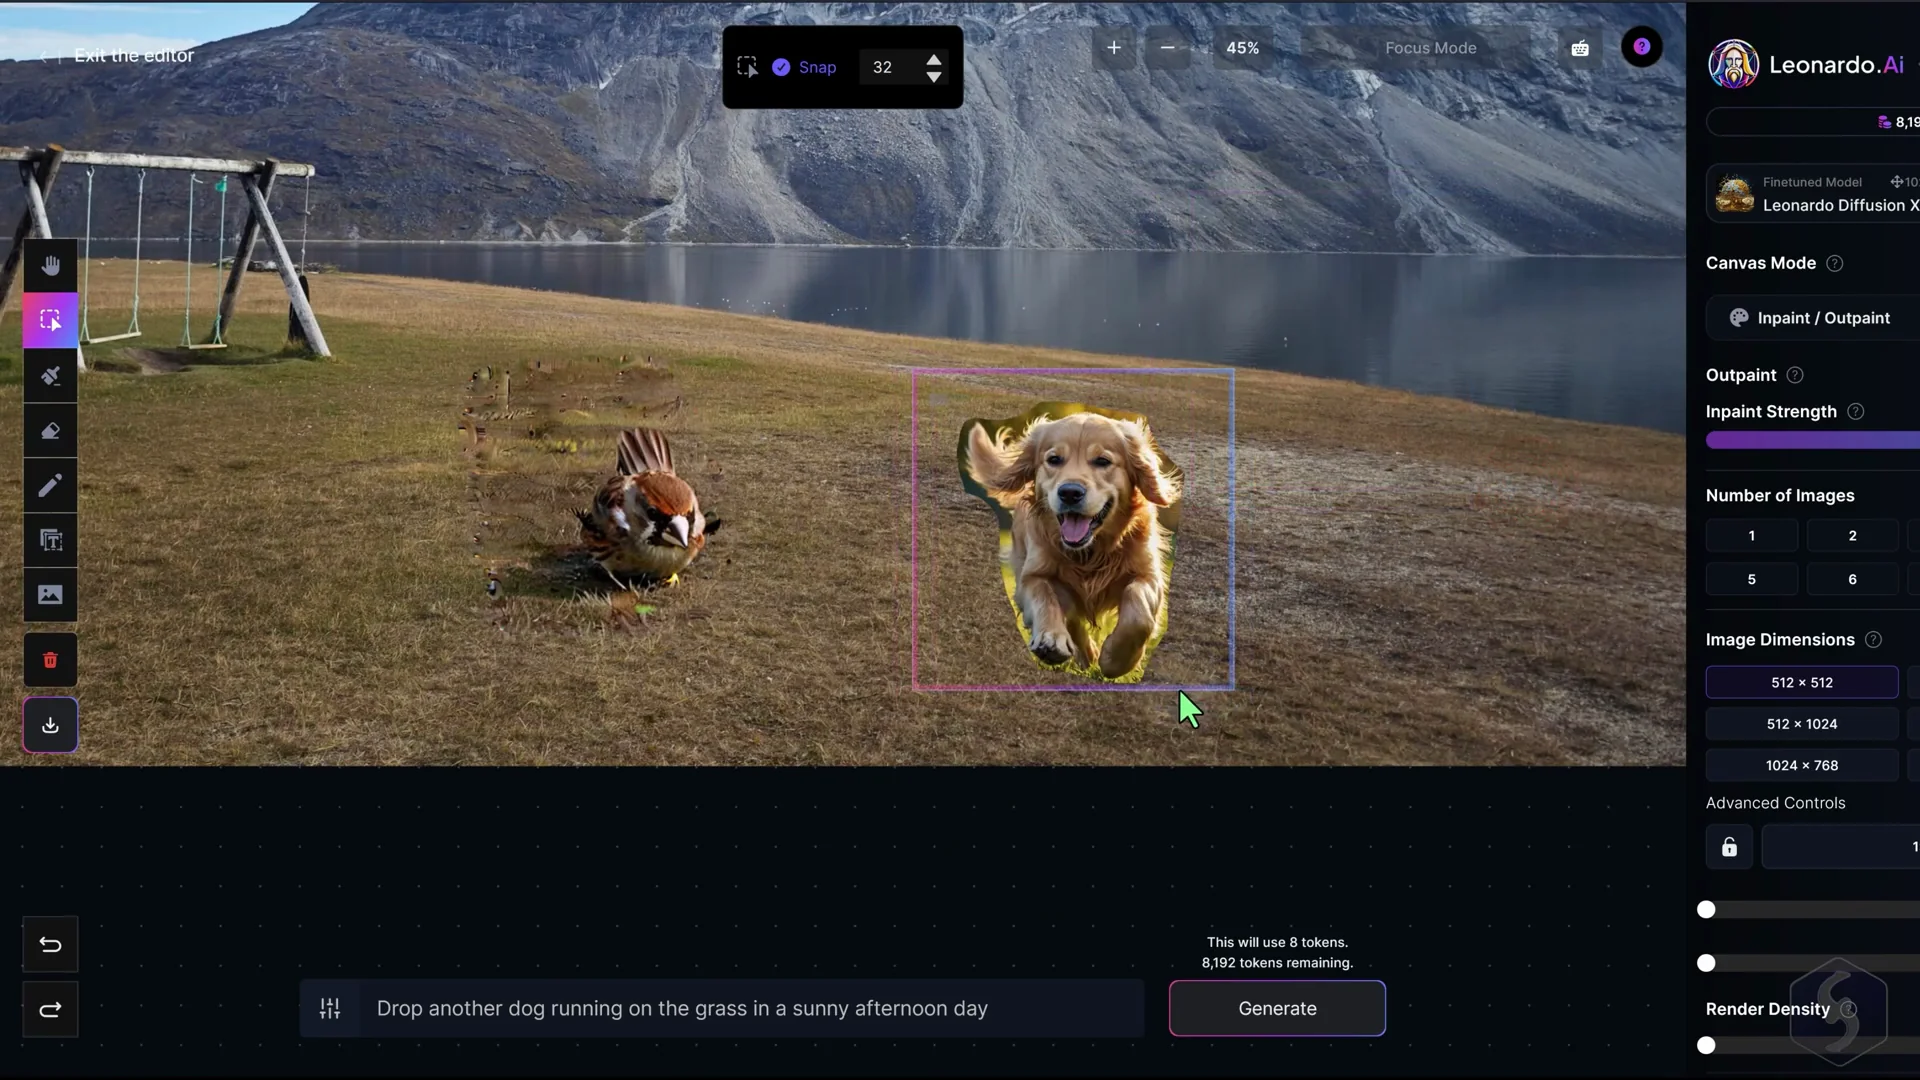
Extending and Merging
The Canvas Editor is also useful to extend the image, generating what you like by placing the frame outside the image. It can be also used to merge two images, by extracting the subject with the Erase tool and moving it onto a second image within the generation frame. Then, just drop the mask where the two images shall merge and describe the result with a prompt guidance at the bottom. Every generation results in a new independent image with the same size of the generation frame. These can be freely moved, edited, or deleted, as well as the masks dropped on the canvas.
Settings and Modes
On the right side of the canvas, you can set the AI model to use, the number of image variations, and the size and aspect ratio for your generations. You can also change the Canvas Modes. Here we have seen the Inpaint-Outpaint mode, but you can change the way to apply corrections by selecting other modes.
Downloading Artwork
Once you're satisfied with the result, save the image by going to Download Artwork on the left, obtaining a PNG format with the entire content of the canvas and any transparent area if present.
Leonardo AI Beginner Tutorial: Motion From Images
If you own a paid plan, you can also open Motion to generate a 4-seconds video from a static image. Browse for an image, set the amount of motion you want, and hit Generate. The result will appear in your Personal Feed and can be downloaded in mp4 format. The motion effect is usually a pan and zoom effect since, at the moment, there isn't any option to control the result with a prompt.
Final Thoughts
Leonardo AI offers text-to-image generation, prompt helpers, Elements and Image Guidance, realtime tools, and a powerful Canvas Editor for precise edits, extensions and merges. Manage tokens, presets and advanced settings to control quality and style, and make use of private mode on paid plans if needed. Motion adds simple pan and zoom animations to static images for quick video output.
Recent Posts

How to use Grok 2.0 Image Generator?
Learn how to access Grok 2.0’s AI image generator (Premium required), write better prompts, and avoid pitfalls like real people and brands. Step-by-step tips.
How to use Instagram AI Image Generator?
Use Meta AI in Instagram DMs to turn text into images—and even animate them. It’s free, fast, and built in. No external apps needed; create art right in chat.
ChatGPT vs Flux Kontext 2026: Which is better for you?
Full comparison of AI image generation for architects and interior designers—materiality, lighting, and design intent. We pit ChatGPT against Flux Kontext’s May 2025 update to see which delivers better results in real workflows.