Seedream 4 Edit vs Nano Banana Edit: Which AI Editor Wins?
While everyone's busy clicking their way through Nano Banana with clever and creative ideas, ByteDance has launched a similar AI image editor that, according to the announcement, is supposed to be even better than Nano Banana itself. At the same time, a small banner appeared on the homepage of the platform I prefer: new seedream 4.0 edit best model for image editing. The word best gets thrown around so casually that I wanted to take a closer look as a regular Nano Banana user at what Seedream 4 actually has to offer.
I ran a side-by-side comparison between Google's 2.5 Flash Image model, aka Nano Banana, and Seedream 4 Edit from ByteDance. The focus here isn't on their full range of features, but rather on a selection of simple and complex editing tasks. Both platforms delivered results I honestly didn't think were possible. I’ll wrap it up at the end with my final thoughts on both.
| Category | Nano Banana (Google Gemini 2.5 Flash Image) | Seedream 4 Edit (ByteDance) |
|---|---|---|
| Overall style tendency | Balanced color and contrast, natural roll-off | High contrast, strong saturation, frequent blue tint |
| Prompt behavior | Short prompts often work, but some angles need specific phrasing | More flexible with camera language and angle interpretation |
| Camera language | Struggled with low angle unless phrased as camera POV shot | Interprets camera terms like high angle, low angle, drone shot reliably |
| Character cutouts and recognition | Solid cutouts and identification | Solid cutouts, tends to push contrast and punch |
| Character consistency over multiple edits | Drifts after several edits without re-adding references | Drifts after several edits without re-adding references |
| Compositing and relighting | Excellent light and color matching with detailed prompts | Good results, but contrast and color push can look heavy |
| Outpainting and scene extension | Needs clear, longer prompts to avoid wrong camera moves | Needs clear, longer prompts; often more contrasty output |
| Background replacement | Strong results with both short and long prompts | Strong results, but can skew color and contrast |
| Perspective control | High angle, POV are strong; low angle needed POV phrasing trick | Broadly responsive to camera angle prompts |
| Props and selfies | Follows prompts; natural pose replication | Follows prompts; adds dynamic posing flair |
| Restoration and colorization | Strong at restoring and colorizing old photos | Keeps up well |
| Scene reconstruction and geometry | Better grasp of spatial structure and geometry | Contrast-heavy rendering can feel out of place |
| Max resolution and export sizes | Maxes out at 1,344 x 768 pixels | Custom export up to 3,840 x 2,160 pixels |
| Speed | Noticeably faster in tests | Slower generation in tests |
| Pricing in tests | Each image currently costs 3.9 | Current price per image 3 cents |
| Access used for tests | LM Arena free tier and Fal.ai paid | LM Arena free tier and Fal.ai paid |
| Stability issues observed | Generally stable | Non-high-res version on LM Arena threw errors |
Seedream 4 Edit vs. Nano Banana: Detailed Comparison
Prompts, guidelines, and rhythm
What does a perfect prompt look like for Nano Banana or Seedream 4 Edit? Can you use the exact same wording for both platforms or do they follow different rhythms? Does it work with a short prompt or do you need detailed descriptions?
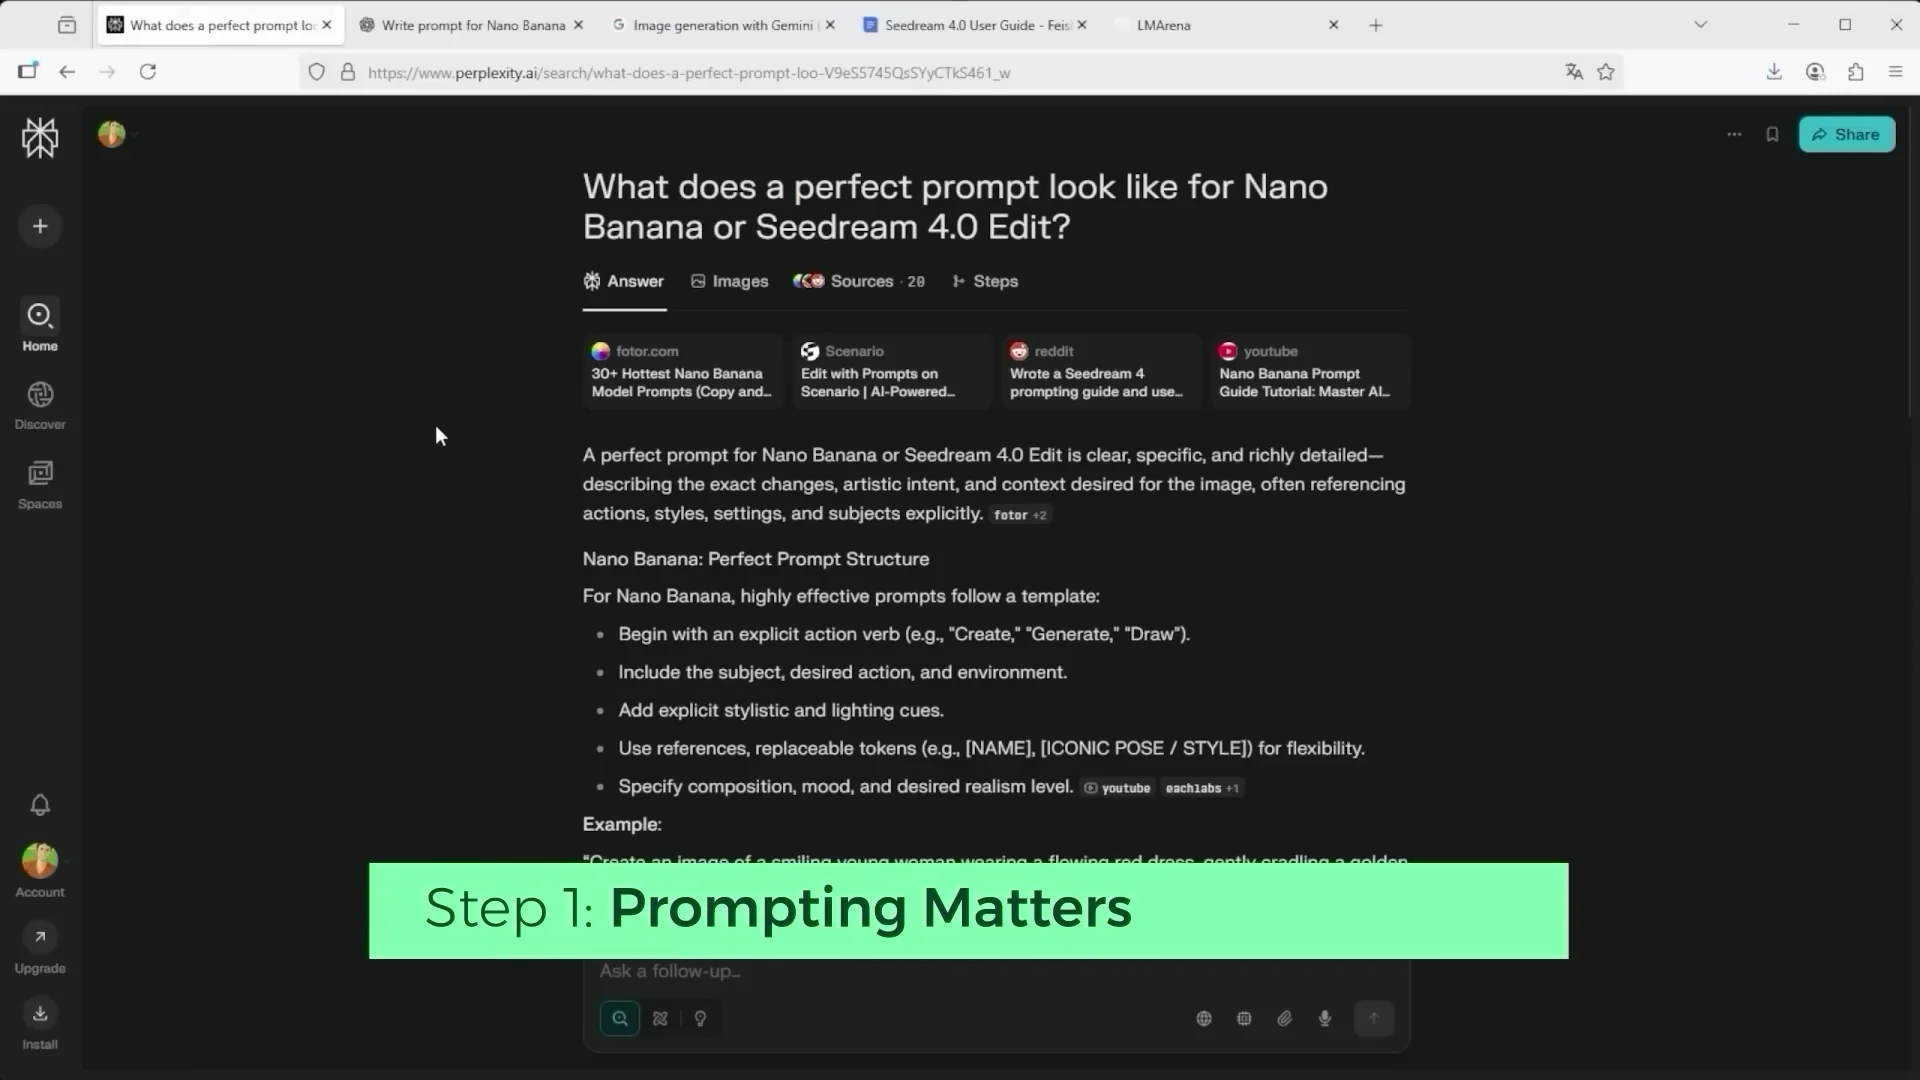
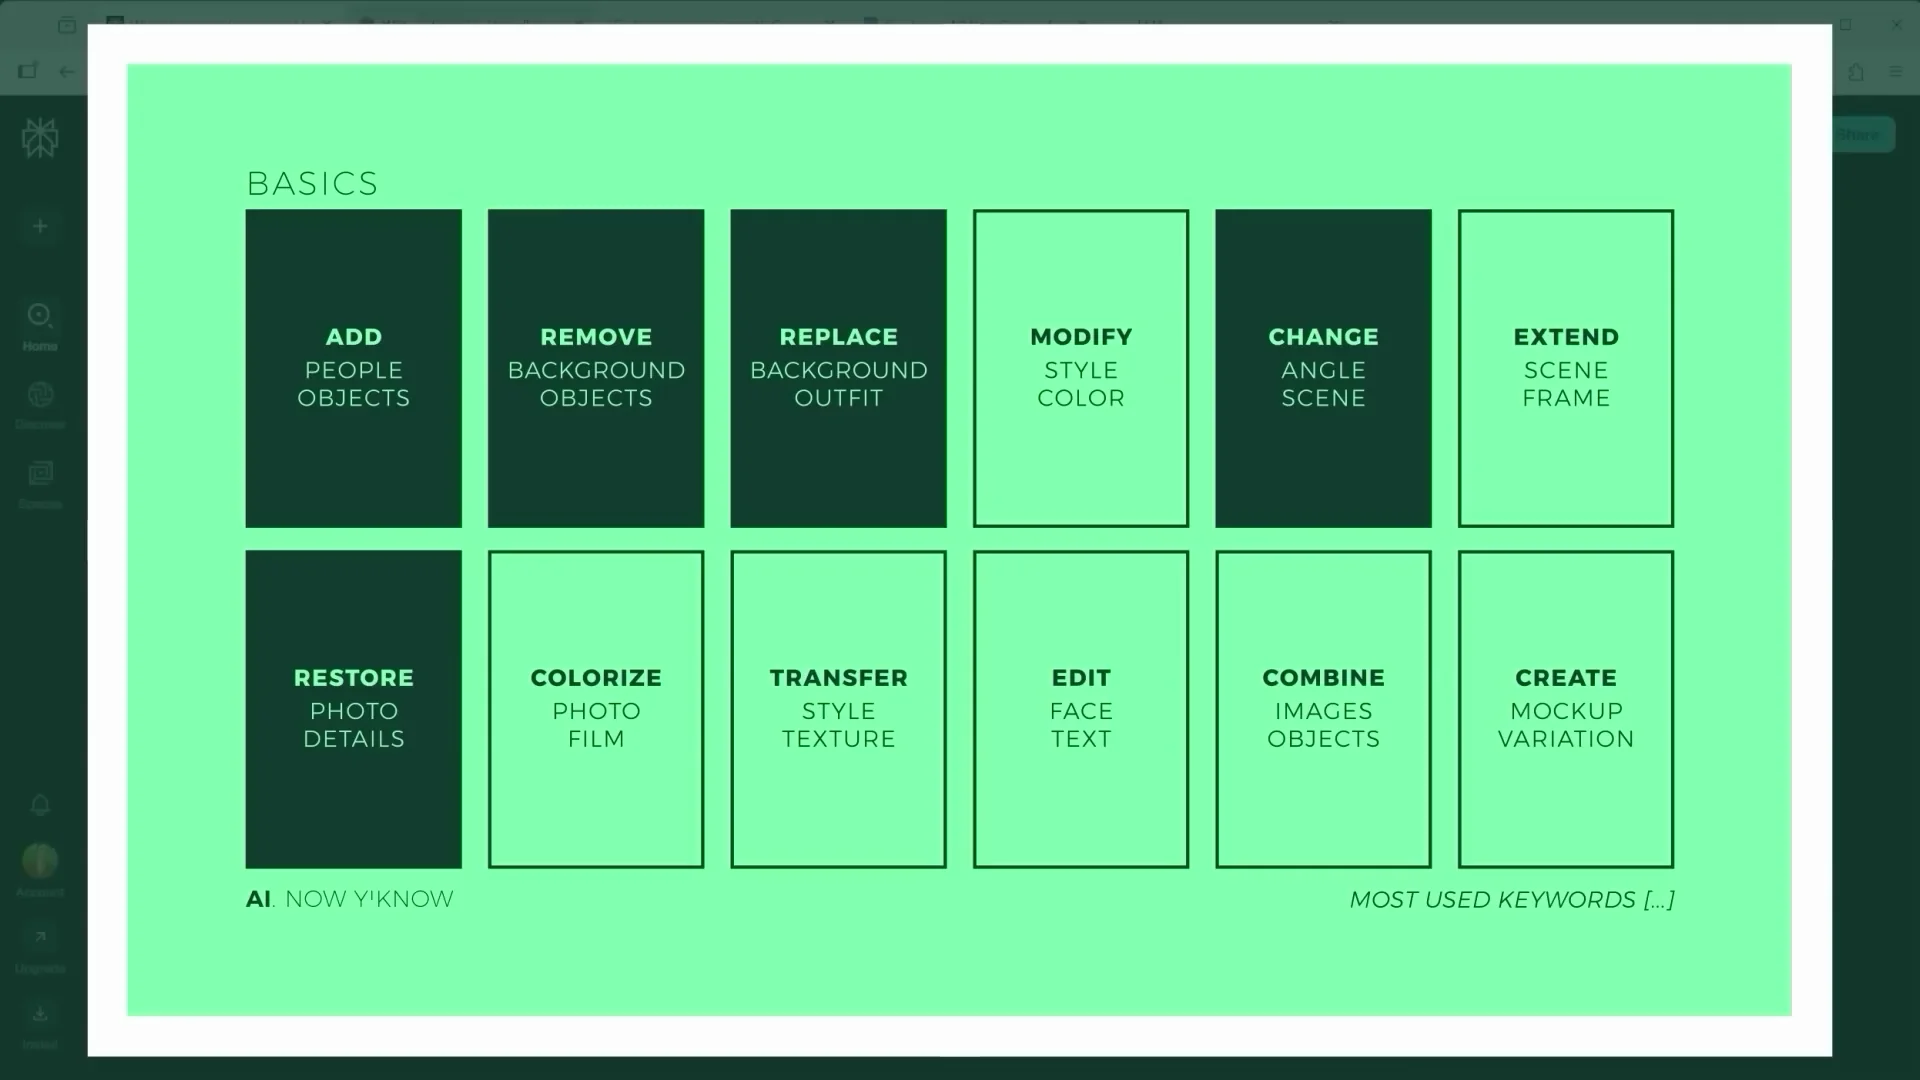
I went through the official guidelines and pulled out the most important keywords used for editing. With these core commands, you can handle most tasks inside the editor. One tip: if you want a really precise prompt, ask ChatGPT, Claude, or something similar. Describe your scene and say, "Follow the official platform guidelines. Write me a matching prompt." Both Nano Banana and Seedream 4 Edit have published prompt rules.
A tough starting point: distorted fisheye selfie (Scene 1)
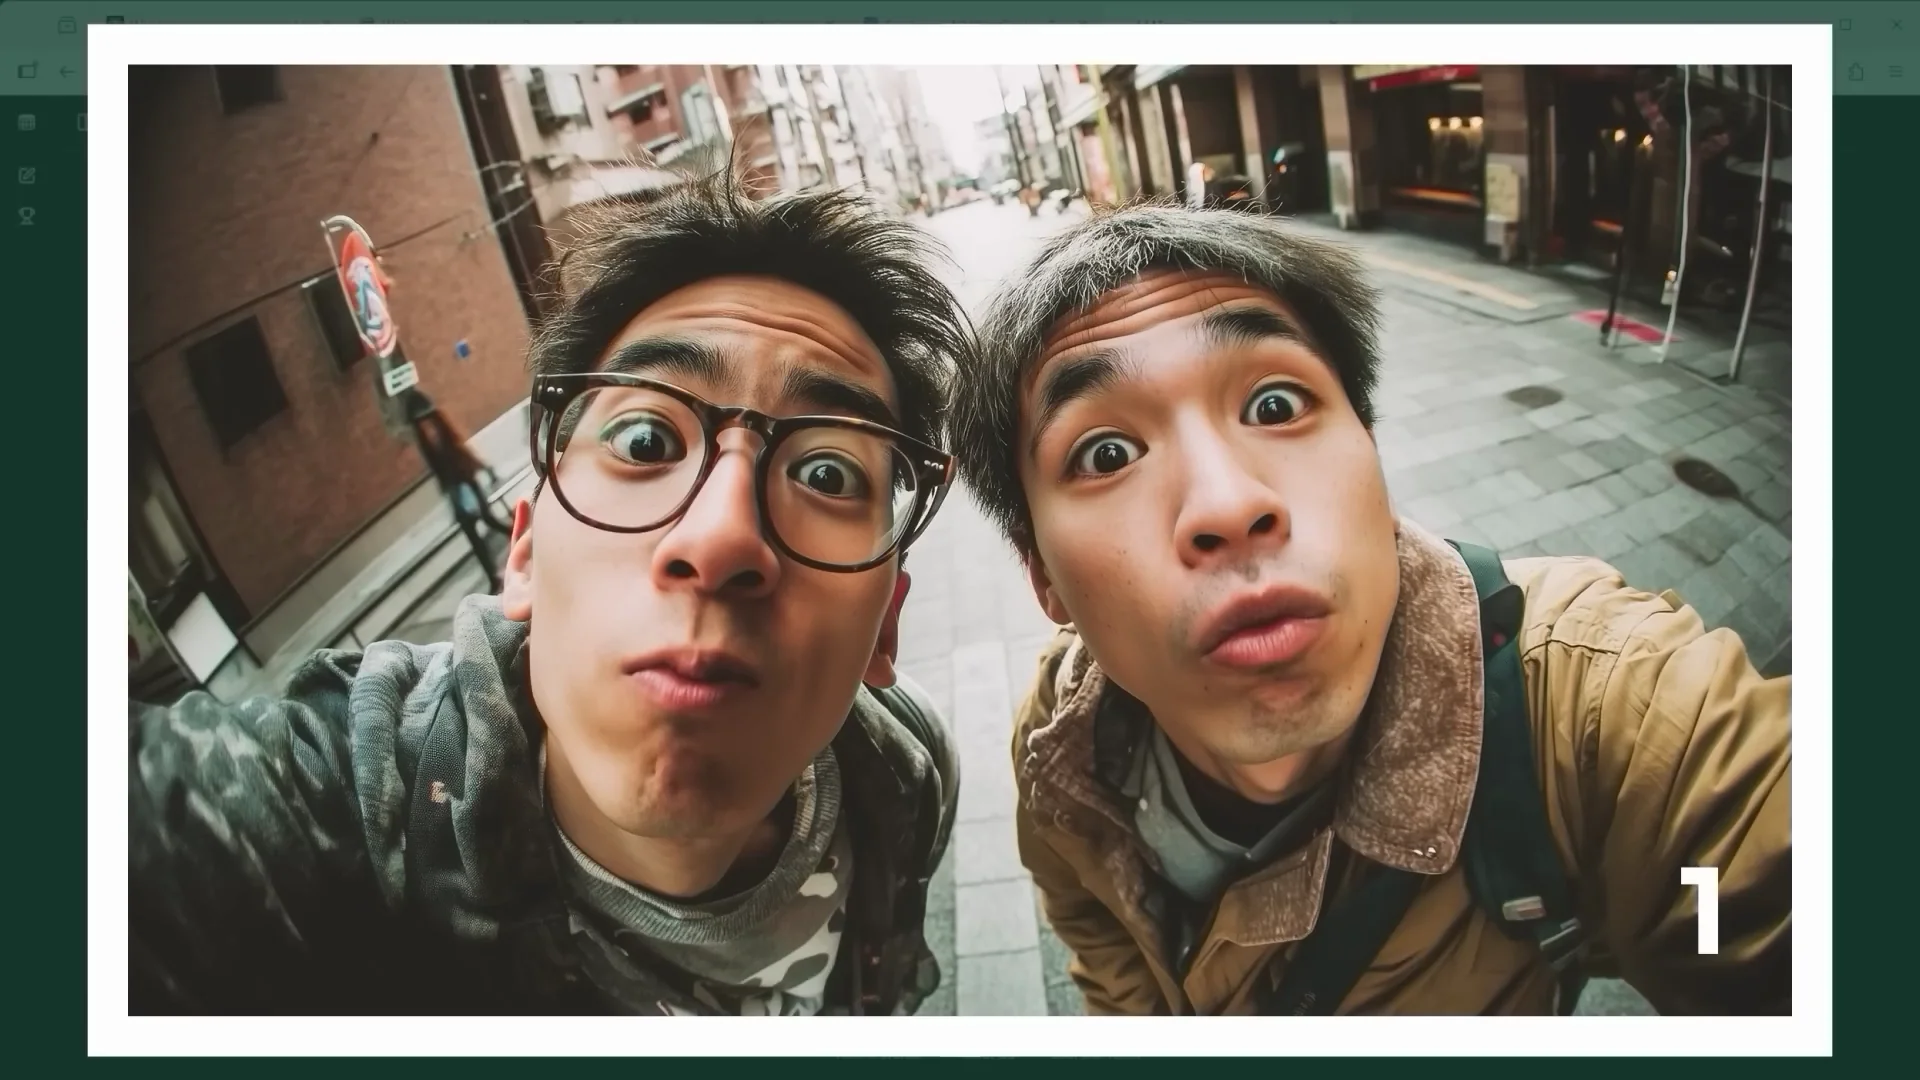
I wanted to start with a real challenge, something that looks nearly impossible to solve. This image created in Midjourney shows two people captured in a fisheye style selfie. The faces are heavily distorted and you only see the upper bodies. To make things worse, both people are male and roughly the same age.

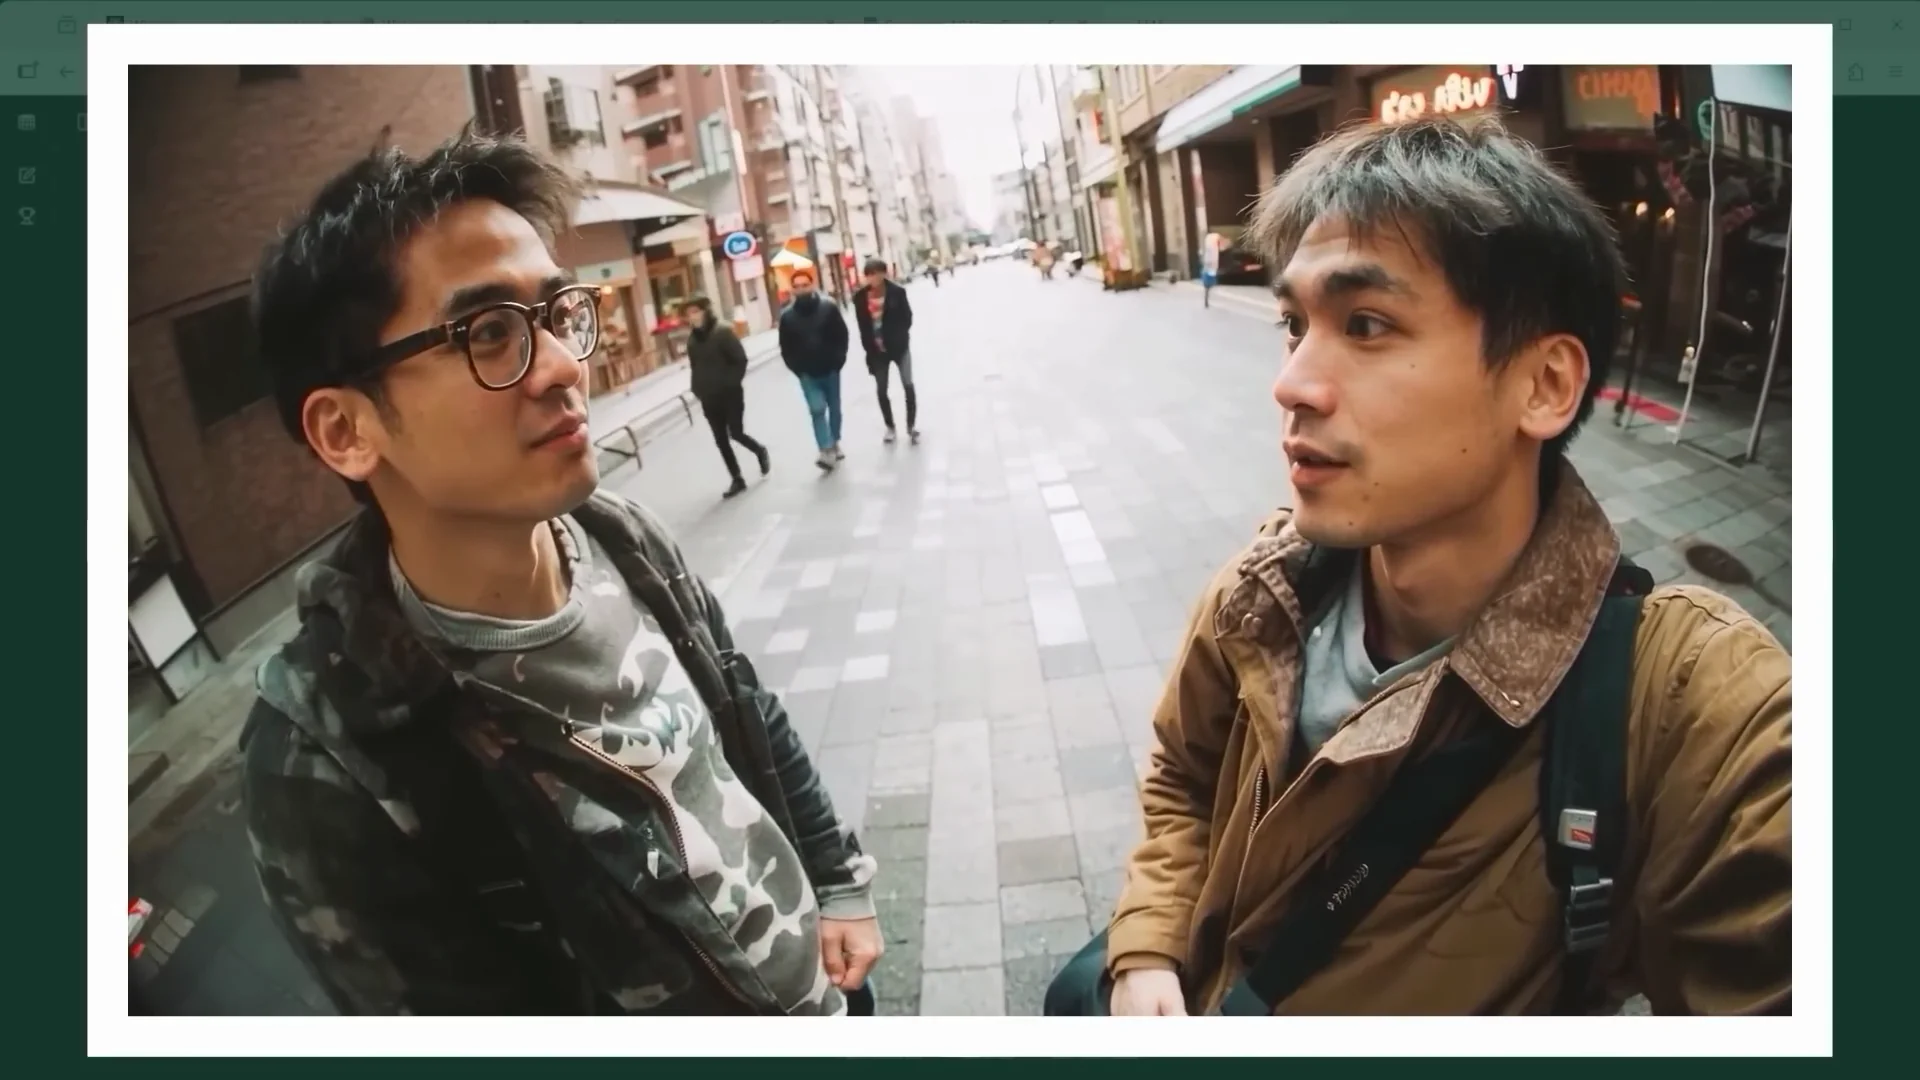
If you want to use characters across multiple scenes, it really helps to isolate them first and create source images from different angles. That way, the AI gets a consistent visual structure to work from because it knows exactly what the figure looks like from several perspectives.
Character Isolation and Multi-View Builds
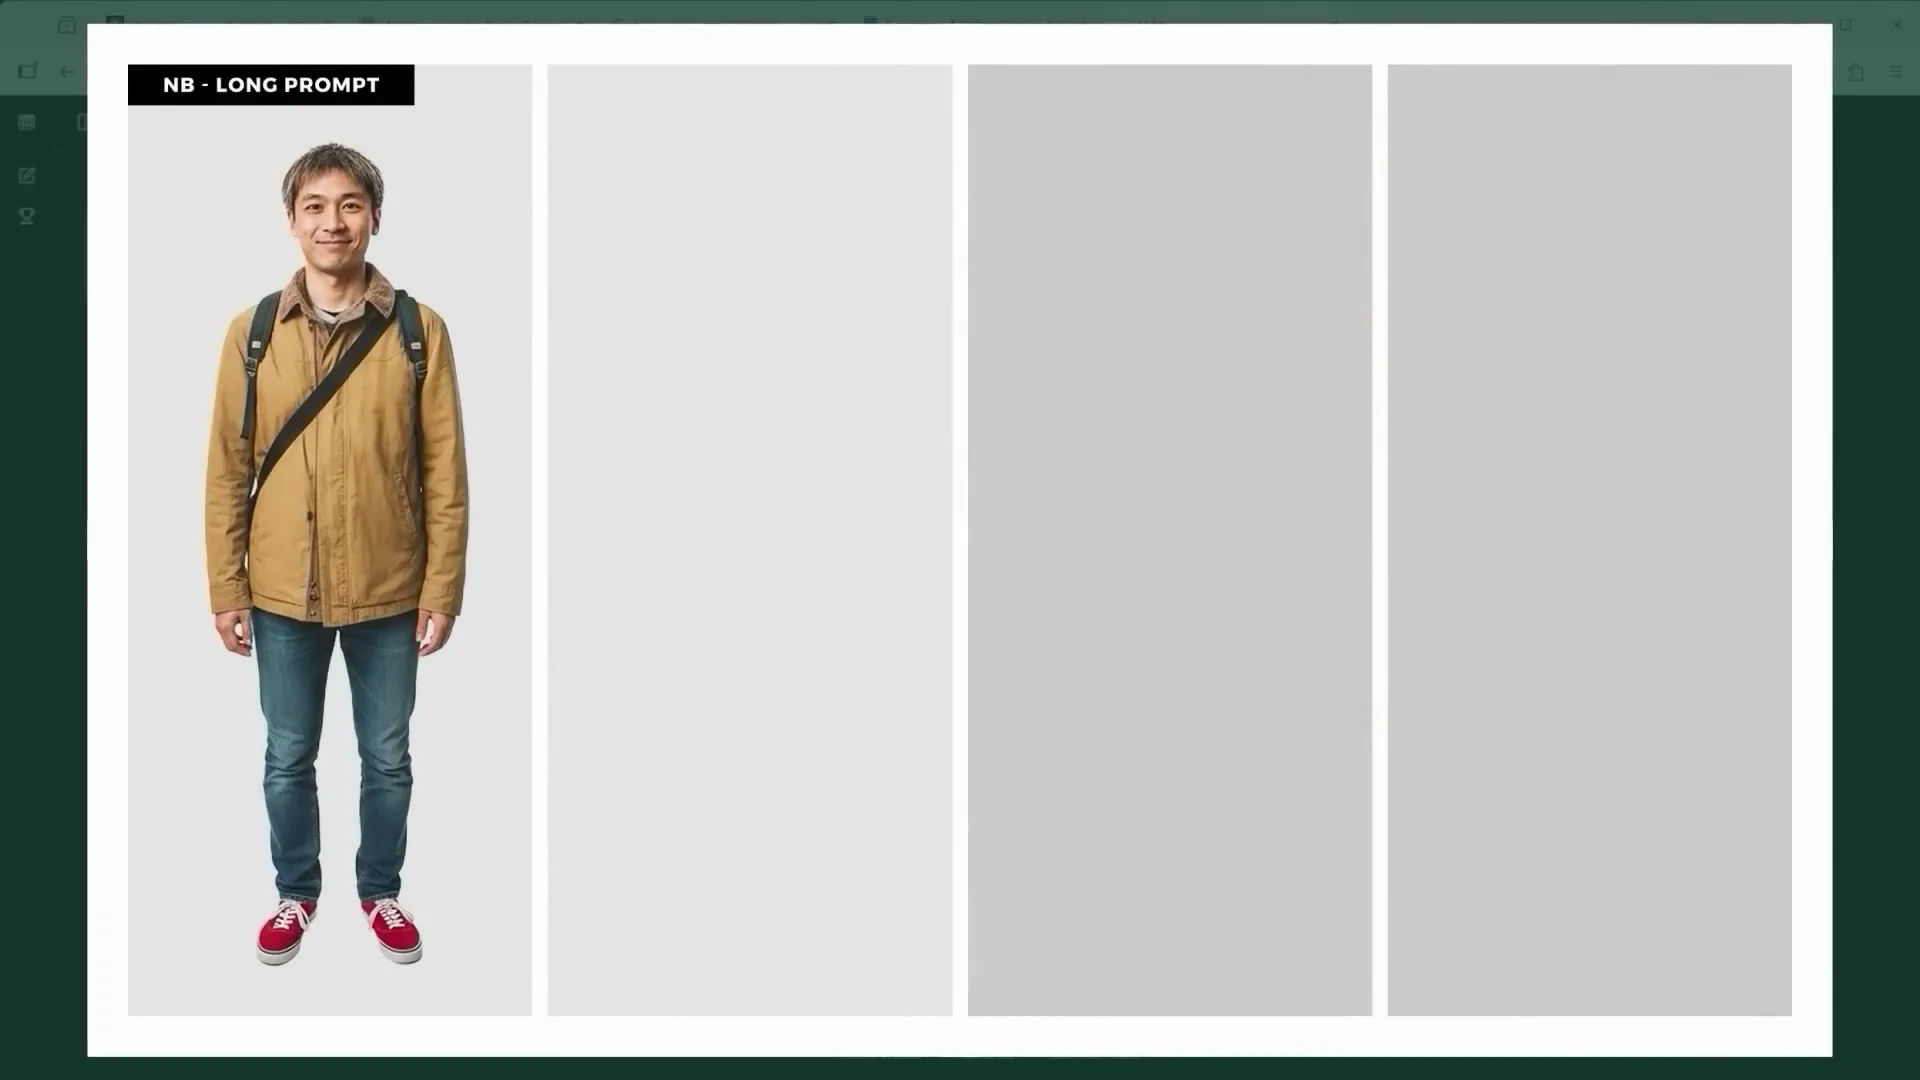
Clean cutouts and full-body generation (Scenes 2 to 4)
This one’s all about character recognition and clean cutouts. The core prompt was something like, "Remove the background and show me the full body of the person in the brown jacket standing in a neutral pose." I gave Seedream 4 Edit the same task with a long prompt and a short one. Now there’s a front view of the character. I then used the final image and asked for a full body side view, and finally a rear view for an over-the-shoulder perspective. As long as the AI can clearly follow the details, you don't always need to overengineer your text.
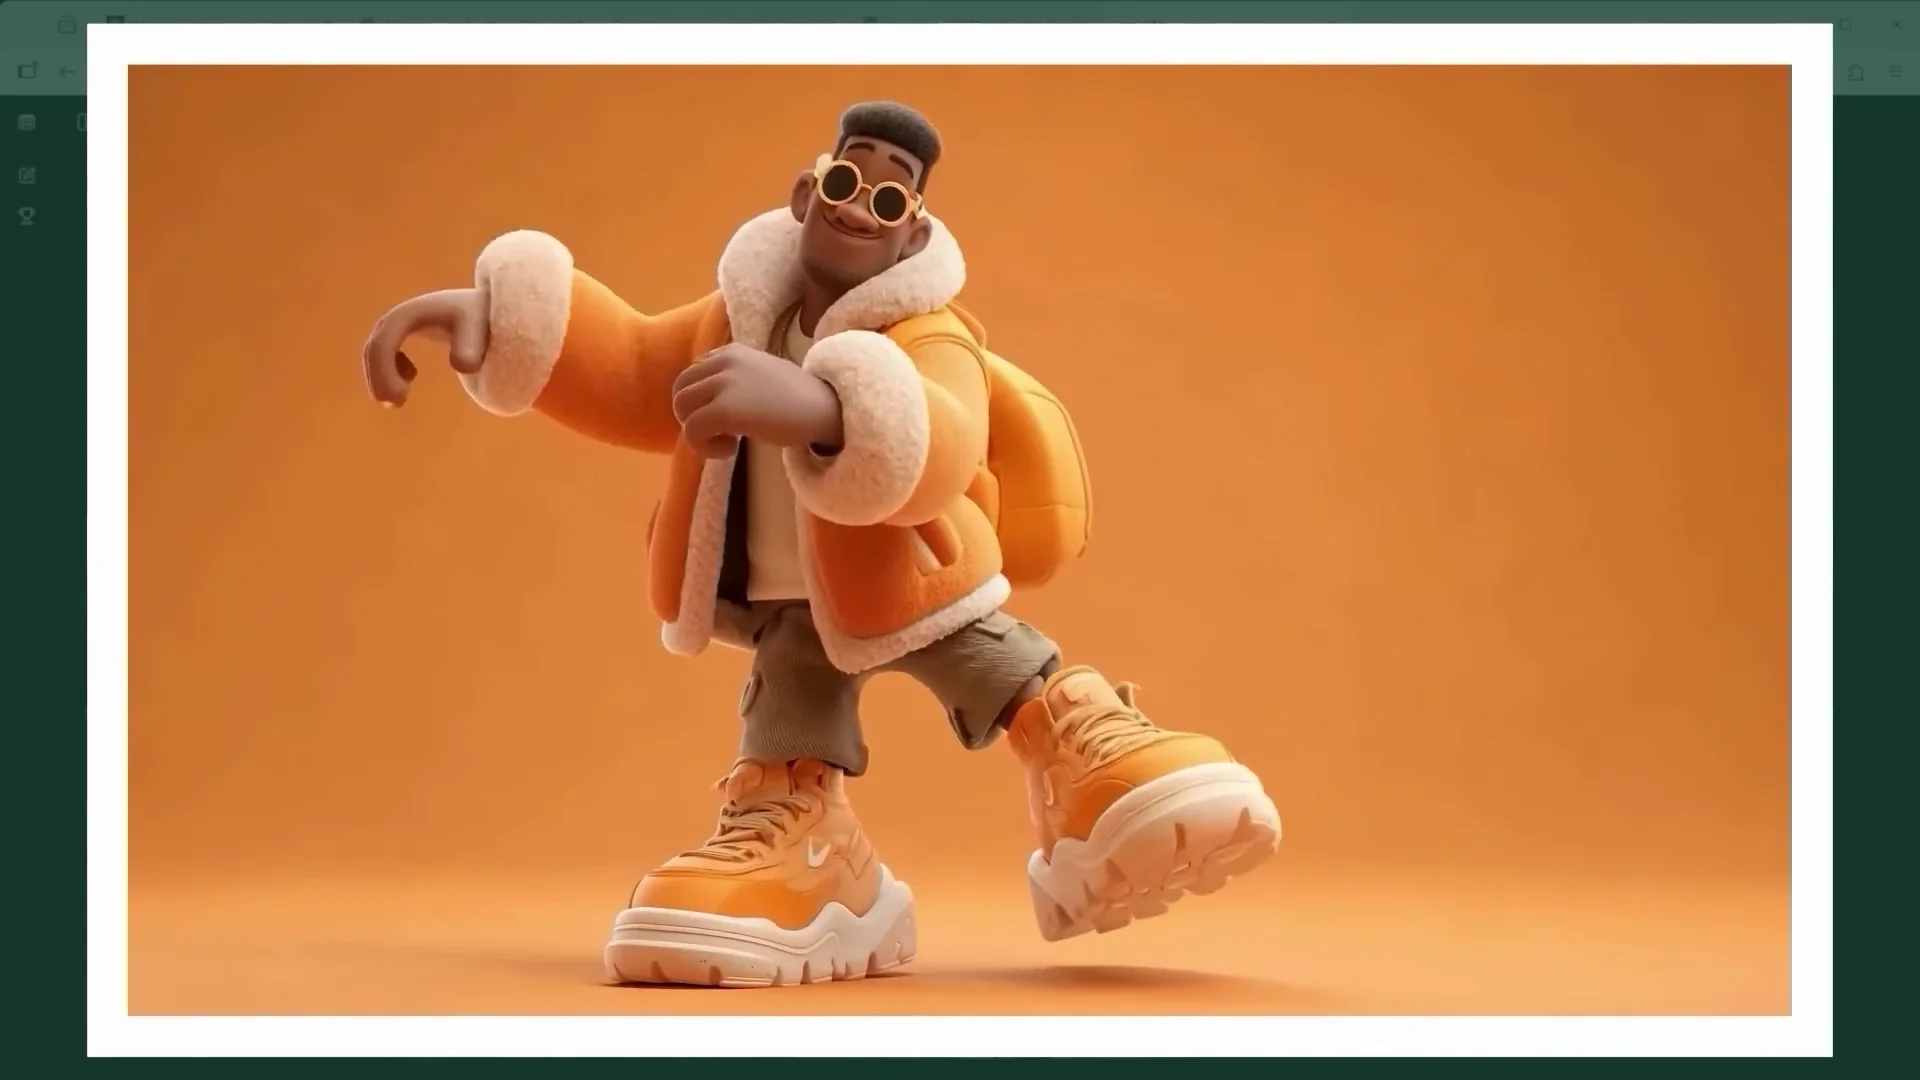
Adding a second character and style note (Scenes 5 and 6)
Another Midjourney image. I needed a clean cutout for the next steps in the campaign. The isolated cartoon-style figure worked well in both editors. Already here, you’ll notice something that becomes even more obvious later on. In Seedream 4 Edit, the results are high in contrast and really saturated.
Setting Extensions and Scene Construction
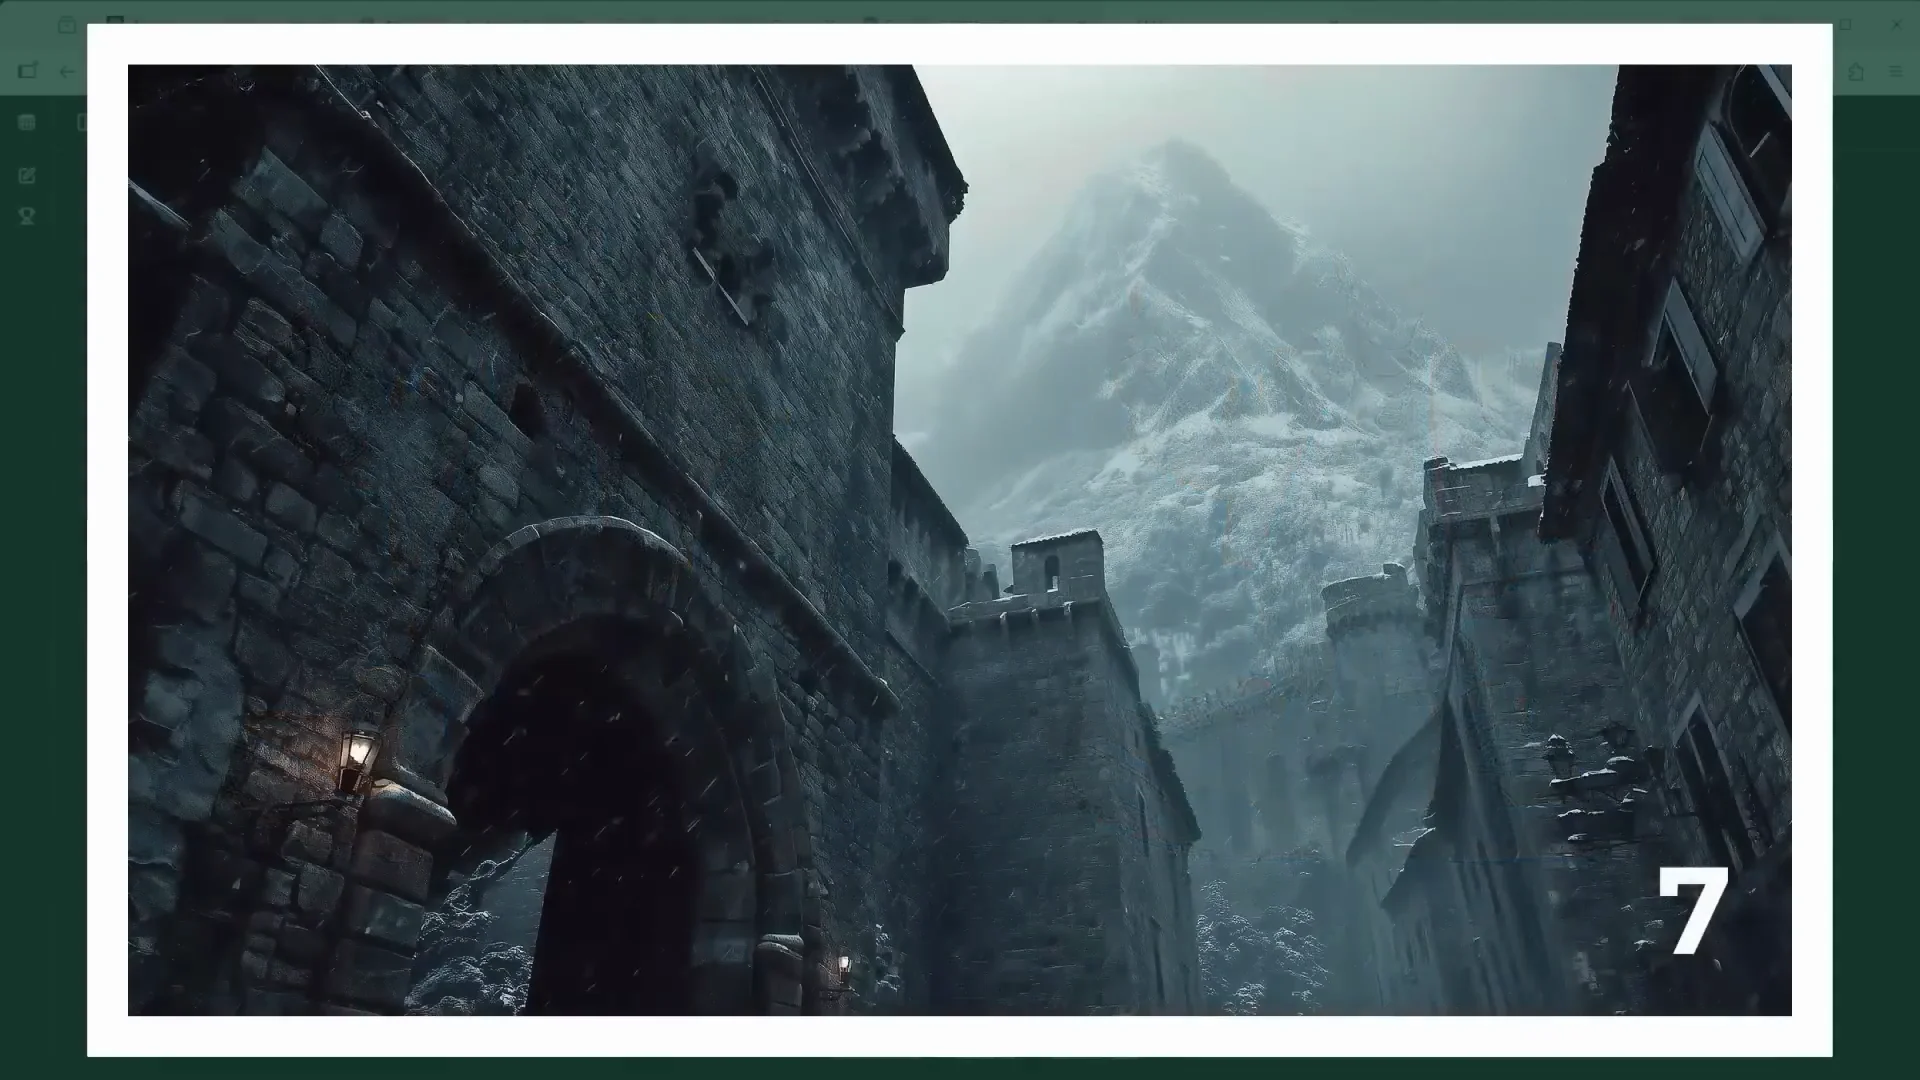
Extending the visible image area (Scenes 7 and 8)
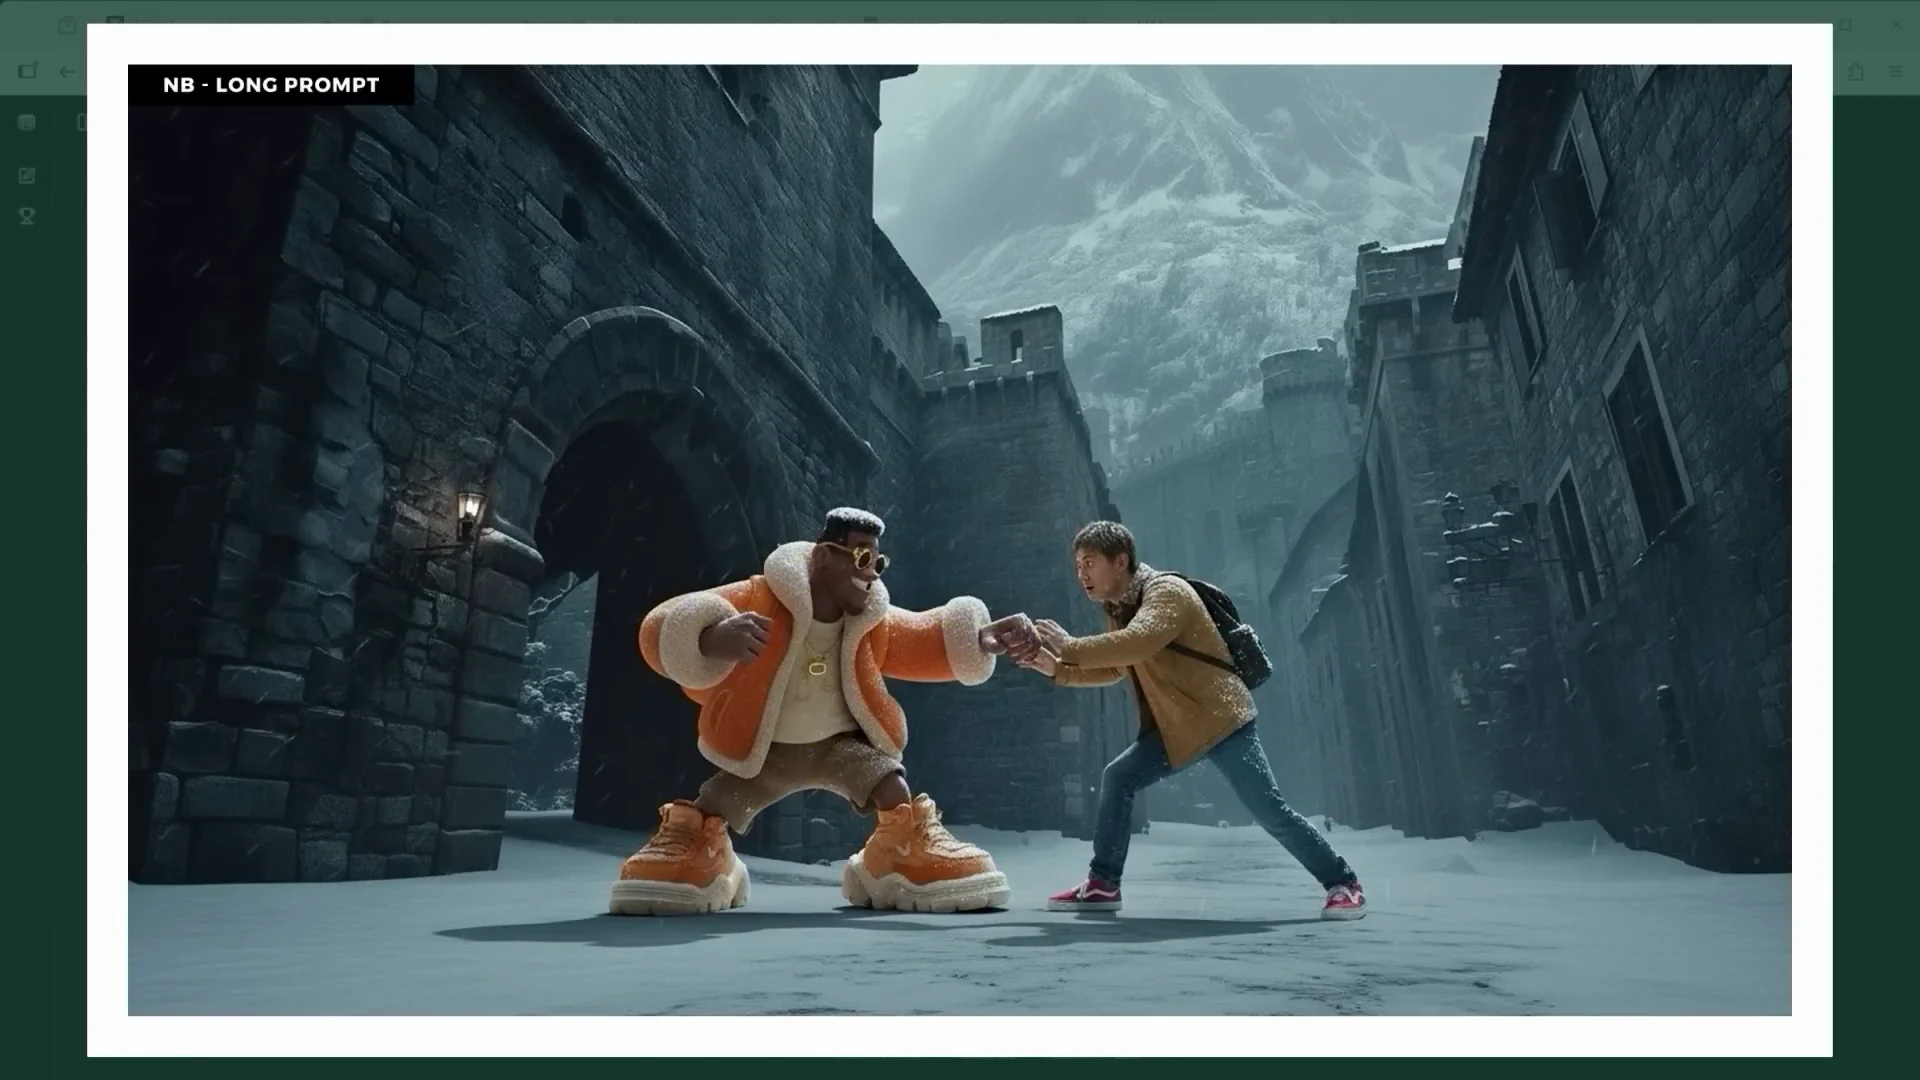
A new source image generated in Midjourney shows the fortress walls in an icy setting. That’s the place where I want to put both characters. The task this time: extend the visible image area. I wanted to see how Nano Banana and Seedream 4 Edit handle it.

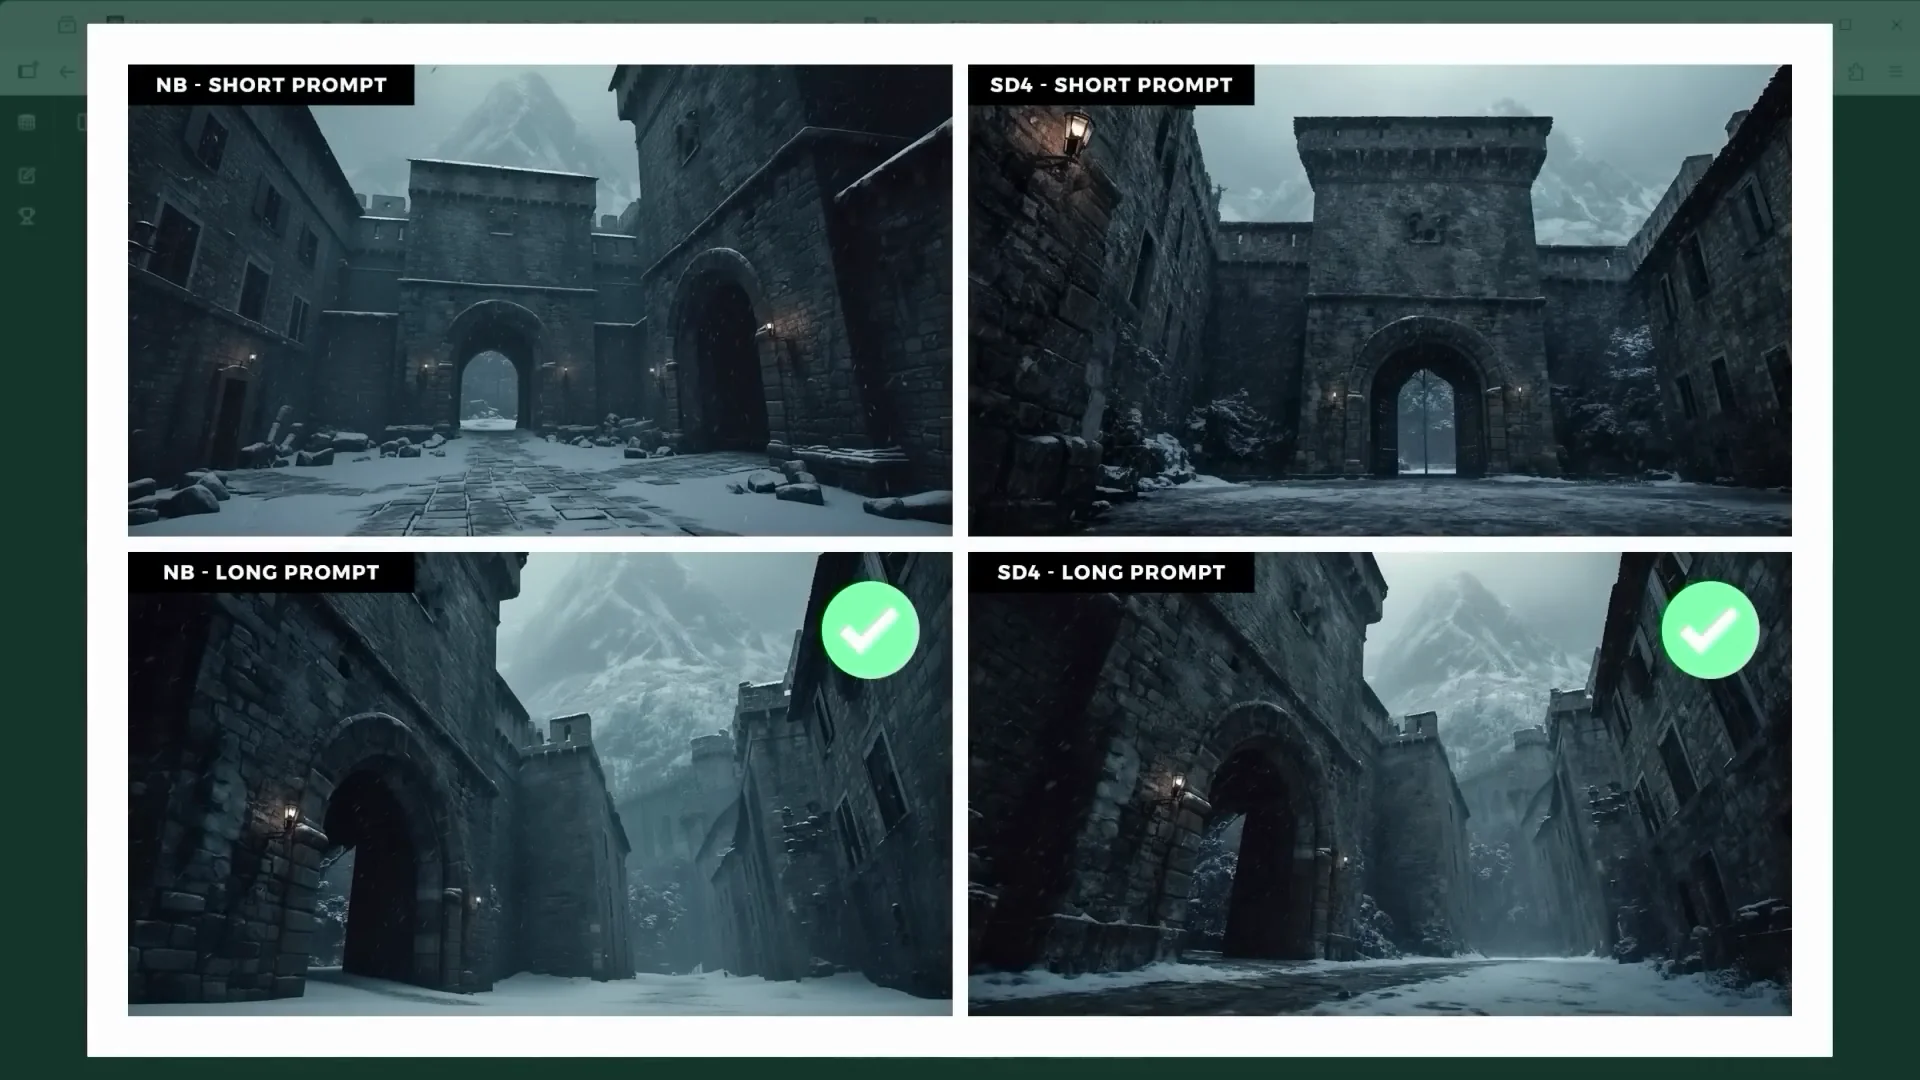
The familiar four-image layout: left Nano Banana, right Seedream 4 Edit. Bottom row with a long and detailed prompt, top row extremely short. With a short one, the AI doesn't fully get it. It just moves the camera to the left, assuming that's where the gate must be. Both platforms eventually produce a usable result. Seedream again pushes contrast hard.
Compositing with lighting and occlusion (Scene 9)
I brought in the previously isolated figures. The prompt: add this into the image. Nano Banana’s result is seriously impressive. Everything fits. Look at the soft spotlight that continues in the snow in front of the character. Phrases like "adjust color tone, shadows, and light direction for both figures to blend naturally with the environment. Ensure realistic shadow contact on ground and wall plus subtle ambient occlusion at all contact points" helped a lot to make the figure merge into the scene.
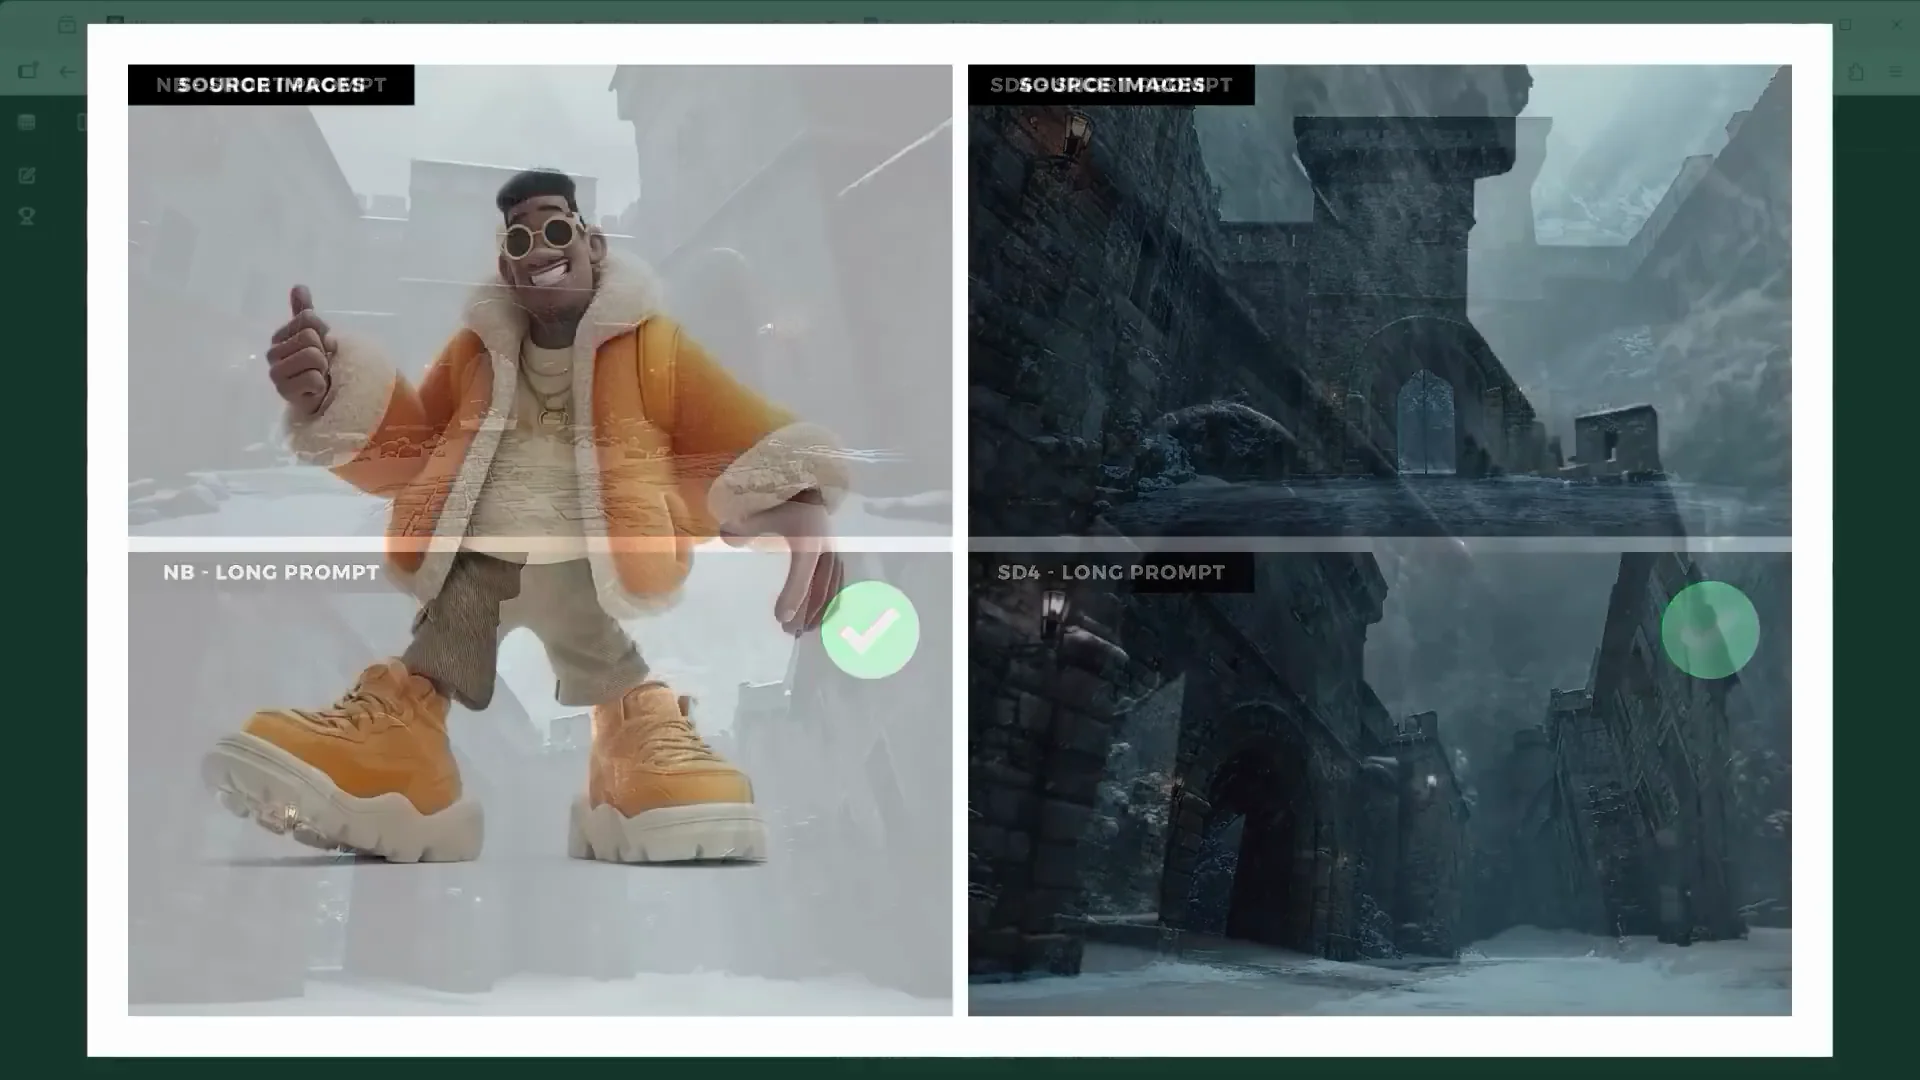
Seedream 4 Edit’s version is once again very contrasty with a strong blue tint. I then added both characters together using three reference images: the neutral fortress background plus both characters. The first part of the prompt: "using the provided image of the medieval gate, add both characters based on their reference images. The person image 1 fights with the person image 2." One option you have is to predefine the position and posture of each character by sketching it out in blue and red directly on the image. In the prompt, you then say "replace blue sketch with" and "replace red sketch with."
Background Changes and Perspective Control

Snow to jungle and top-down views (Scenes 10 and 11)
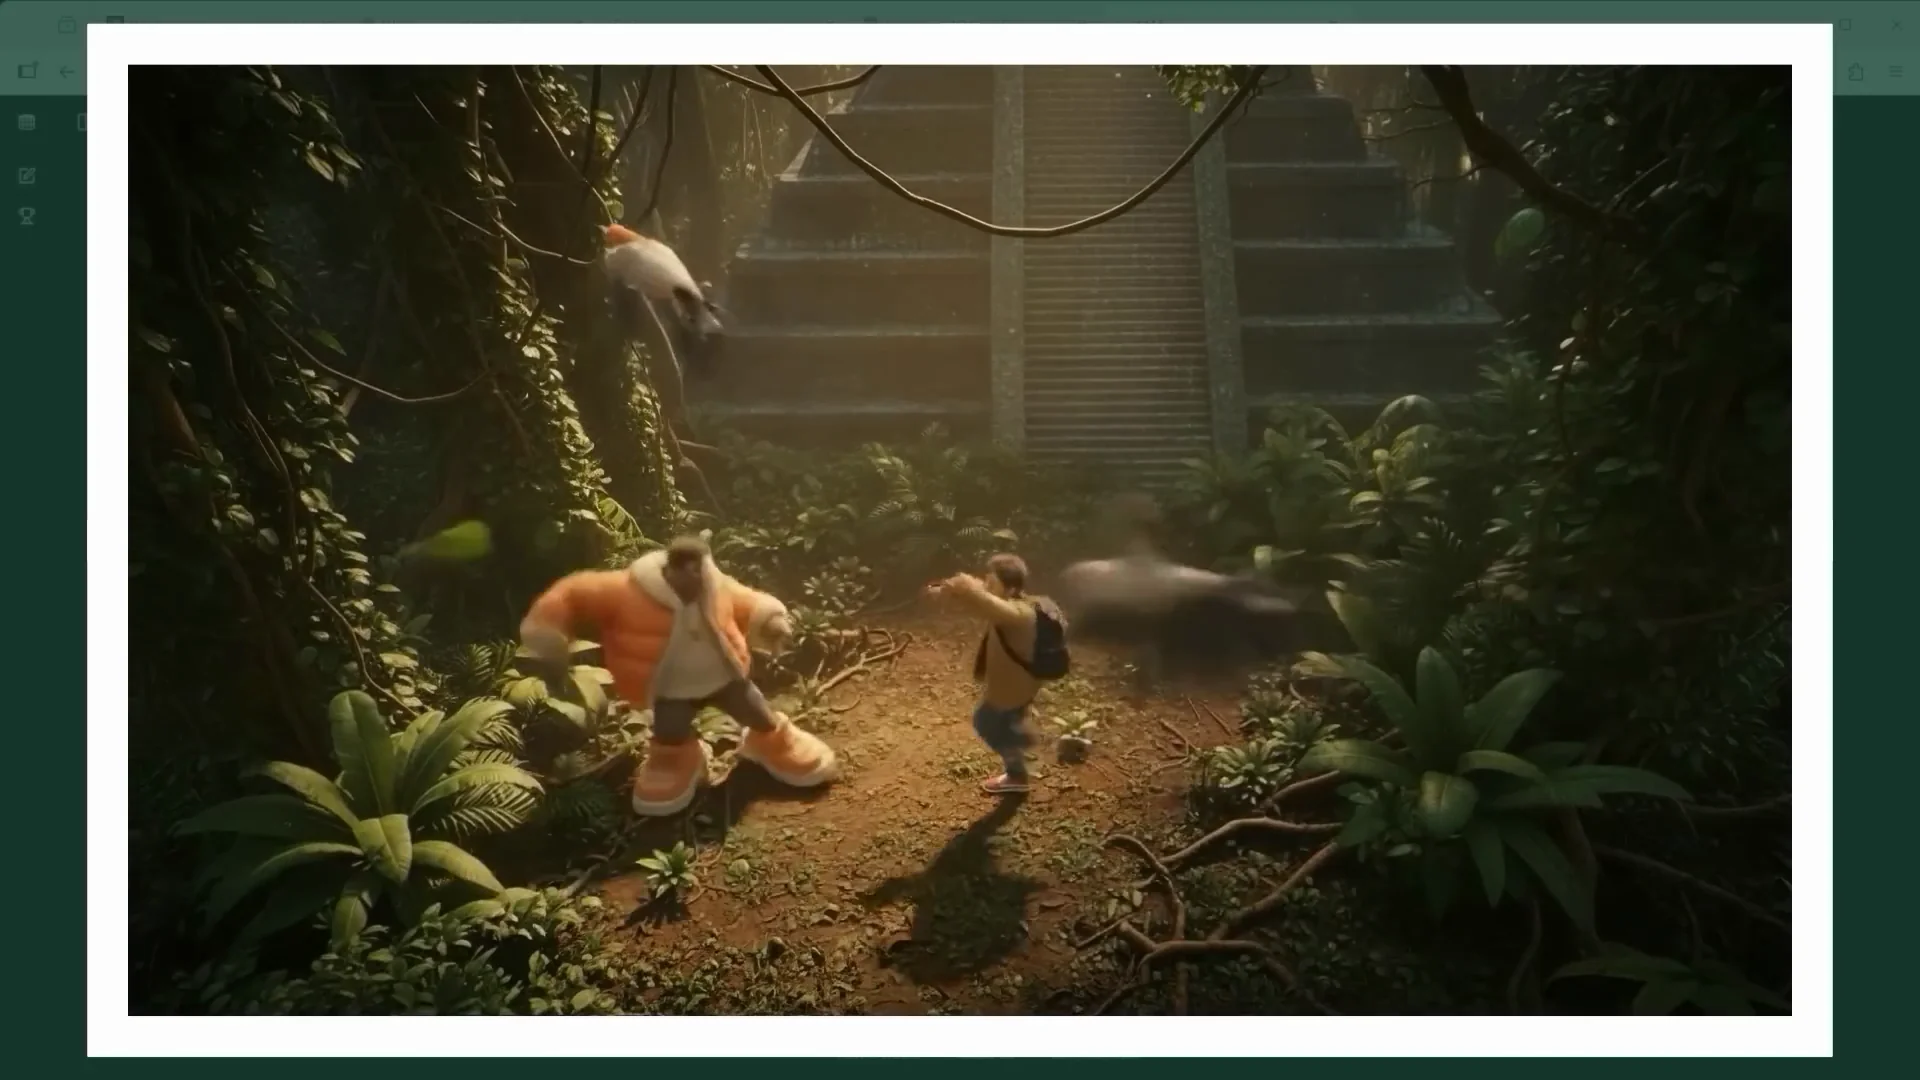
Time to head into the jungle into the world of the Mer. Scene 10 is essentially about one thing: change the background from a snowy medieval castle to a lush green jungle with an ancient Aztec temple. With the short version, you're handing over creative control to the AI. The images don't have to be worse, but the moment you describe the scene in detail, you're the one in charge, not the model.

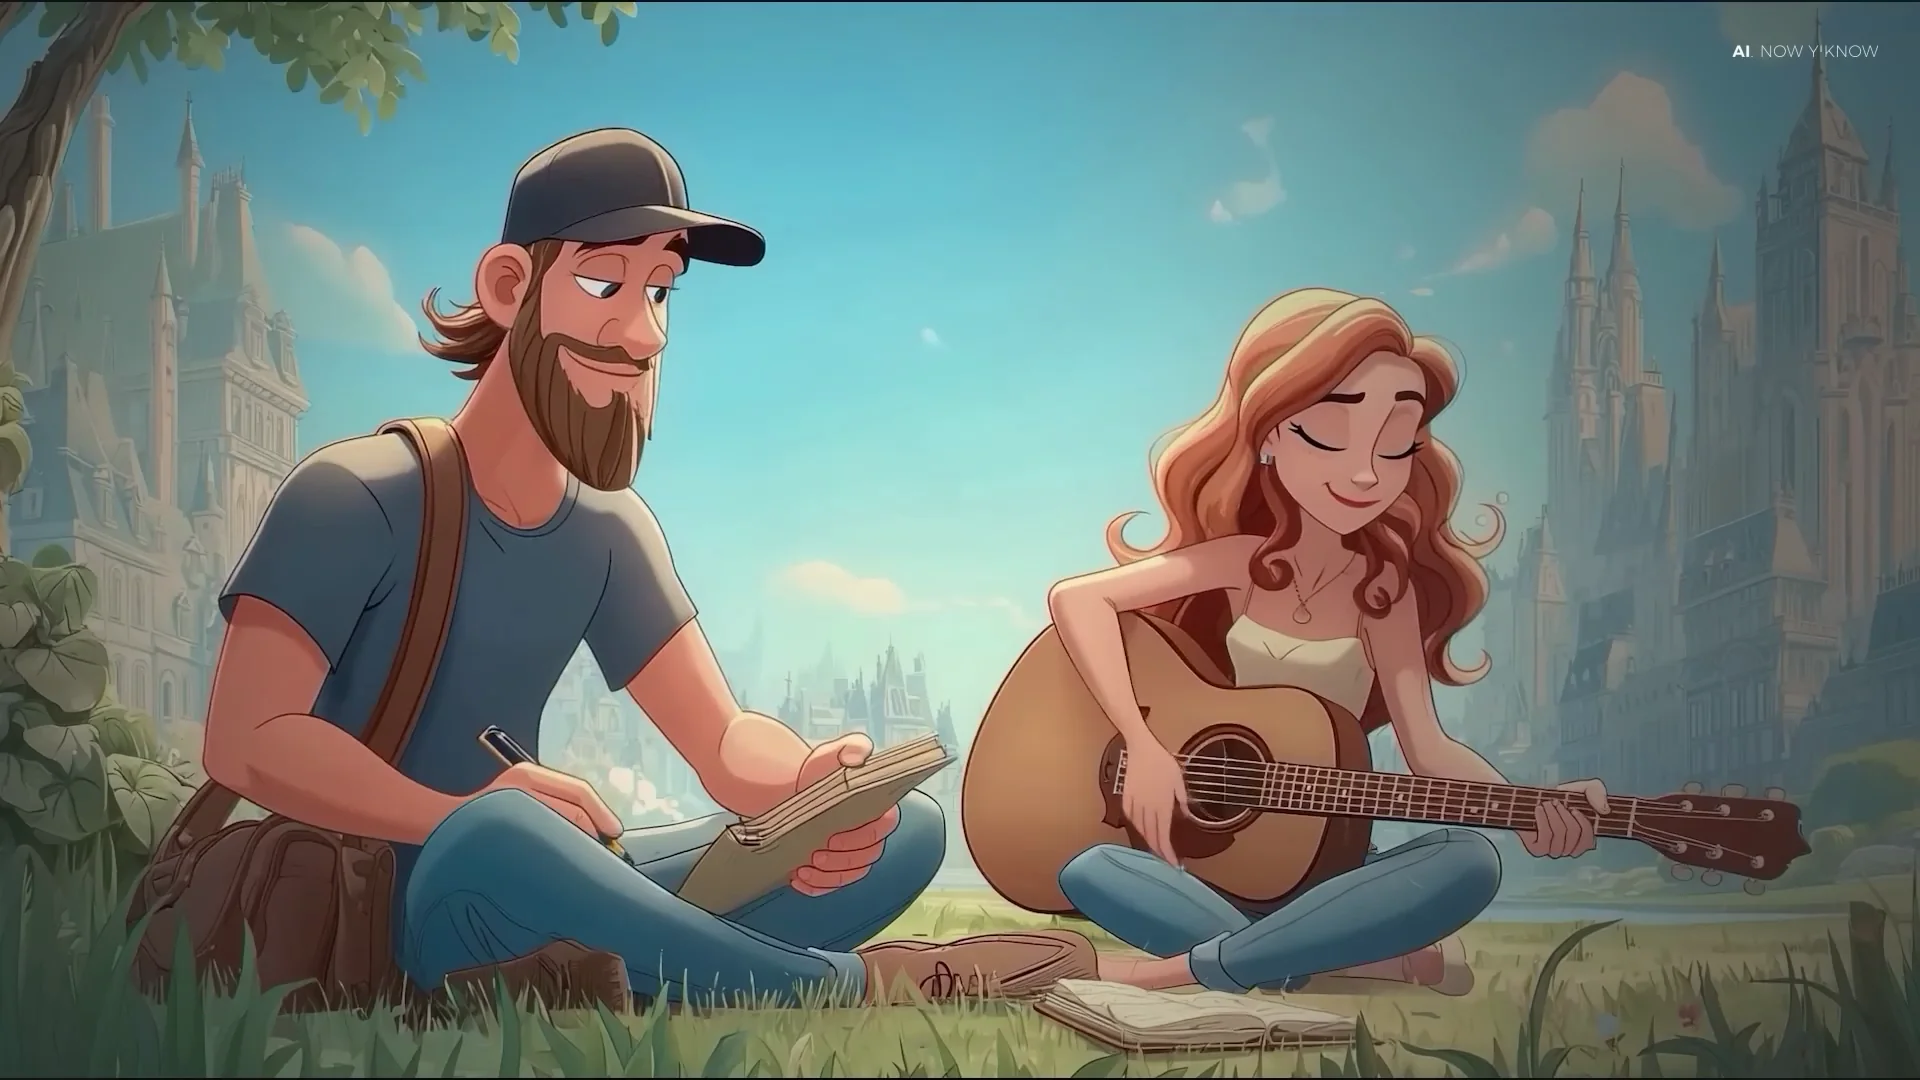
Short prompts can work, too. For scene 11, the prompt was short and simple: change the perspective to a high angle looking down from above. Nano Banana delivered a shot that feels like a frame from an animated film. As for Seedream 4 Edit, only the ByteDance AI knows what it was trying to do here.
Beach setting and perspective drift (Scenes 12 and 13)
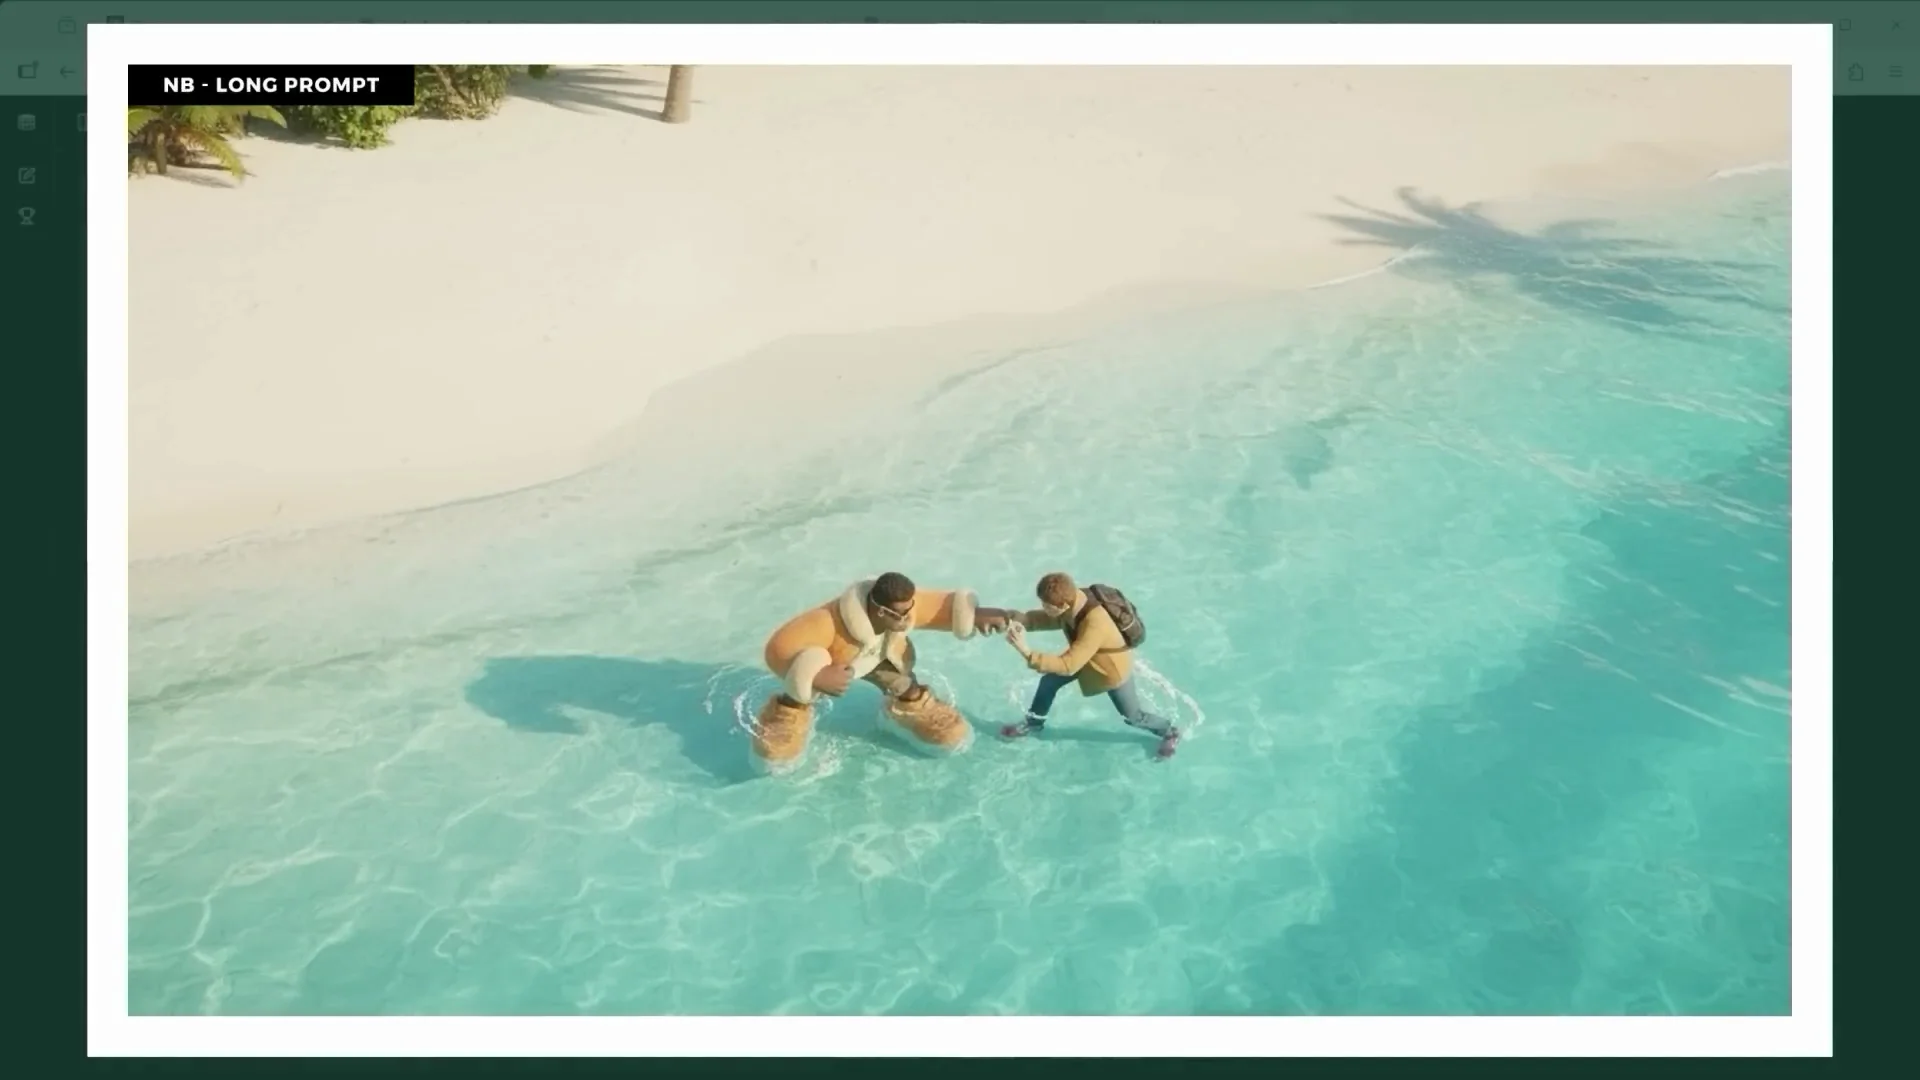
Who doesn't love lying on the beach in some far away paradise? Our two protagonists do, though they're still dressed, standing in the water, and apparently still midfight. This is more or less the result from Seedream 4 Edit. Scene 13 is all about changing the camera angle. By explicitly mentioning "vast sky," you're nudging the AI to show more of the sky, which means the camera gets pushed further down, looking up. The perspective in Seedream 4 Edit’s version is completely off.
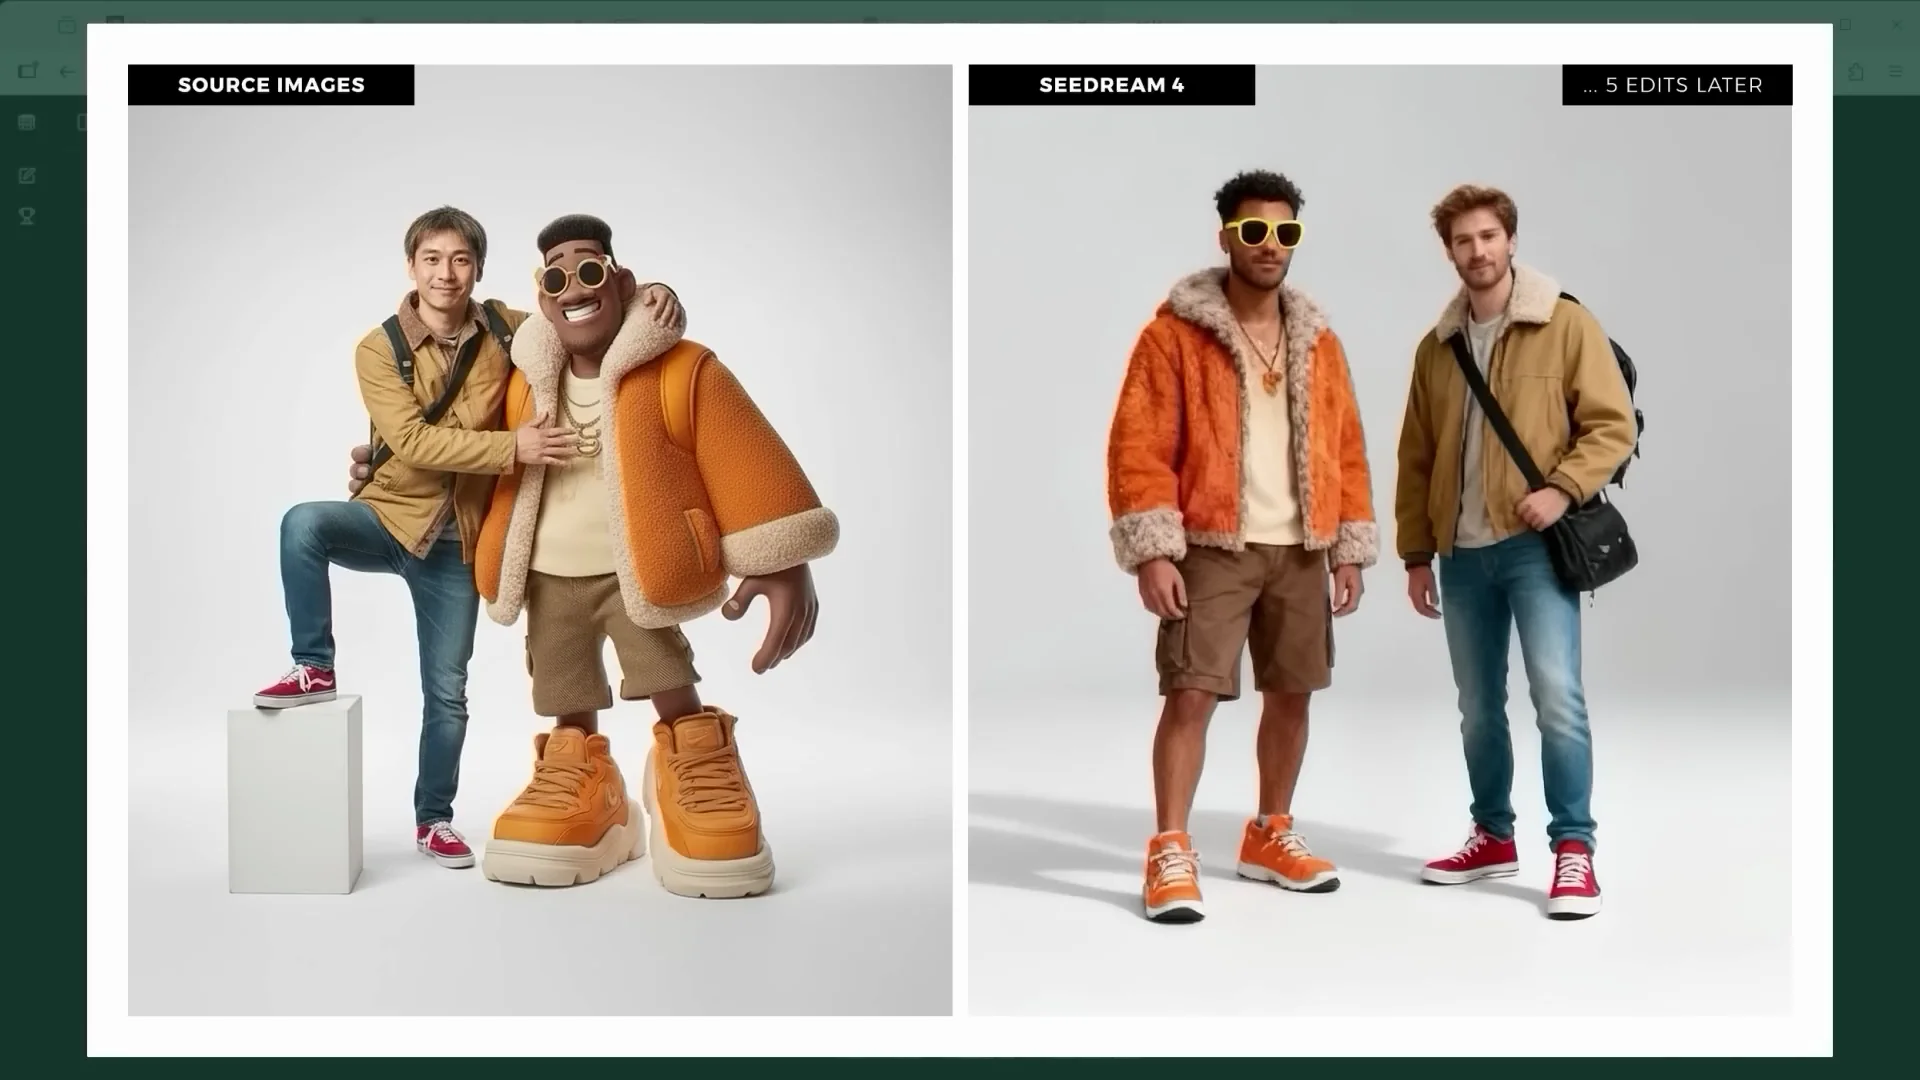
Ever since the first prompt where I inserted both characters into the fortress scene, I haven't used any additional reference images for them. I wanted to see how much and how quickly the AI would start to drift from the original look. Not much of the original figures remains after five edits. With Nano Banana, you can still vaguely tell where they came from. Seedream 4 Edit isn't doing much better. The solution is to keep feeding your reference images back into the process. Tell the AI again and again: this is what the characters are supposed to look like.
Camera Language and Posing Control
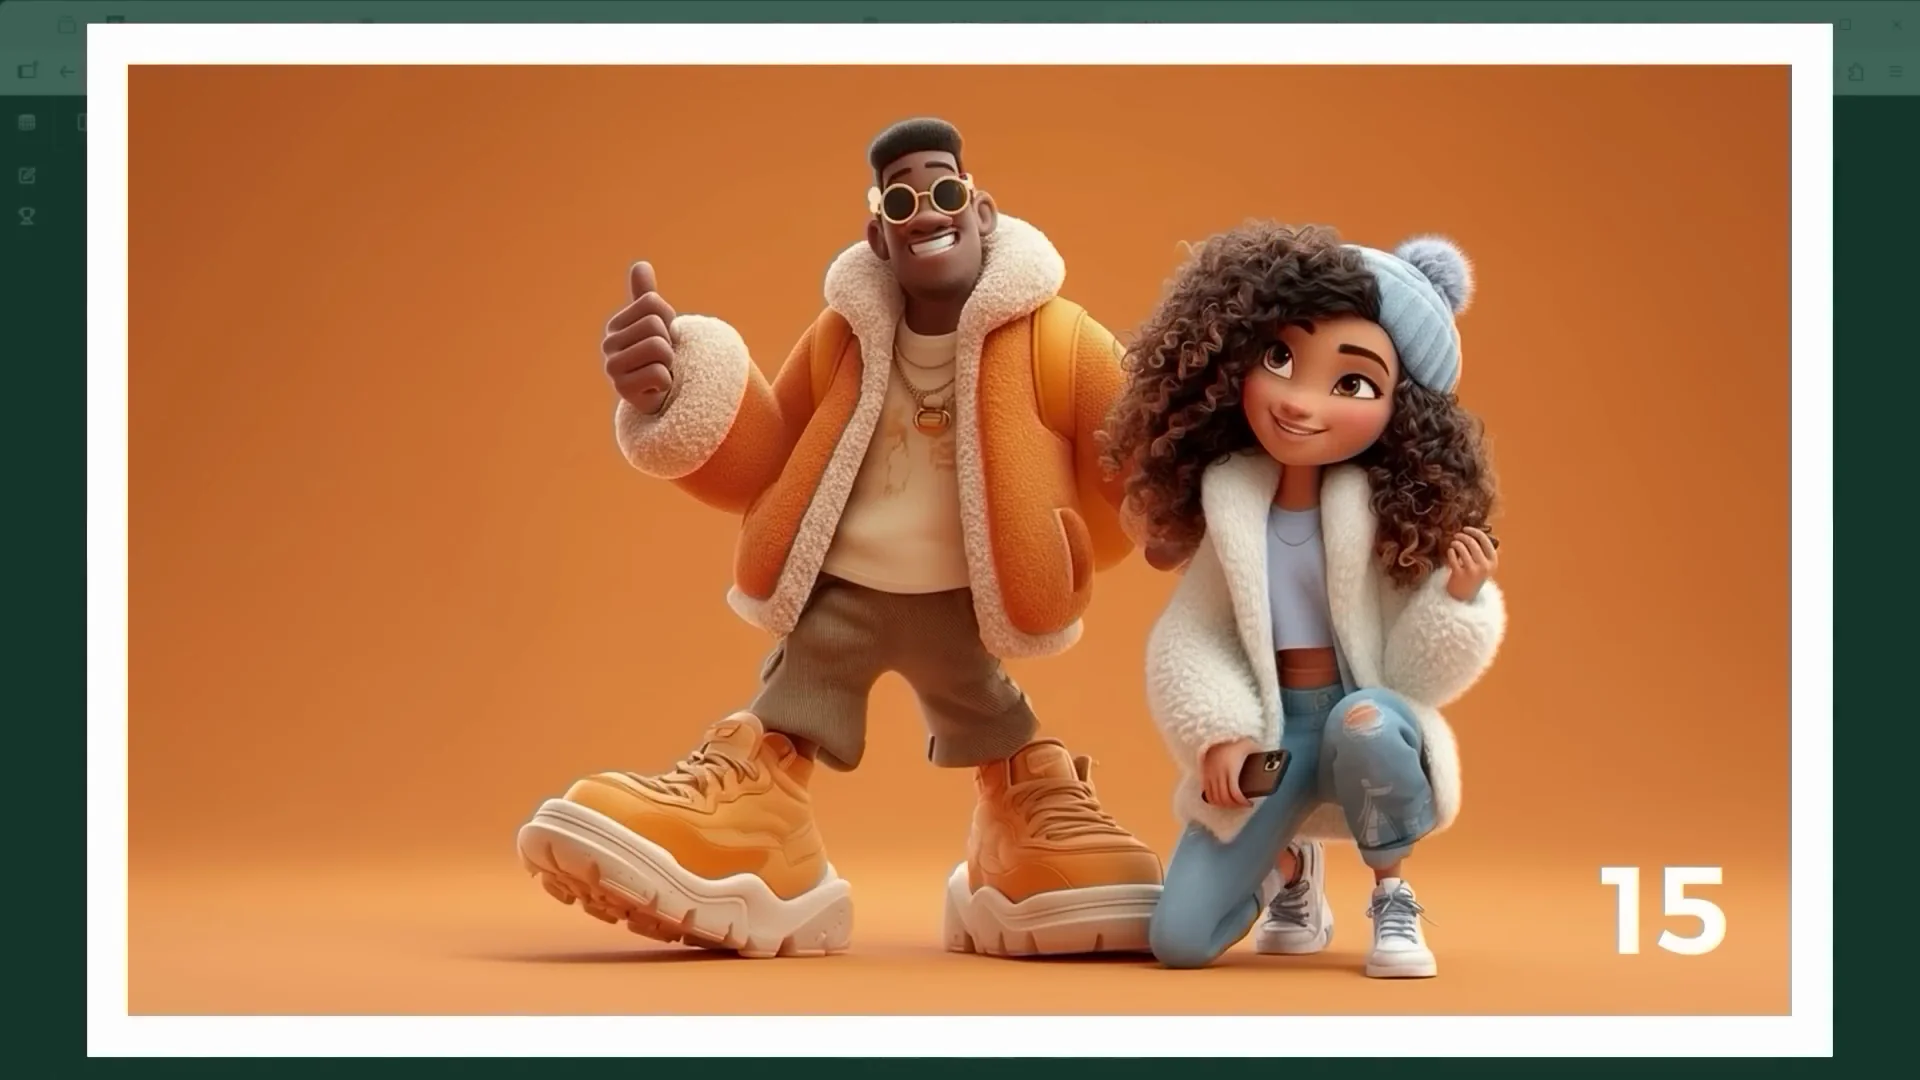
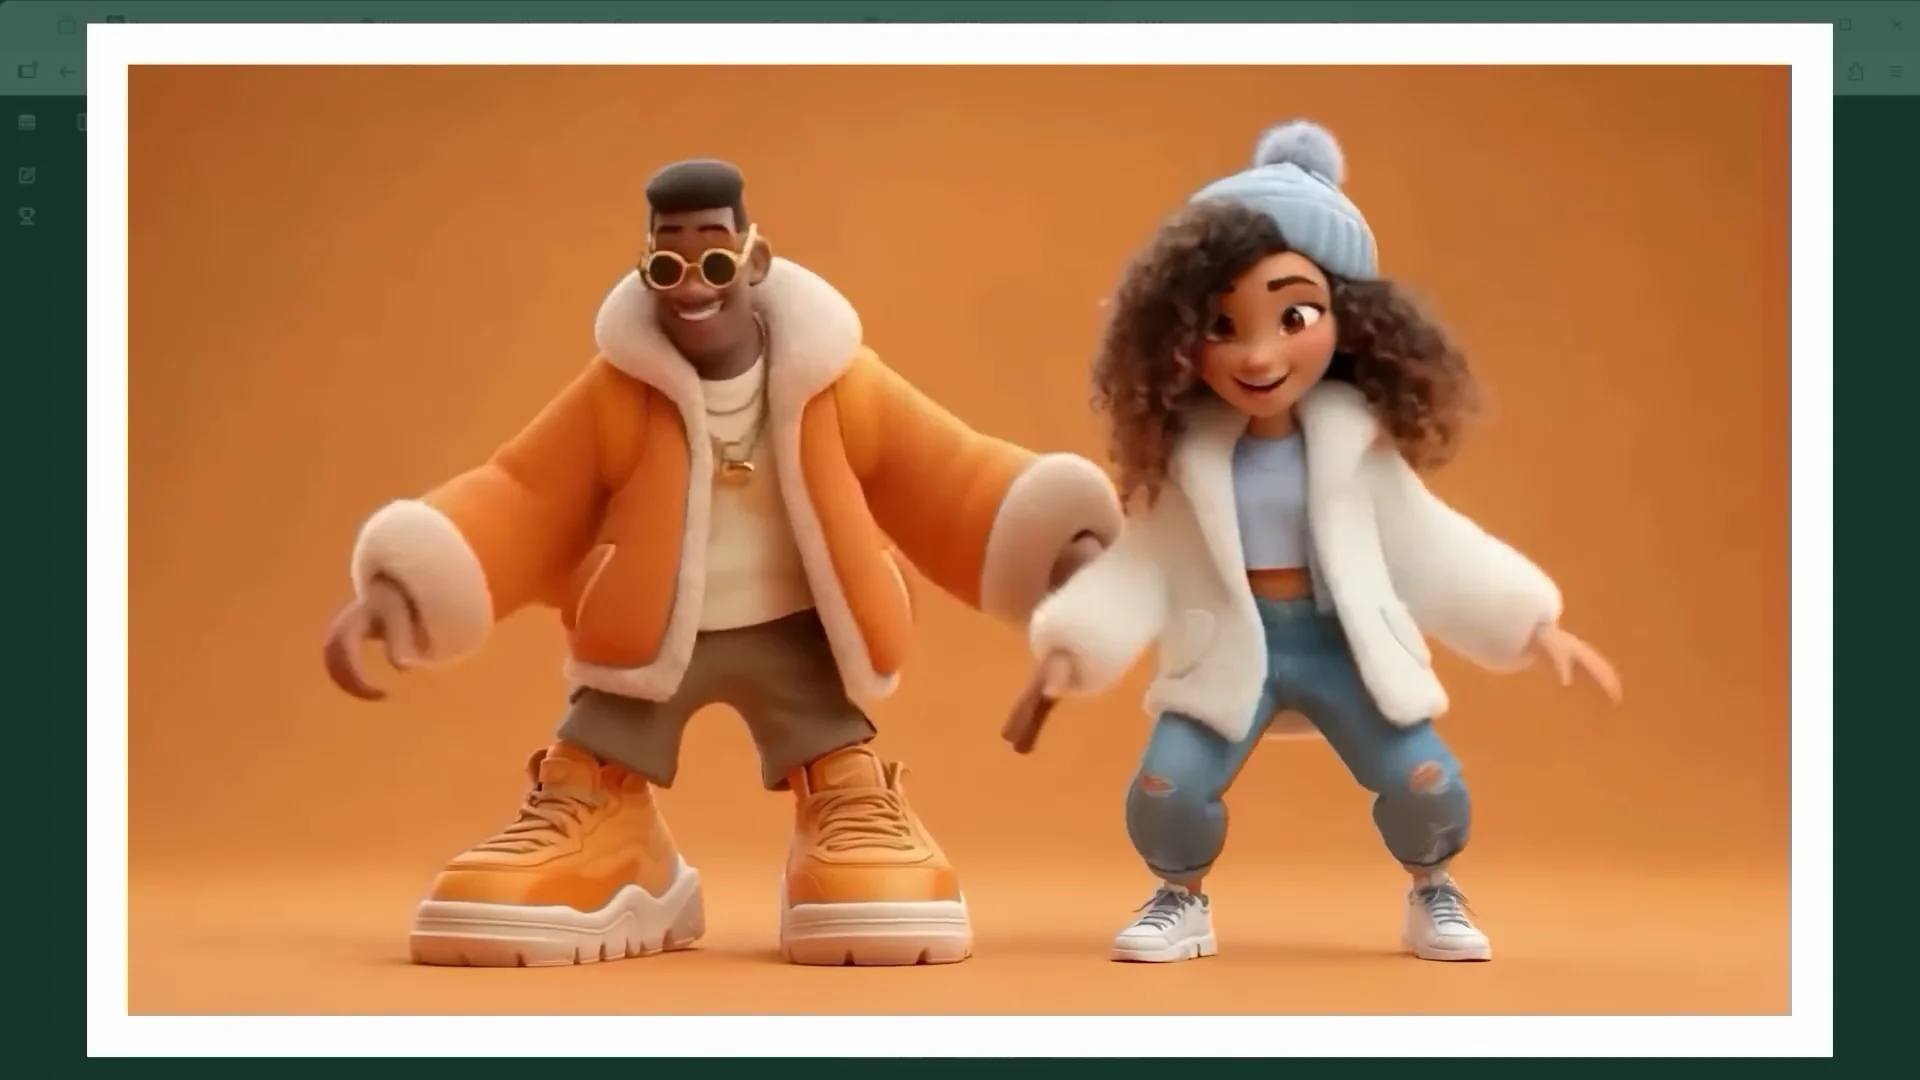
Angle trials with one or two characters (Scene 15)
I paired the character with a second one and tried different camera angles. Change the camera to a high angle shot. This works really well with one character or two on both Nano Banana and Seedream 4 Edit. Same goes for extreme close-up. Both editors follow the prompt exactly. Seedream 4 Edit even adds a bit more depth.
For a POV shot from the photographer's perspective, that works great, too. Low angle, also known as bottom view or worm's eye view, is trickier. No matter how many times I tried, Nano Banana wouldn't respond to that. The moment I wrote "camera POV shot," it gave me the low angle view I wanted. A bit odd. Seedream 4 Edit is more flexible here and clearly better at interpreting camera language.
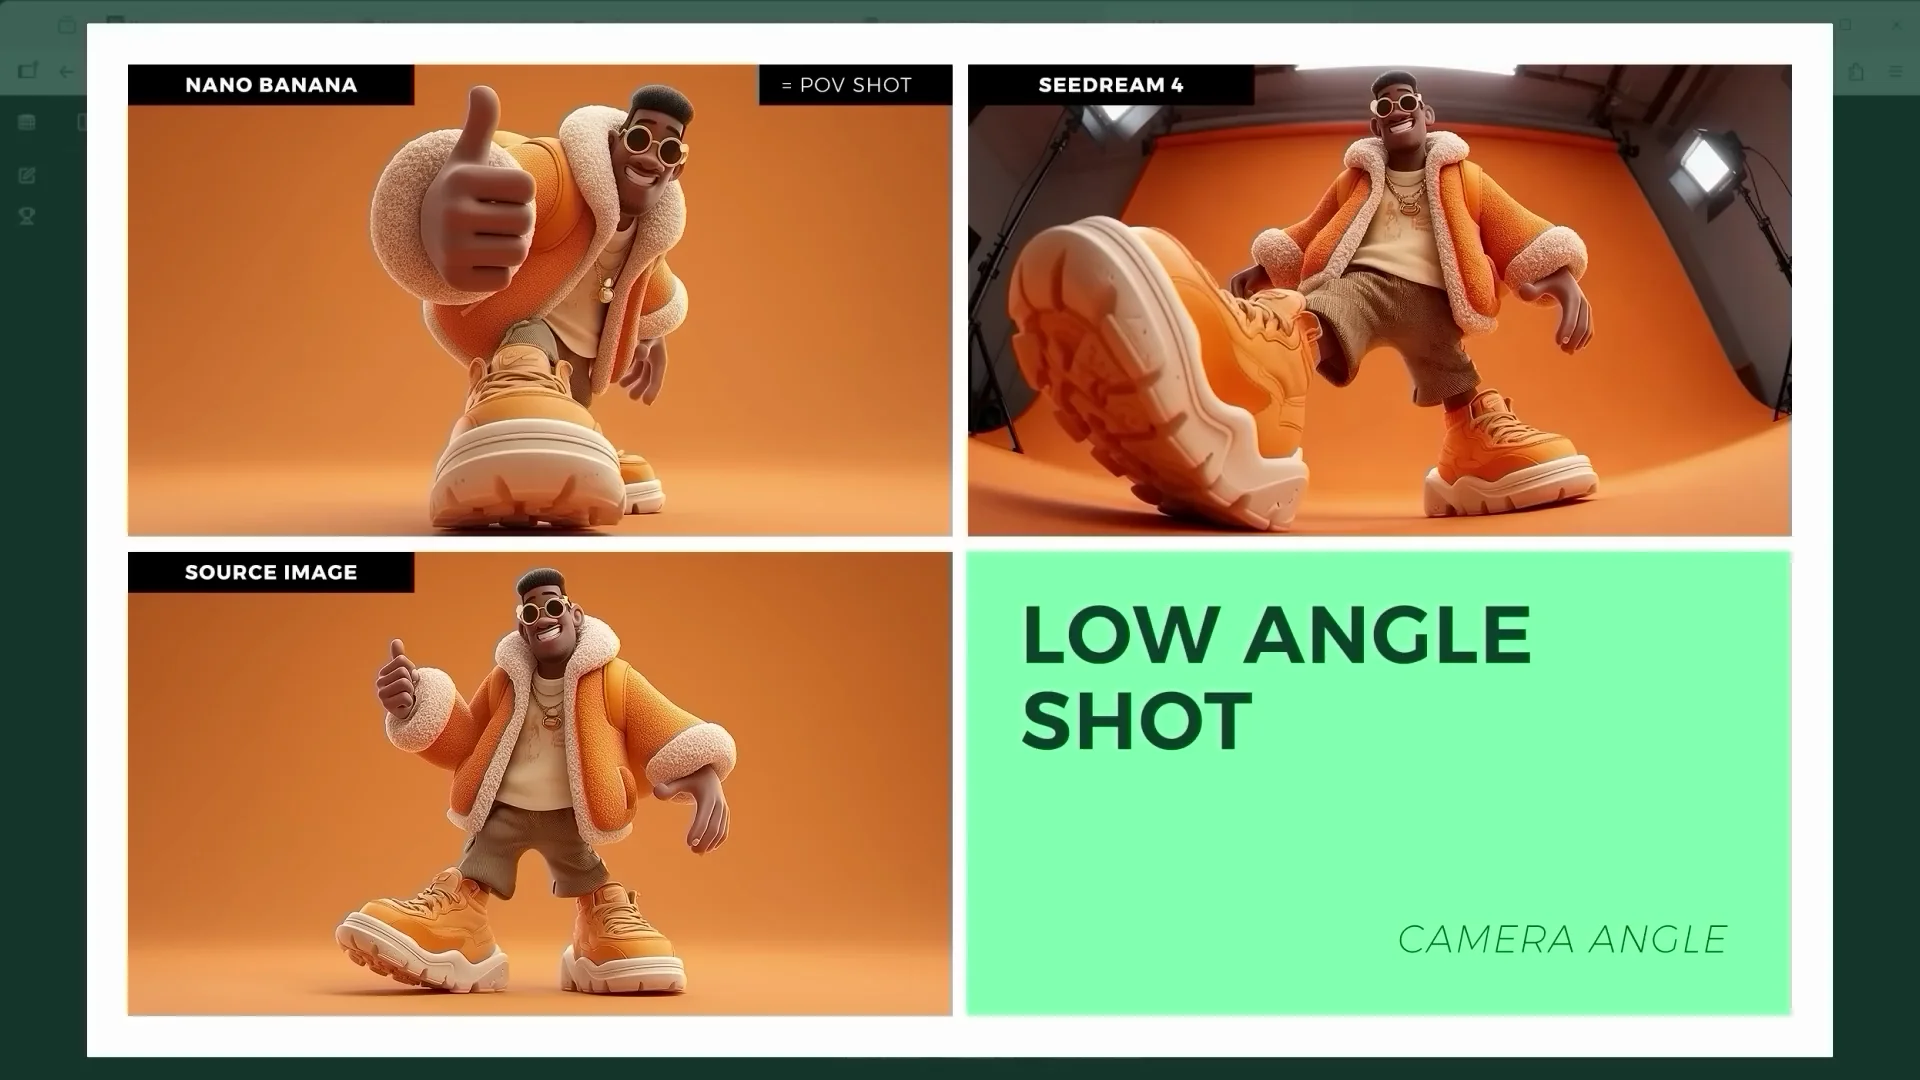
Pro tip: for certain angles, it’s often enough to write "camera high angle shot" or "camera drone shot."
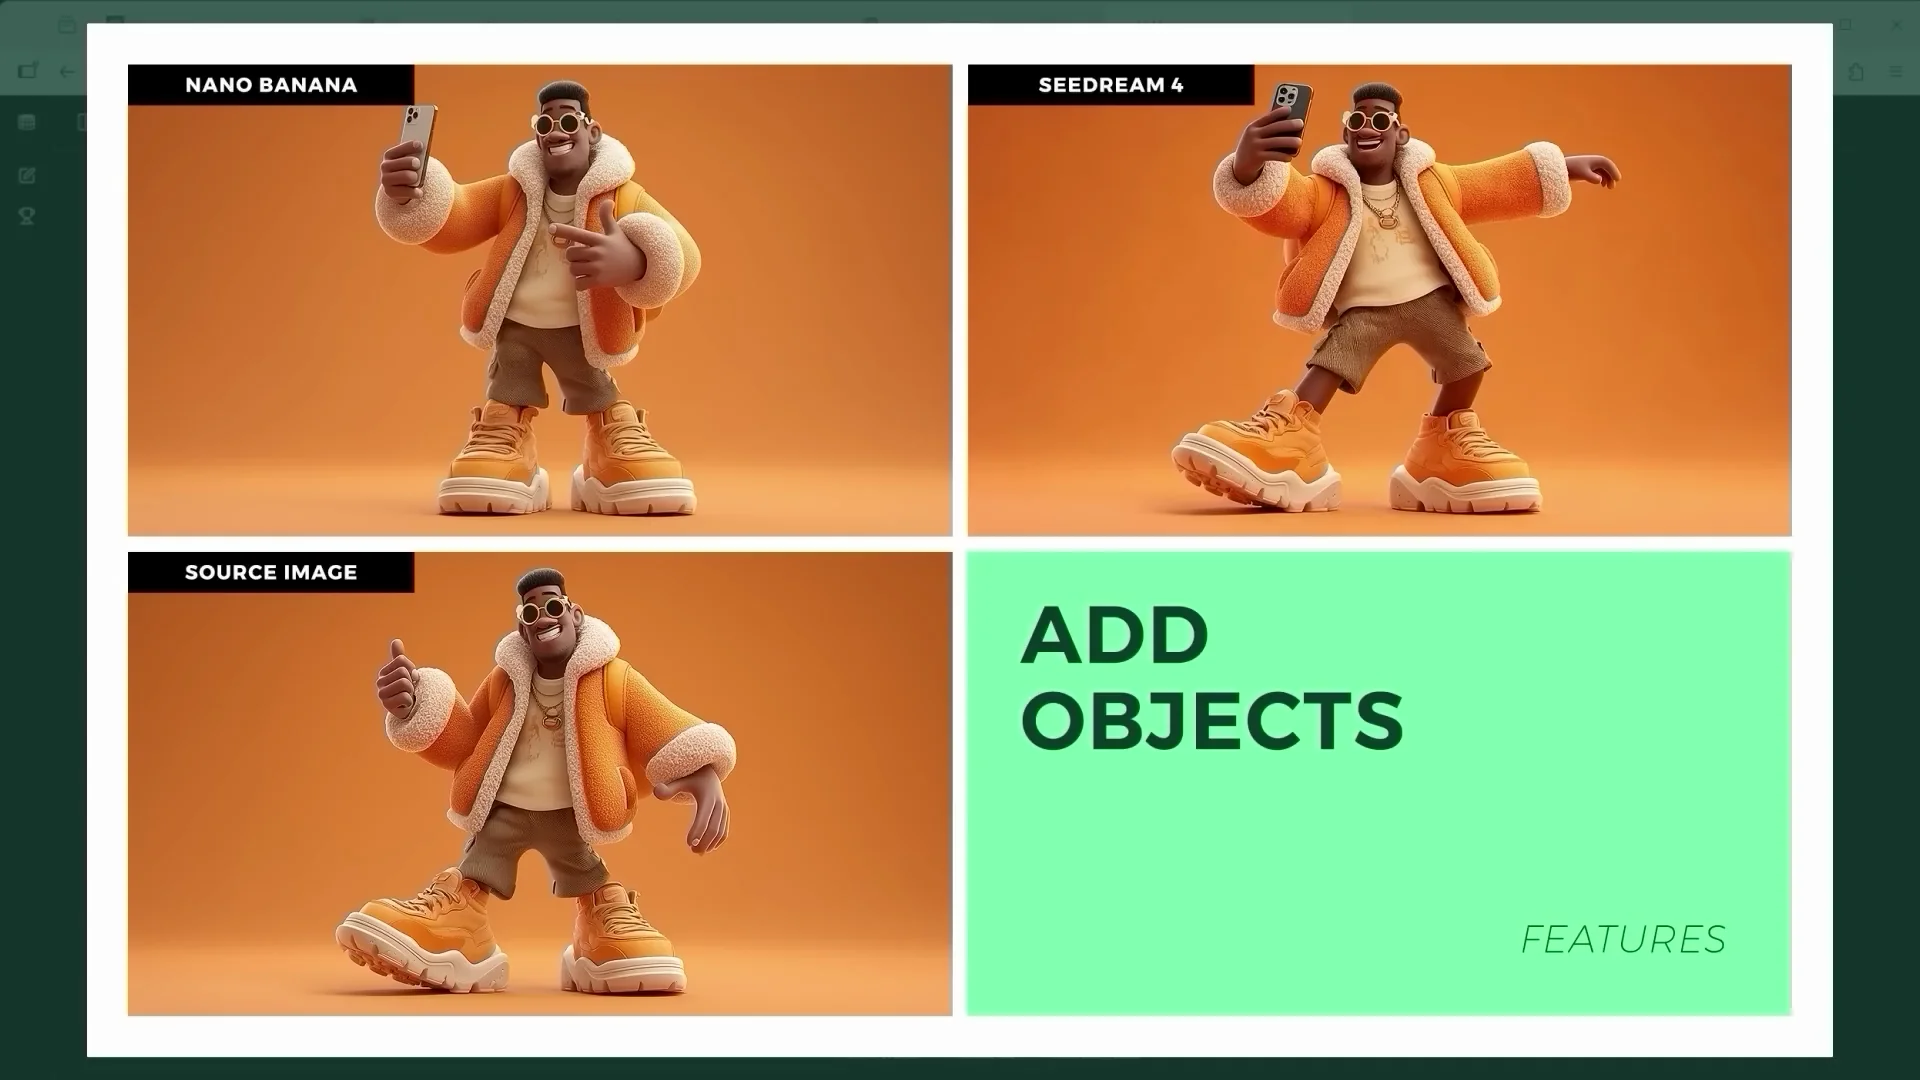
Props and selfie prompts
I wanted to give the character an object to hold so it looks like a selfie. The short version of the prompt: "The phone is visible in the character's hand, and the pose clearly resembles a typical selfie." Seedream 4 Edit added a bit more swing to the hips.
Restoration, Transformations, and Reconstruction
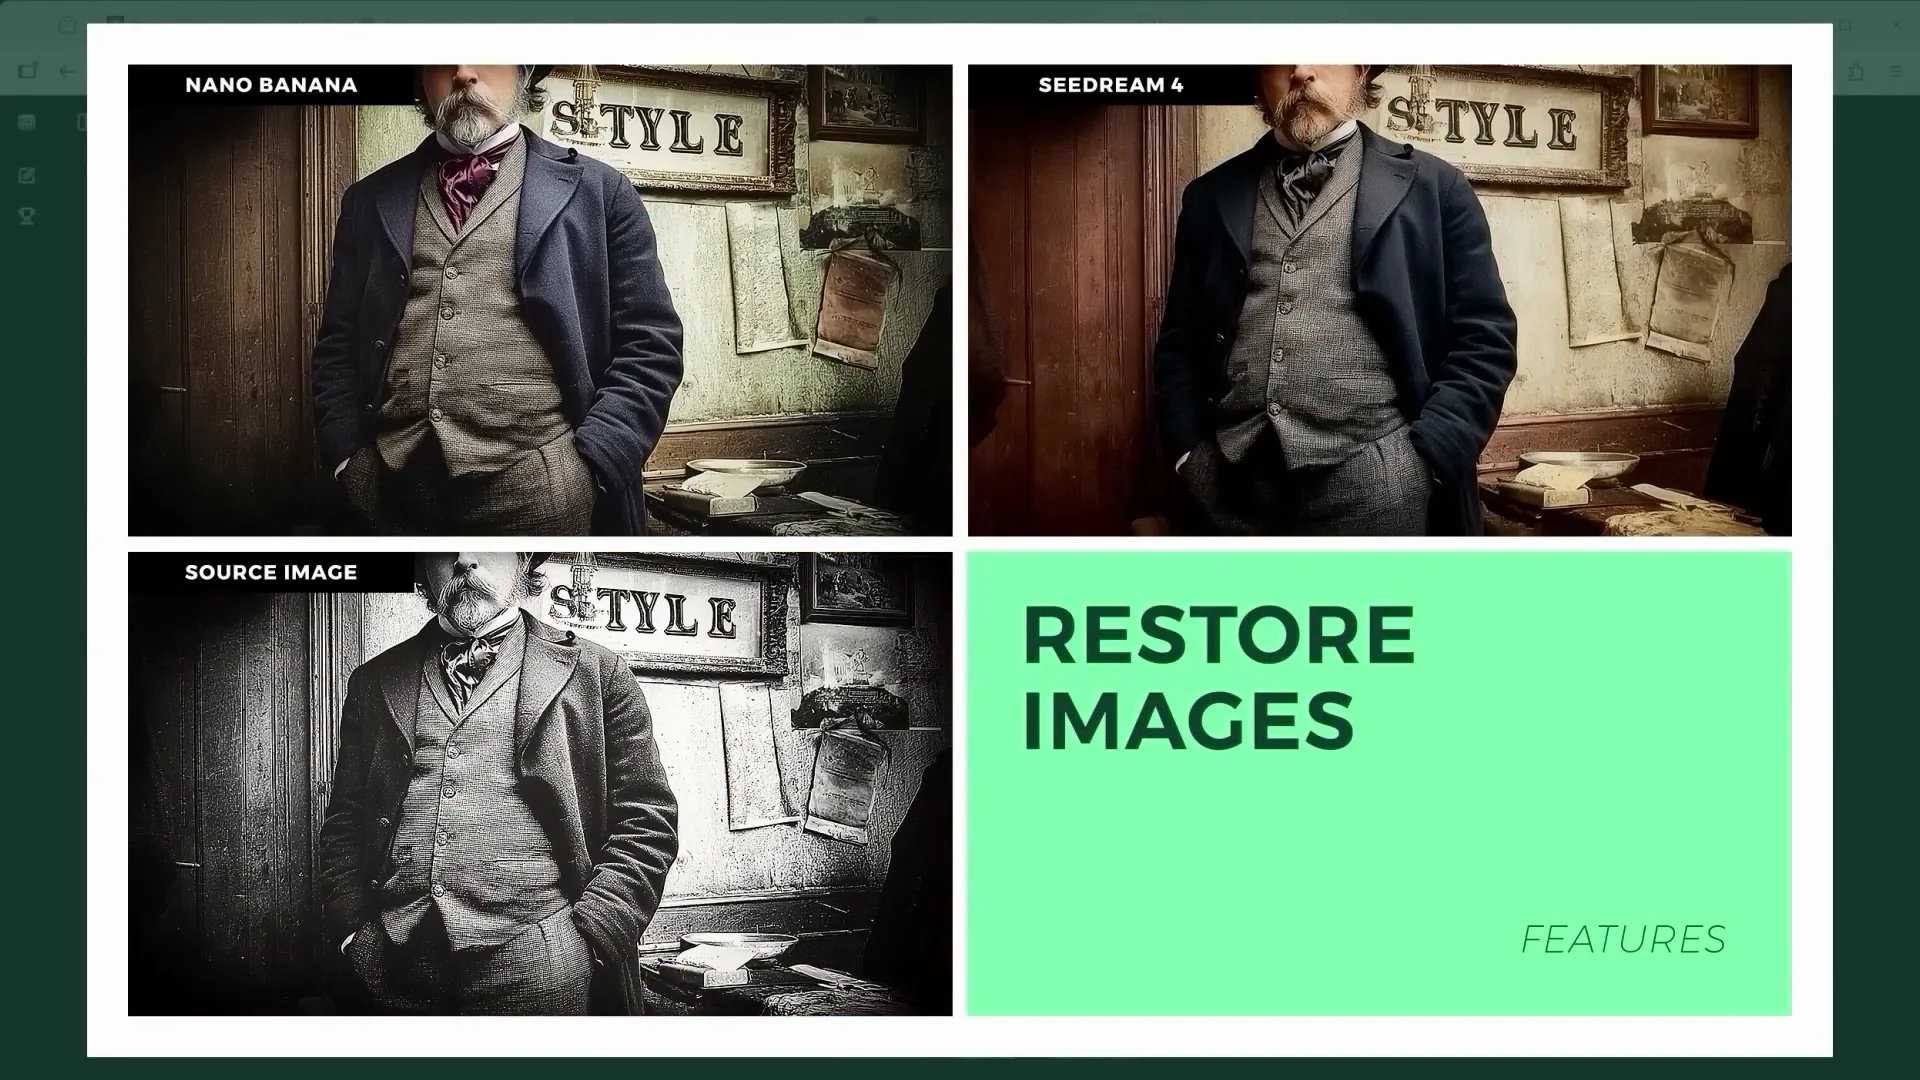
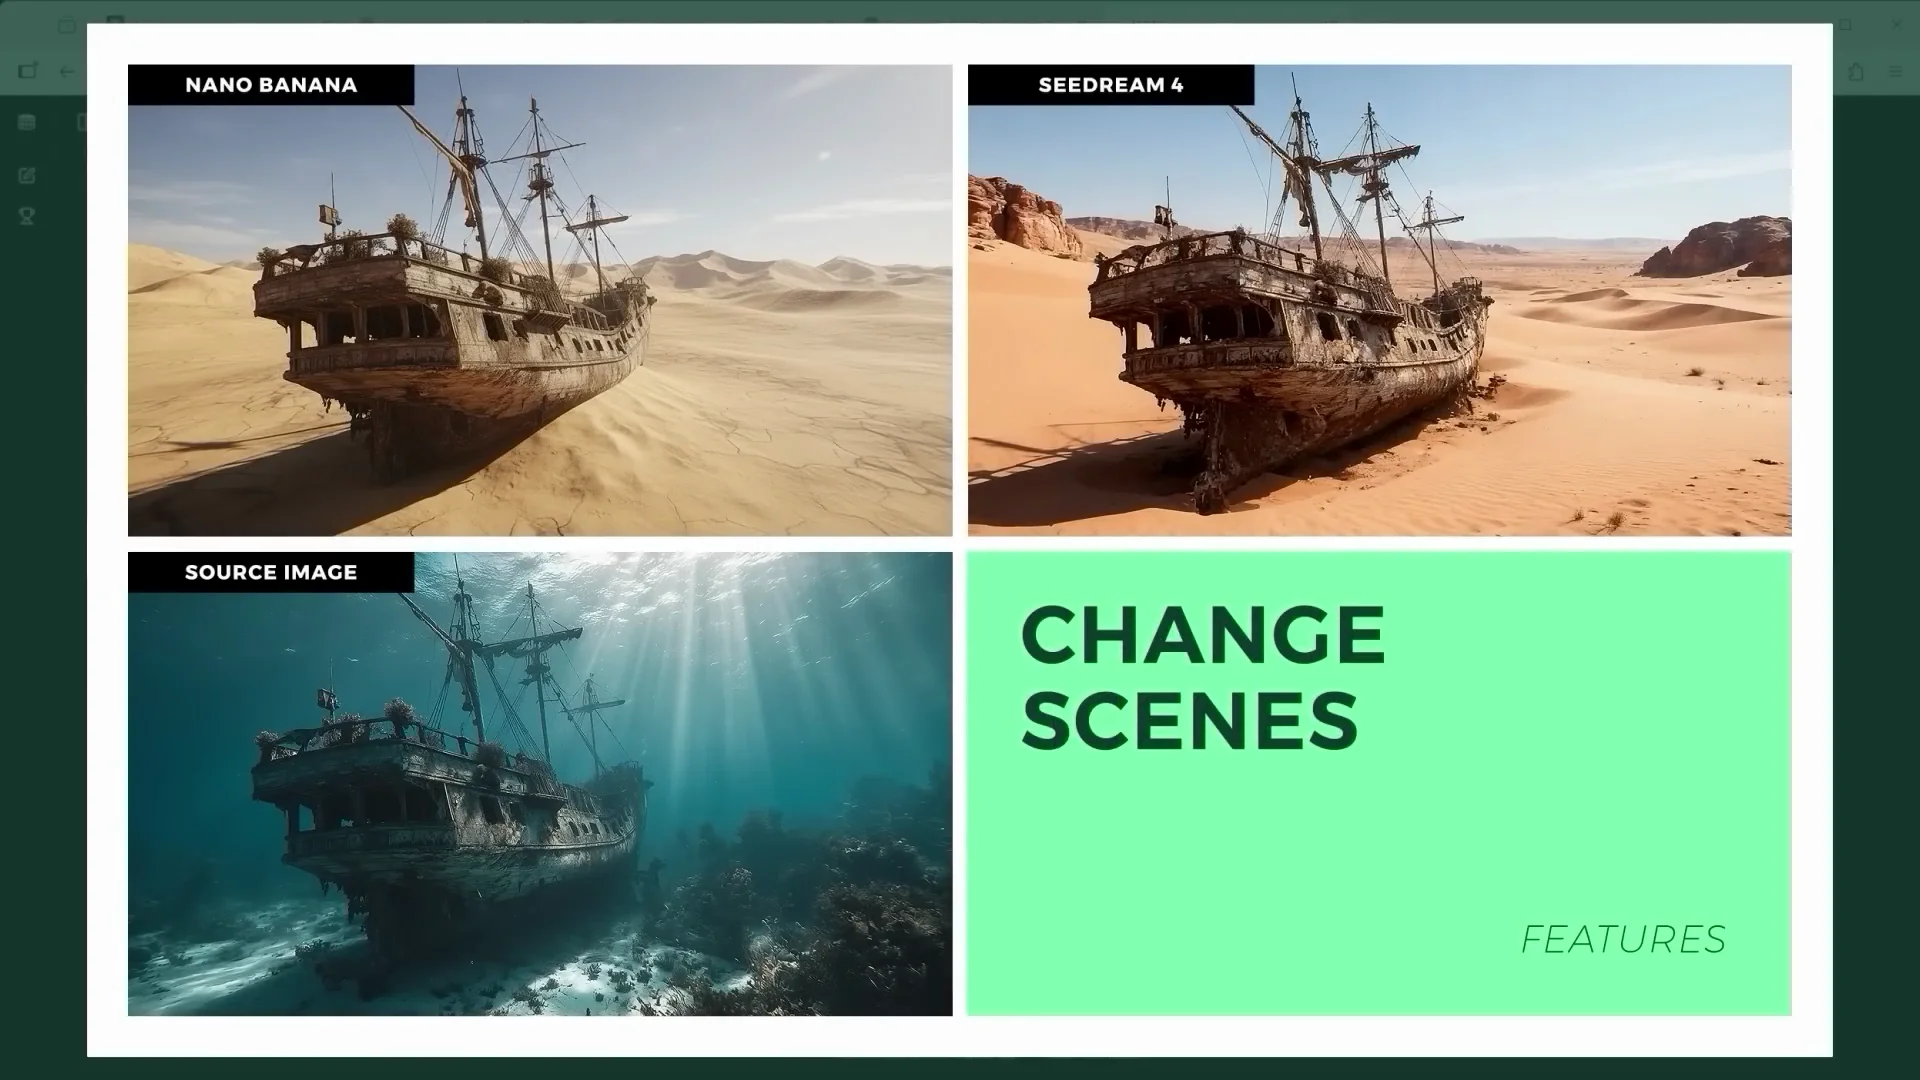
Restoring old photos and scene transformations
One of Nano Banana's standout features has been restoring and colorizing old photos. Seedream 4 Edit keeps up. Scene transformation is particularly interesting. Imagine you're a diver and you discover a sunken ship. With these editors, you can create a post-apocalyptic scenario. Nano Banana’s result looks a bit like a 3D render, while Seedream 4 Edit wins again on contrast and punch.
Rebuilding ruins and repopulating scenes
You’ve probably seen those drone shots of ancient ruins. What if we could bring them back to life? The prompt "using the provided image of the desert ruins, reconstruct the Persian fortress" takes care of exactly that. You can go one step further and repopulate the scene, bring the past back into motion. Nano Banana is clearly stronger here. It has a better grasp of spatial structure and geometry. Seedream 4 Edit’s extremely high contrast rendering style feels out of place in this context.
From Ideas to Clips
Have you ever had just the idea for a story and maybe sketched out the first frame? What’s possible with Nano Banana and Seedream 4 Edit is both brilliant and a little heartbreaking, at least for someone like me who spent years studying and working in design. Ideas turn into concepts. Concepts turn into images. Images become clips and clips become a video in a few steps. All you need is a visual style to anchor the whole thing.
A Fun Detour: Handwriting Detective
I gave both platforms this prompt: "Someone wrote this. Identify who it might have been based on their handwriting. Female or male based on the paper, the writing tool, and the style of the script. What historical period are we looking at?" After several attempts, both platforms seemed fairly convinced this was most likely written by a woman at the end of the 19th or early 20th century. AI likes to play detective, too.
Features Breakdown
Seedream 4 Edit: What stood out
- Strong response to camera language. High angle, low angle, drone shot, and POV terms are interpreted reliably.
- High-contrast, saturated rendering that can add punch but also skew scenes blue and blow out midtones if you’re not careful.
- Compositing works well, though lighting and tone can need extra guidance to avoid heavy color push.
- Custom export sizes up to 3,840 x 2,160 in the tested setup.
- Flexible posing with props, adds dynamic body language.
- Drifts on character identity after multiple edits unless reference images are reintroduced.
- On LM Arena, the non-high-res variant threw errors.
Nano Banana: What stood out
- Natural tone and color, with a balanced look that blends well across edits.
- Excellent at relighting and matching shadows when prompted with detailed lighting instructions, including ambient occlusion at contact points.
- Strong at spatial structure and geometry for reconstruction tasks.
- Short prompts often produce good results. Low angle needed a "camera POV shot" phrasing trick.
- Max resolution at 1,344 x 768 requires an upscaler for larger outputs, which can slightly alter images.
- Noticeably faster generation.
Pros and Cons
Nano Banana Pros
- Natural color and contrast
- Strong geometry and reconstruction
- Excellent compositing with detailed lighting prompts
- Fast generation
- Good perspective control with the right phrasing
Nano Banana Cons
- Low maximum resolution
- Occasionally ignores low-angle terms unless phrased as "camera POV shot"
- Character identity drifts without recurring references
Seedream 4 Edit Pros
- Reads camera language well across angles
- High-resolution exports up to 3,840 x 2,160
- Dynamic posing and expressive results
- Solid restoration, colorization, and cutouts
- Flexible prompt handling for perspective and props
Seedream 4 Edit Cons
- High contrast and saturation can overpower scenes
- Color casts (often blue) appear frequently
- Slower generation in tests
- Reconstruction styling can feel out of place for historical scenes
- Character identity drifts without recurring references
Use Cases and Where Each Excels
Choose Nano Banana if
- You want natural, balanced color and tone out of the box.
- You plan to do structural tasks like rebuilding ruins or geometry-heavy edits.
- Speed matters and you’re okay with upscaling later.
- You need tight compositing where light, shadow, and contact feel cohesive after specific guidance.
Choose Seedream 4 Edit if
- You rely on camera language and angle control, including low angle and POV terms.
- You want higher native output resolution and flexible export sizes.
- You’re aiming for bold, punchy visuals and don’t mind taming contrast and saturation.
- You’re crafting dynamic character poses and adding props like phones for selfie shots.
Access and Pricing Used for Testing
Free option: LM Arena
There’s a free option, at least for now, via LM Arena. You can log in to save your history, but it also works without a login with a limited number of generations. Start by entering "generate images" in the prompt bar to tell LM Arena you want images. Then select Battle and choose side by side. Pick Gemini 2.5 Flash Image (Nano Banana) on the left and Seedream 4 High-Res on the right. The version without high-res kept throwing errors for me.
Drag and drop your images, enter your prompt, and generate. Output speed for Nano Banana is only a fraction of what Seedream 4 Edit needs. You’ll notice Seedream tends to go all in on contrast and color saturation.
Paid option: Fal.ai
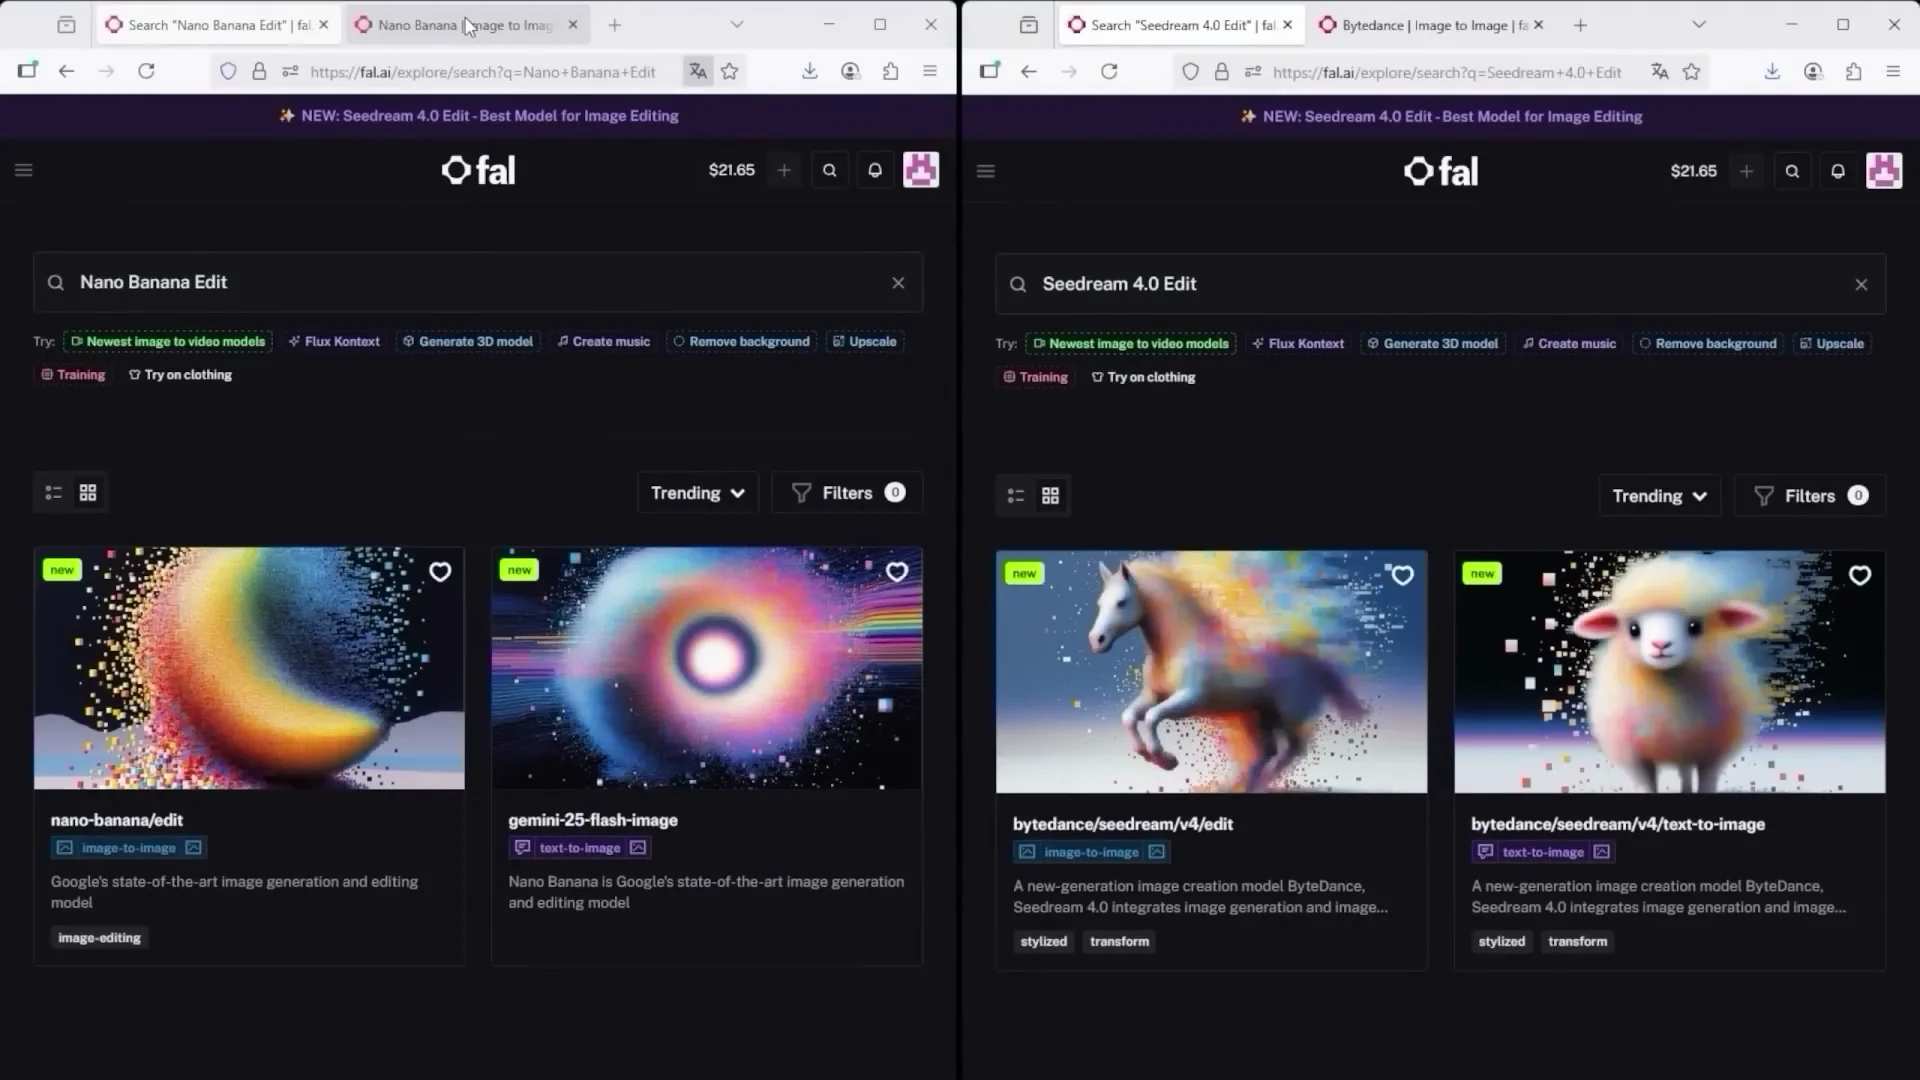
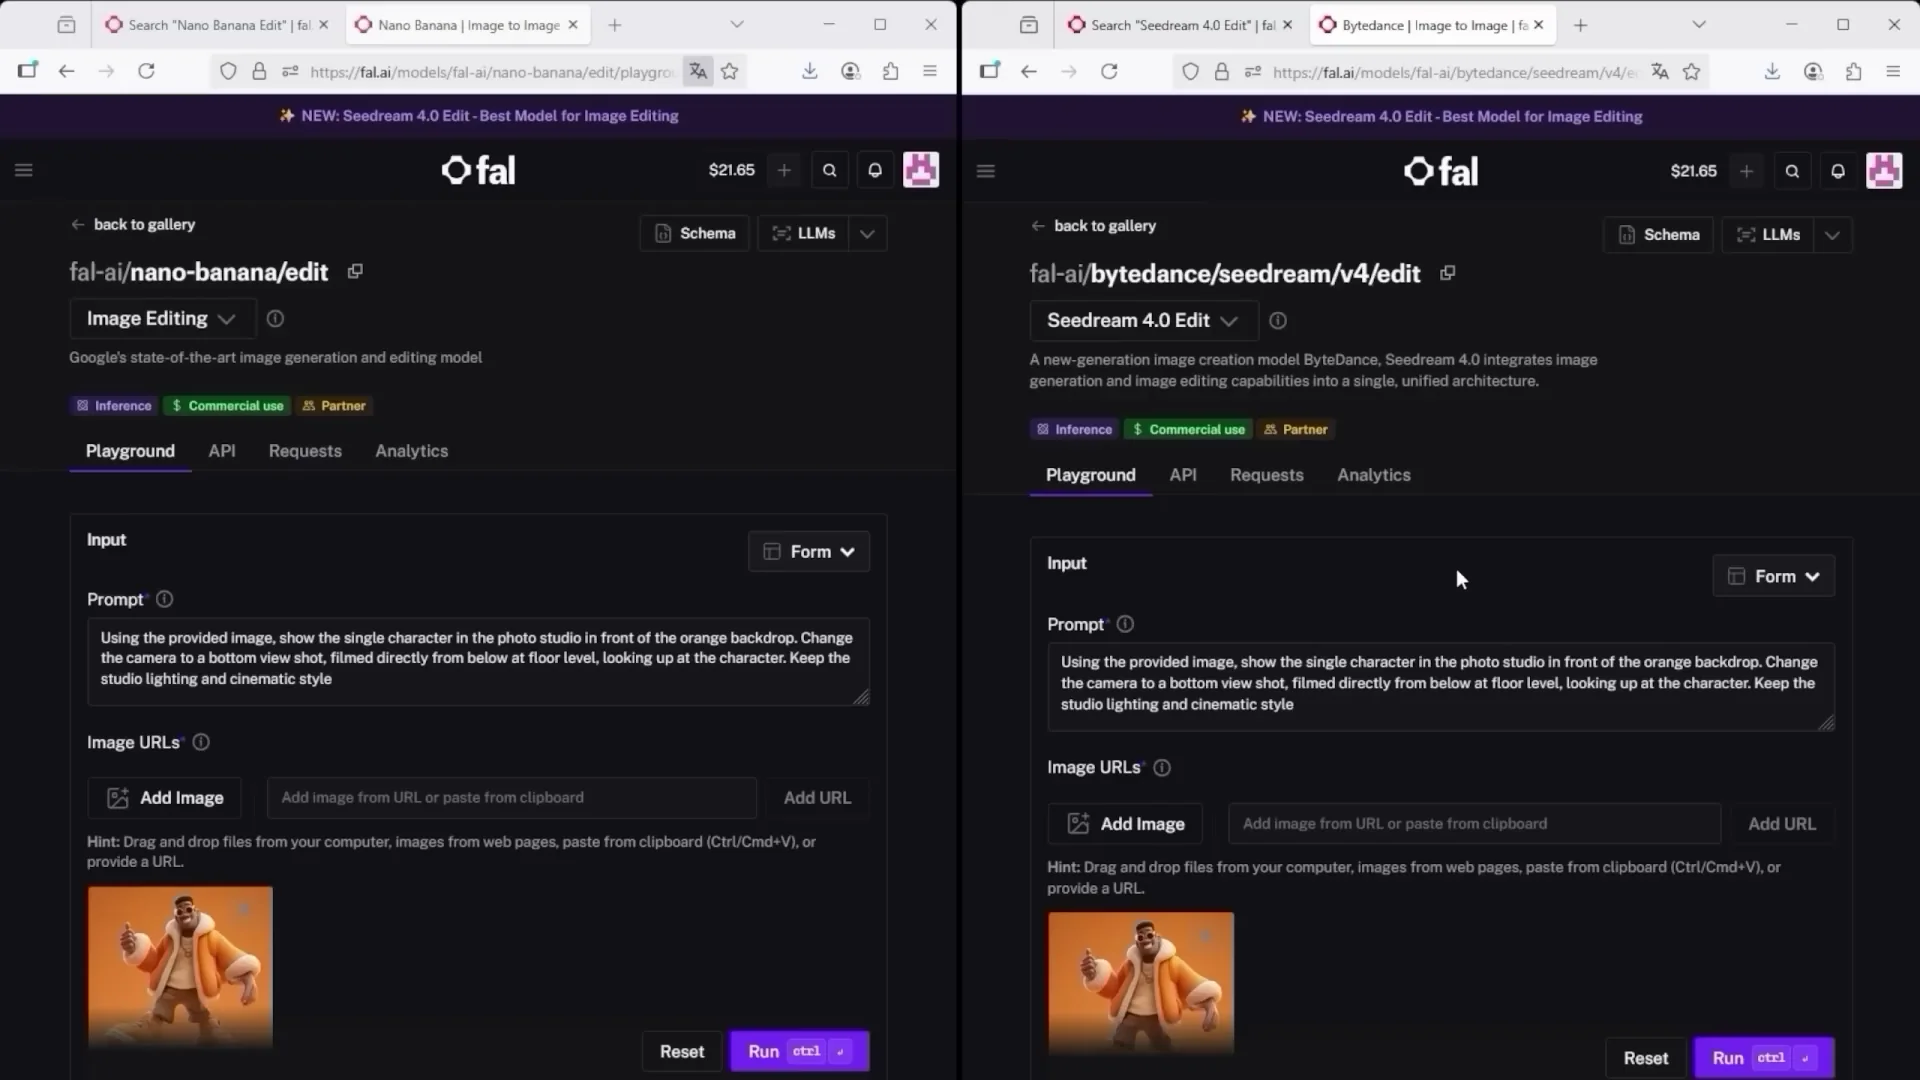
I use this mainly because I need images for commercial use. In Explore, search for "nano" and select the model called Nano Bananait. Delete preset images, upload your own, enter your prompt, and choose how many images to generate. Each image currently costs 3.9. After Run, the system generates four results.
For Seedream 4 Edit, search "Seedream 4" and choose the "image to image" tile. Remove presets and upload your own. Enter your prompt, then click More for advanced options, including image size. The custom resolution is set to 3,840 x 2,160. You can choose a predefined aspect ratio such as 16-9. That will reduce the output size, in this case to 1,024 x 576. Choose how many images you want to create. For a direct comparison with Nano Banana, I selected four again and clicked Run. The current price per image is 3 cents.
Final Conclusion
Honestly, I’m speechless. First we had image generation, now full-on image editing. You can create an entire visual universe. The big challenge is still resolution. Nano Banana maxes out at 1,344 x 768 pixels, so you’ll likely need an upscaler, which can slightly alter the image itself. Seedream 4 Edit gives you a full range of export sizes, and in custom settings you can push it up to 3,840 x 2,160. I’ve heard OpenAI is planning to launch its next powerful image editor, too. If that turns out to be true, we’ll see. One thing’s clear: everyone wants a piece of the image editing market. That’s good news for users because it means more tools, more options, more control.
Turn images into videos, ideally with start and end frames. That’s when it gets wild. As for reference images, we’ll see how well platforms can preserve source files over time or if every tiny edit chips away at consistency. That’s exactly what my experiment showed. Keep reminding the AI: please use my reference. Make sure the core features of my character, object, or whatever it is stay intact.
Recommendations:
- For natural tone, fast output, and stronger geometry, start with Nano Banana and plan for upscaling.
- For strict camera angle control, punchy visuals, and 4K-class exports, Seedream 4 Edit is the better fit.
- In both editors, re-insert reference images regularly to preserve character identity.
- Use longer prompts when extending scenes or matching light and occlusion. Short prompts are fine for simple changes, but details put you in control.
Recent Posts

How to use Grok 2.0 Image Generator?
Learn how to access Grok 2.0’s AI image generator (Premium required), write better prompts, and avoid pitfalls like real people and brands. Step-by-step tips.
How to use Instagram AI Image Generator?
Use Meta AI in Instagram DMs to turn text into images—and even animate them. It’s free, fast, and built in. No external apps needed; create art right in chat.
Leonardo AI 2026 Beginner’s Guide: Create Stunning Images Fast
Learn Leonardo AI step by step—sign up, explore Home, and generate or enhance photos with free, powerful tools. A quick, clear starter for beginners.