How to Use Flux AI on PC: Free Image Generator Guide
Flux AI Tutorial: Generate Realistic Images on Your Computer
Learn how to use Flux AI on your computer to generate beautiful looking images just by typing what you want to see. Flux is known for generating very realistic images. It does a good job with hands and it also renders text accurately. That's something lots of other AI models struggle with.
Install Flux with Pinokio

Download and Set Up Pinokio
To install Flux, we're going to use a tool called Pinokio. Pinokio handles installing all of the required dependencies like Python, pip, git, nodeJS and others. You basically get everything that you need to run AI models. It's the easiest way to get it to just work. That's why I recommend it.
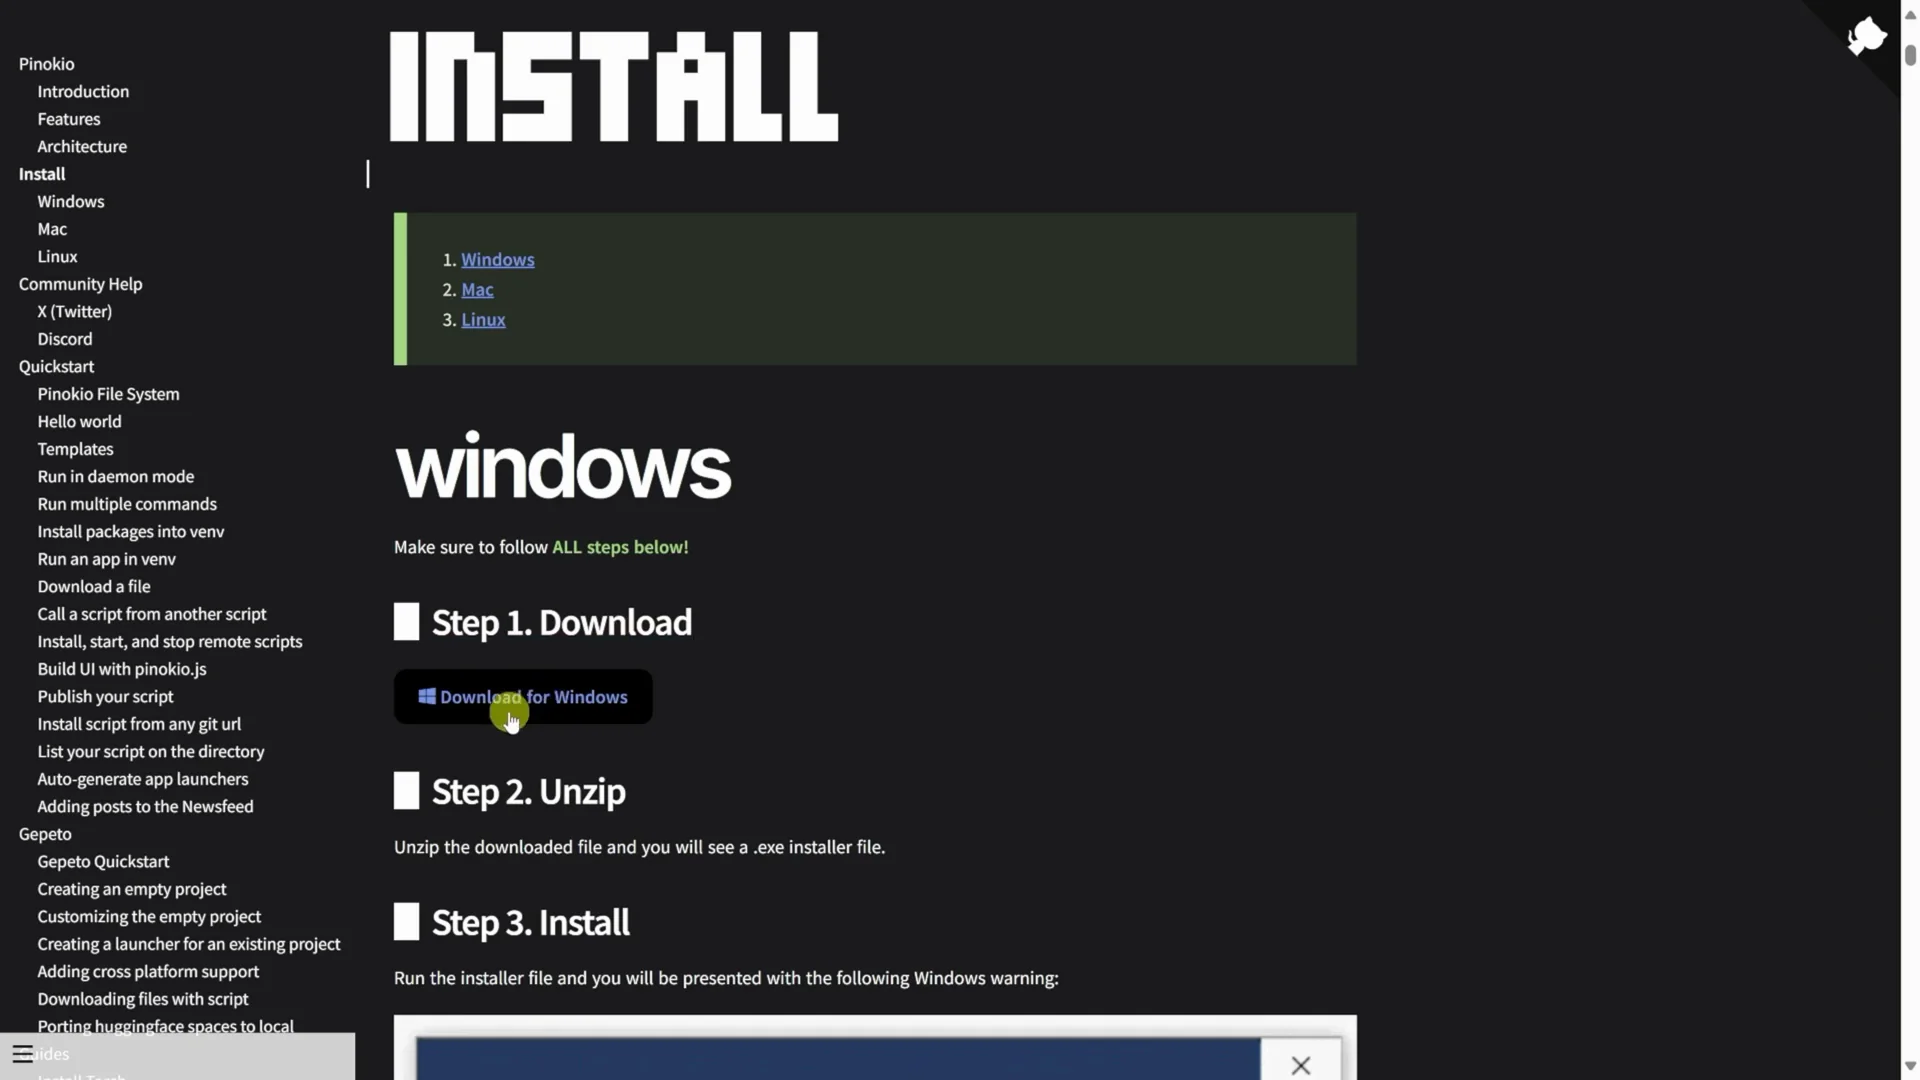
To get Pinokio, head to the website. Click the button that says download. You can install on Windows, Mac or Linux. I'm going to install on Windows, so I'll click on download for Windows. Once it's done downloading, run through the install process. When you finish installing Pinokio and launch the app, you'll land on the welcome screen.
Install the Flux Web UI
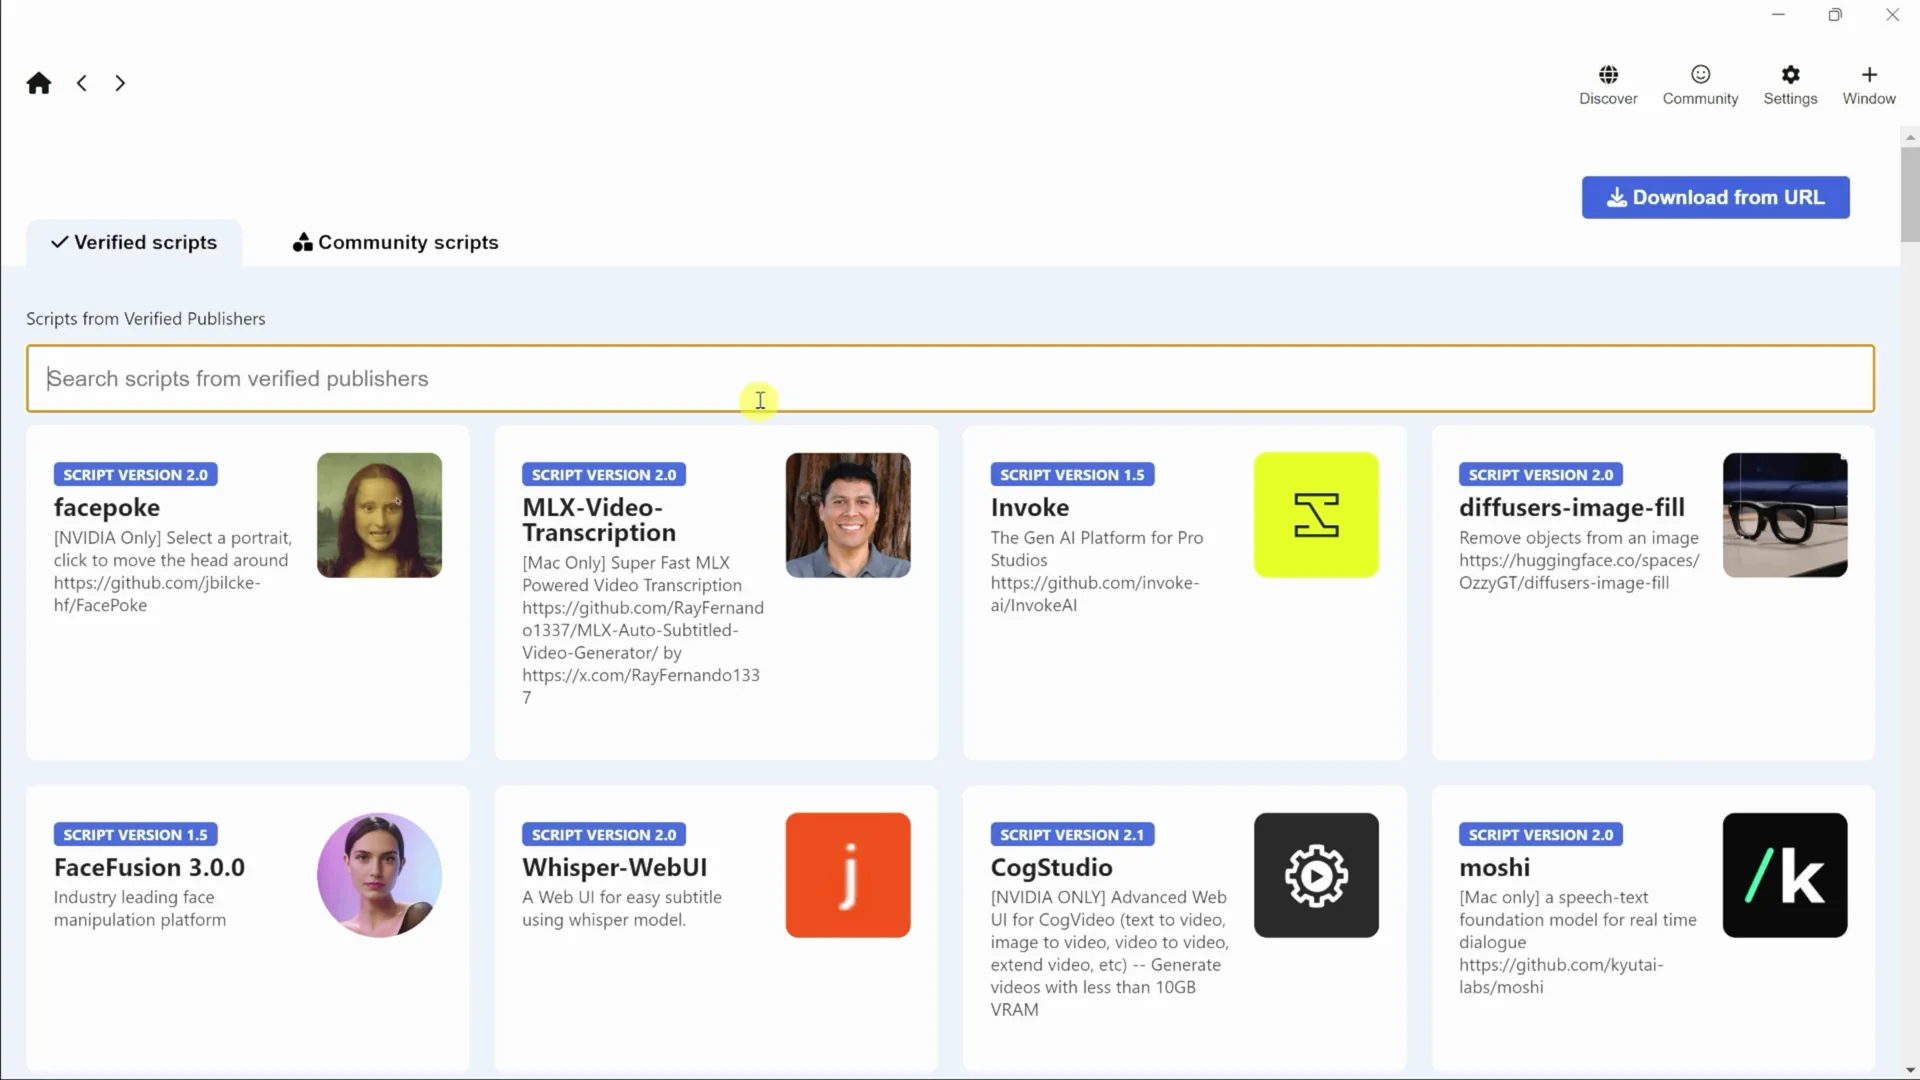
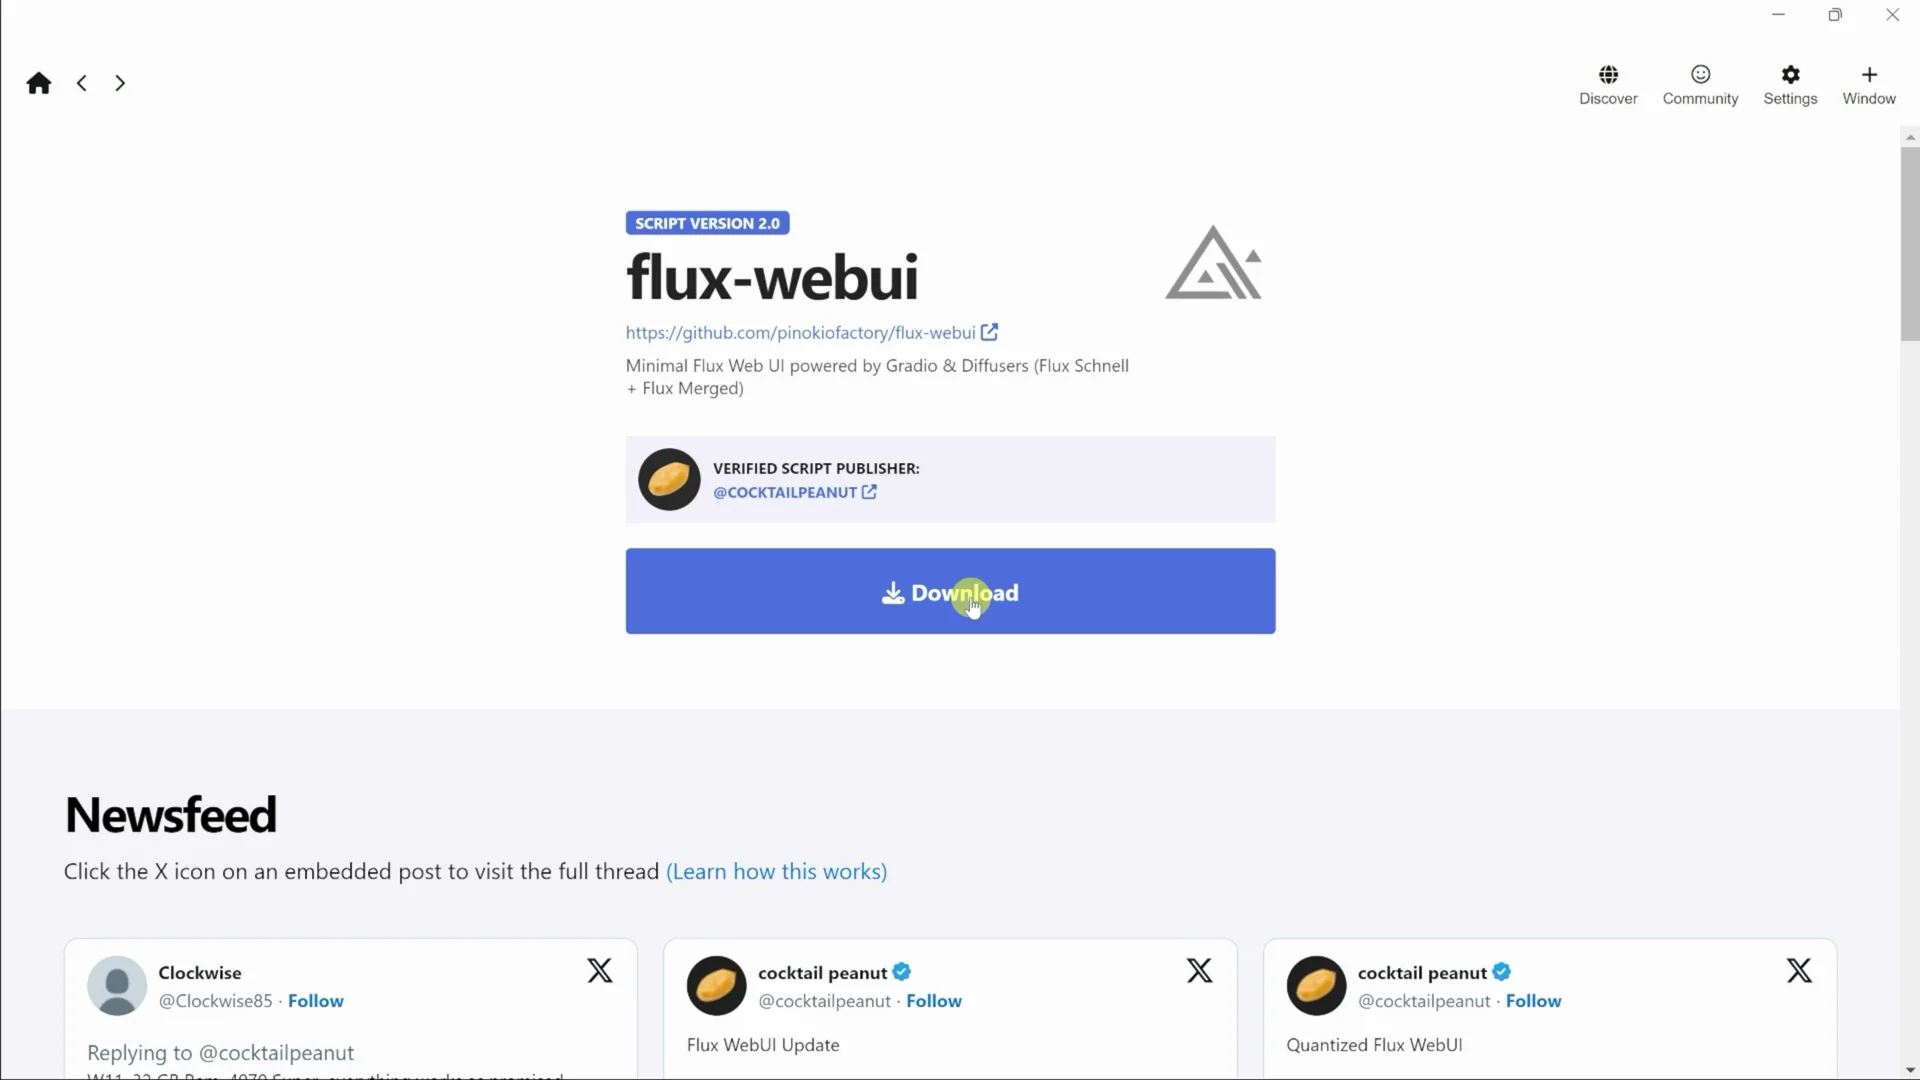
To install Flux, in the top right-hand corner, click the button that says discover, and you can see all the different AI models that you can run through Pinokio. Up on top, type in Flux. Select the option to install a minimal Flux web UI, then click download.
On the next screen, you'll see all the different dependencies required to be able to run Flux. Pinokio will take care of installing all of these, and you don't have to worry about going through one by one and installing different items. At the bottom, click install. You'll see notifications on the right-hand side that keep you updated on the progress. Once all dependencies finish installing, it will automatically launch the web UI for Flux.
Use the Flux Web UI
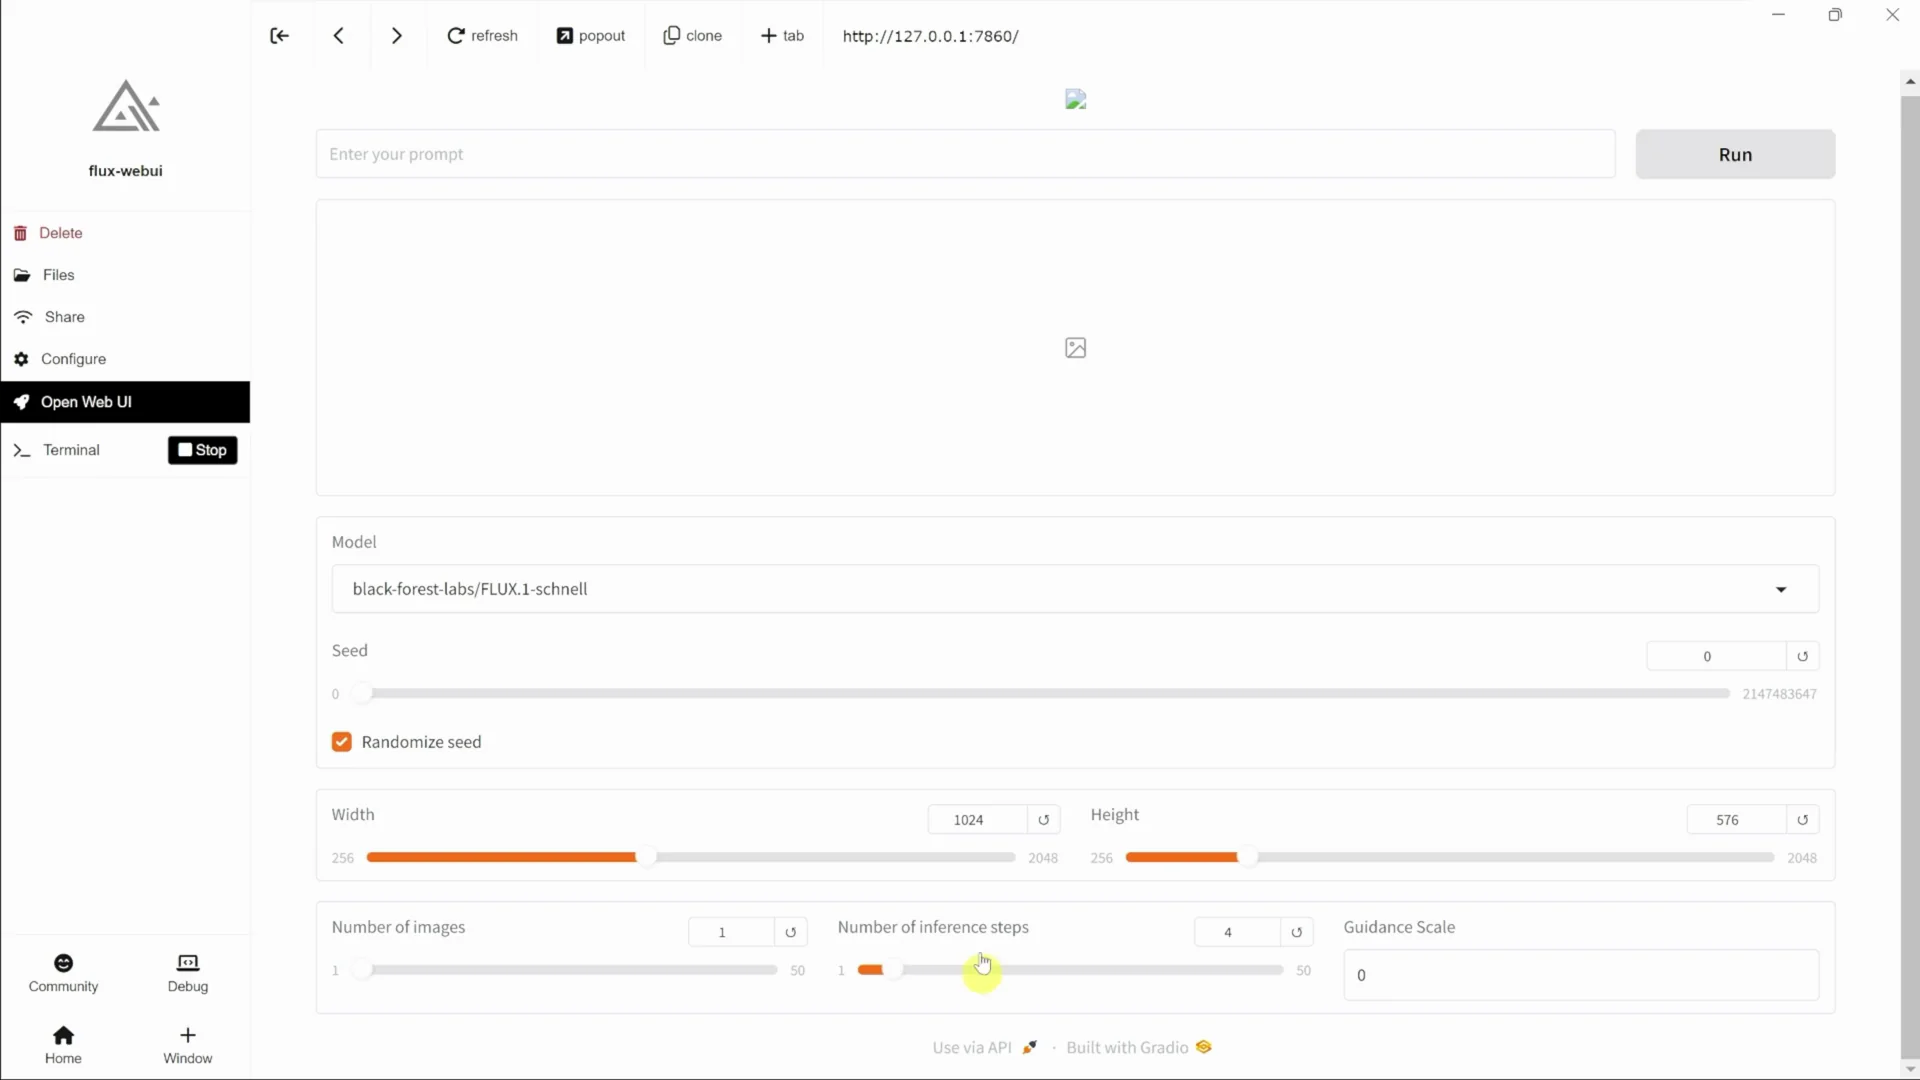
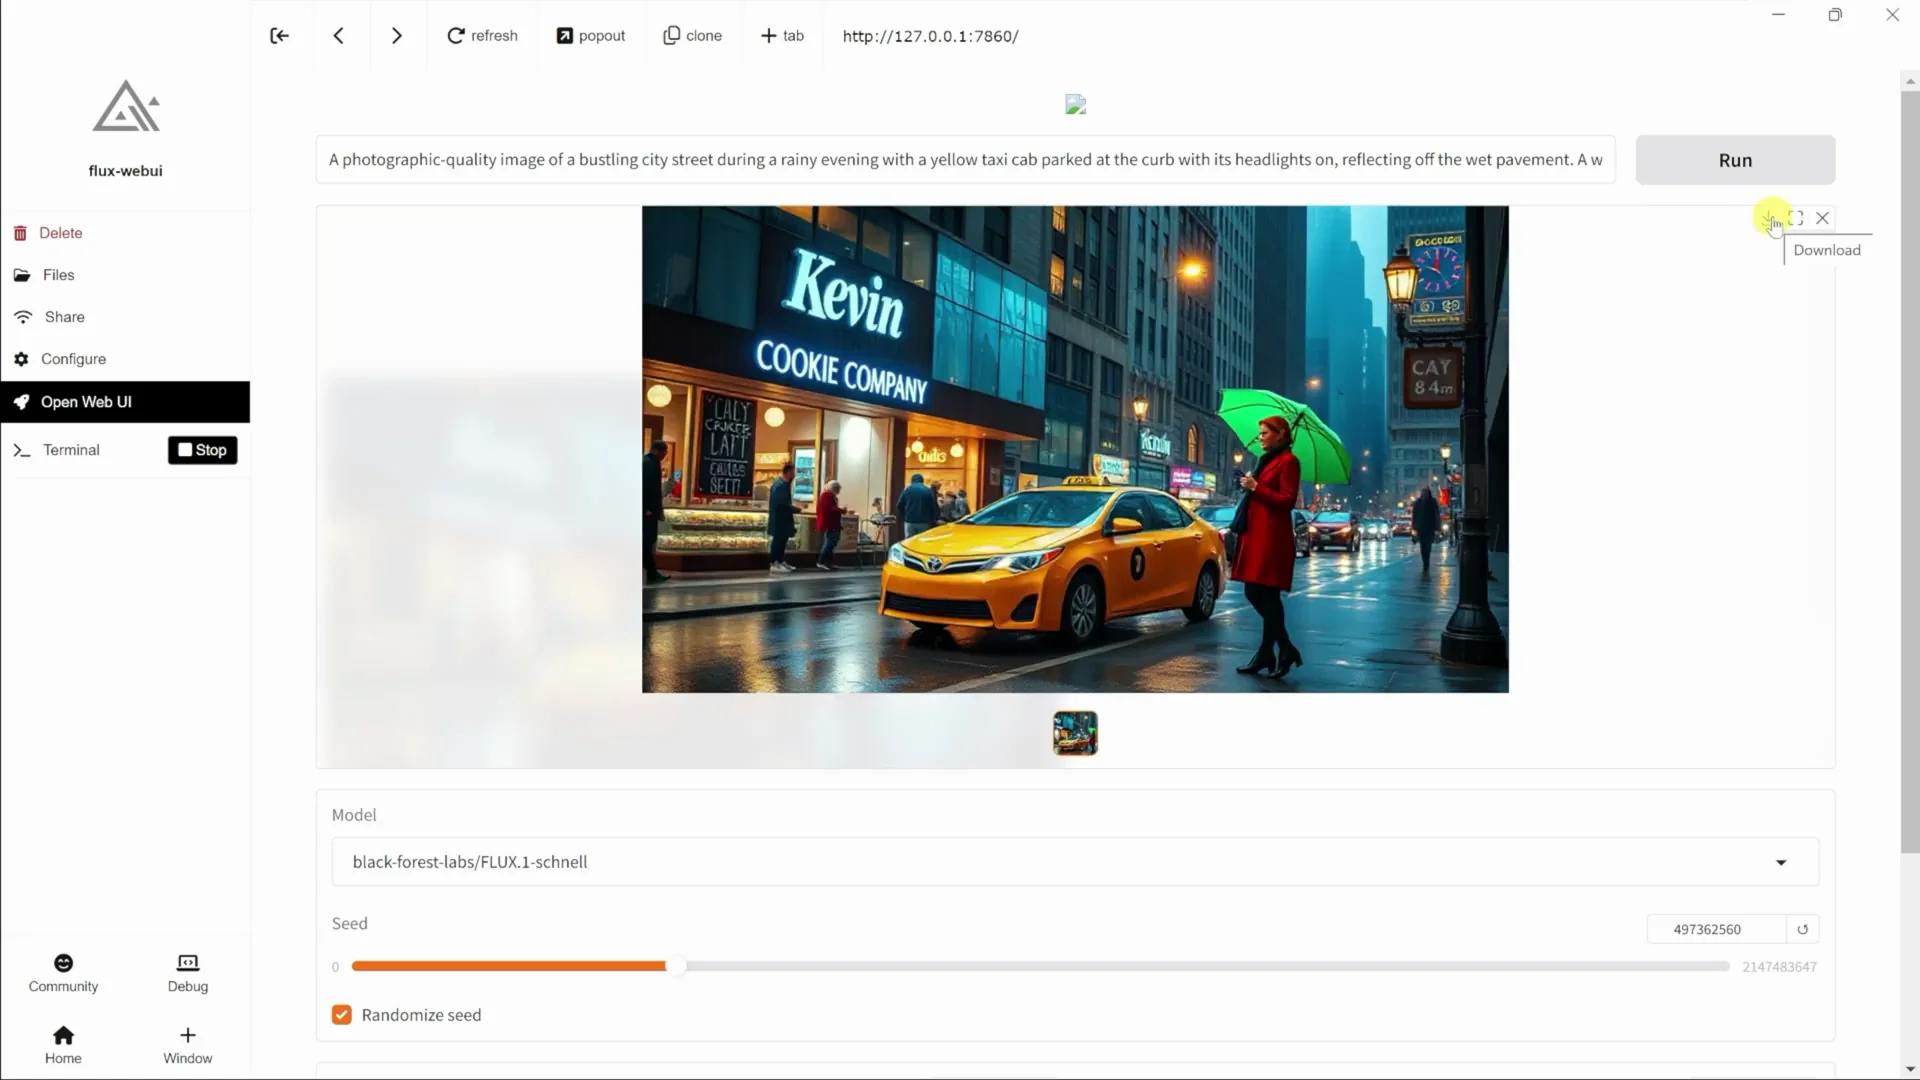
At the top, you can type in your prompt, and below, you'll see the resulting image. You can also select the model that you would like to run, and there are two different models available.
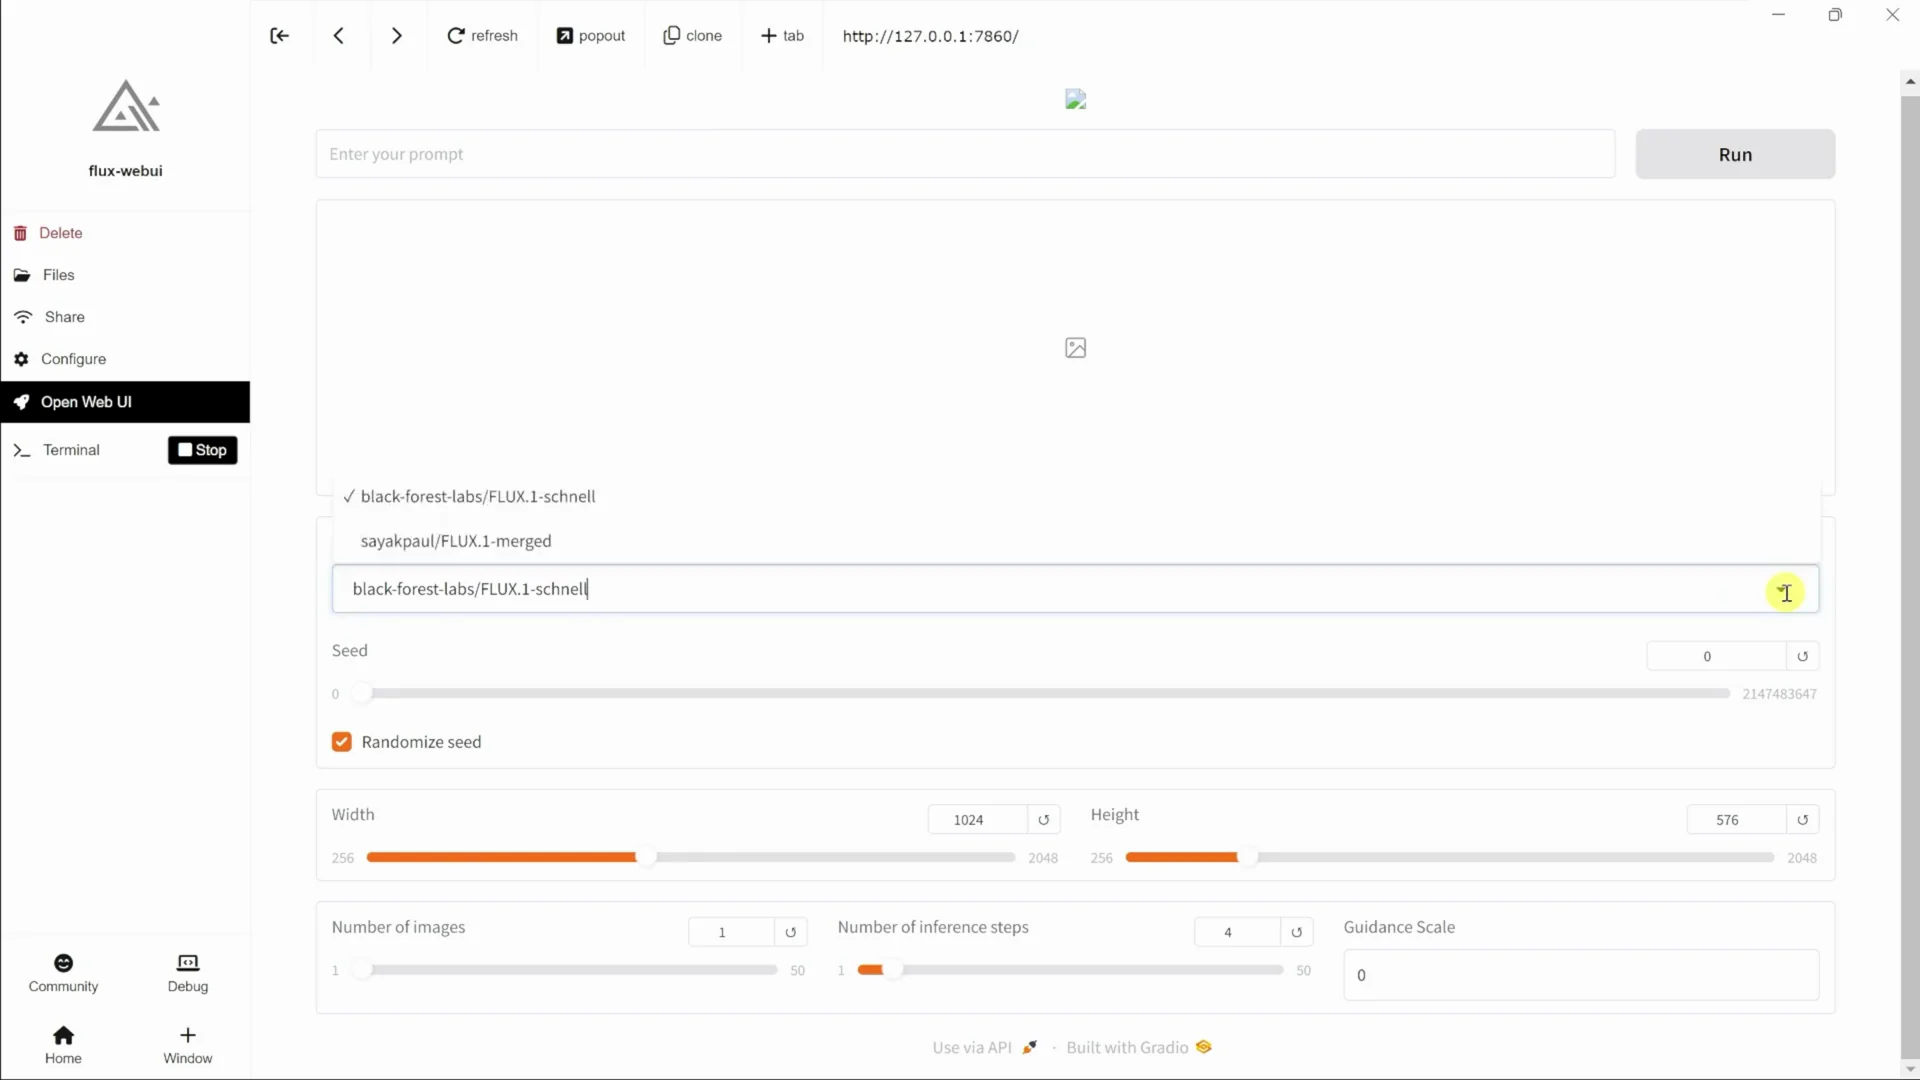
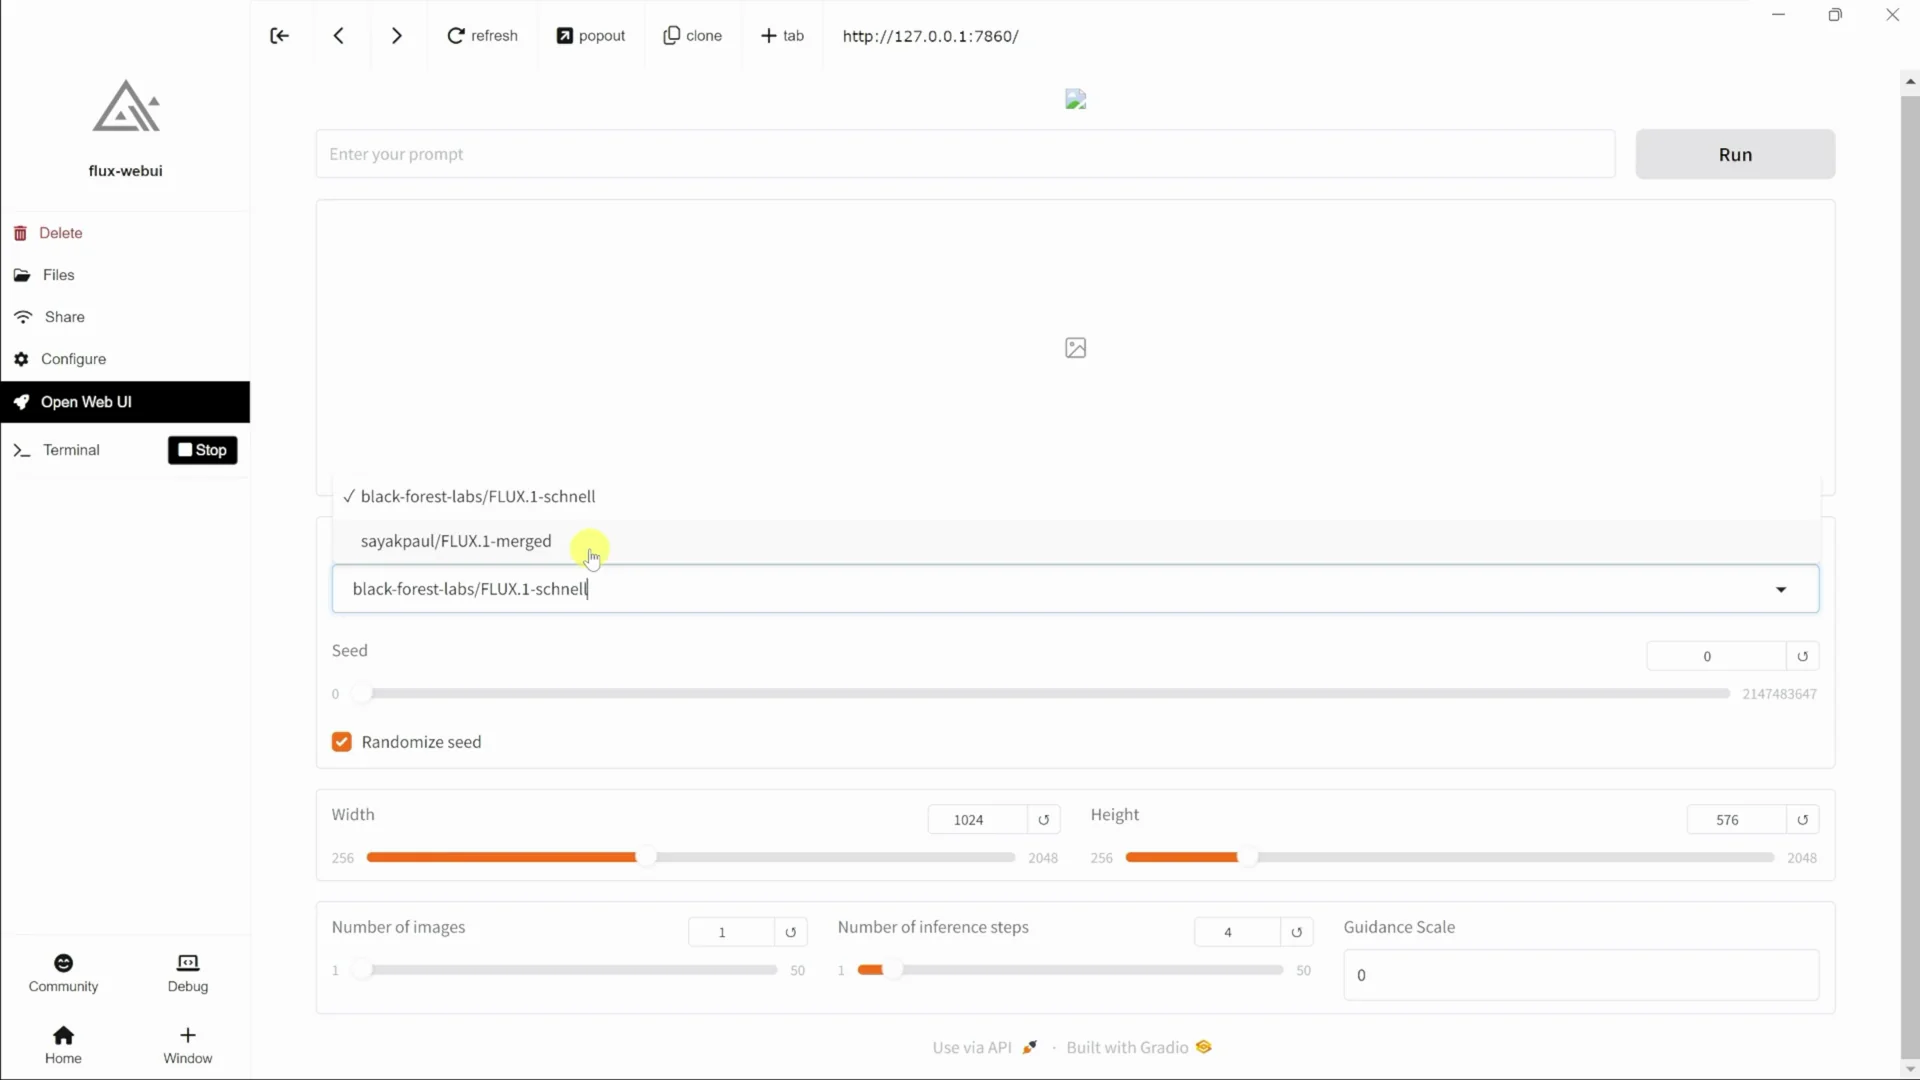
Choose a Model
There's the Schnell model. This one will generate images somewhat faster, but quality may not be as good. The good thing here is you could use these images commercially.
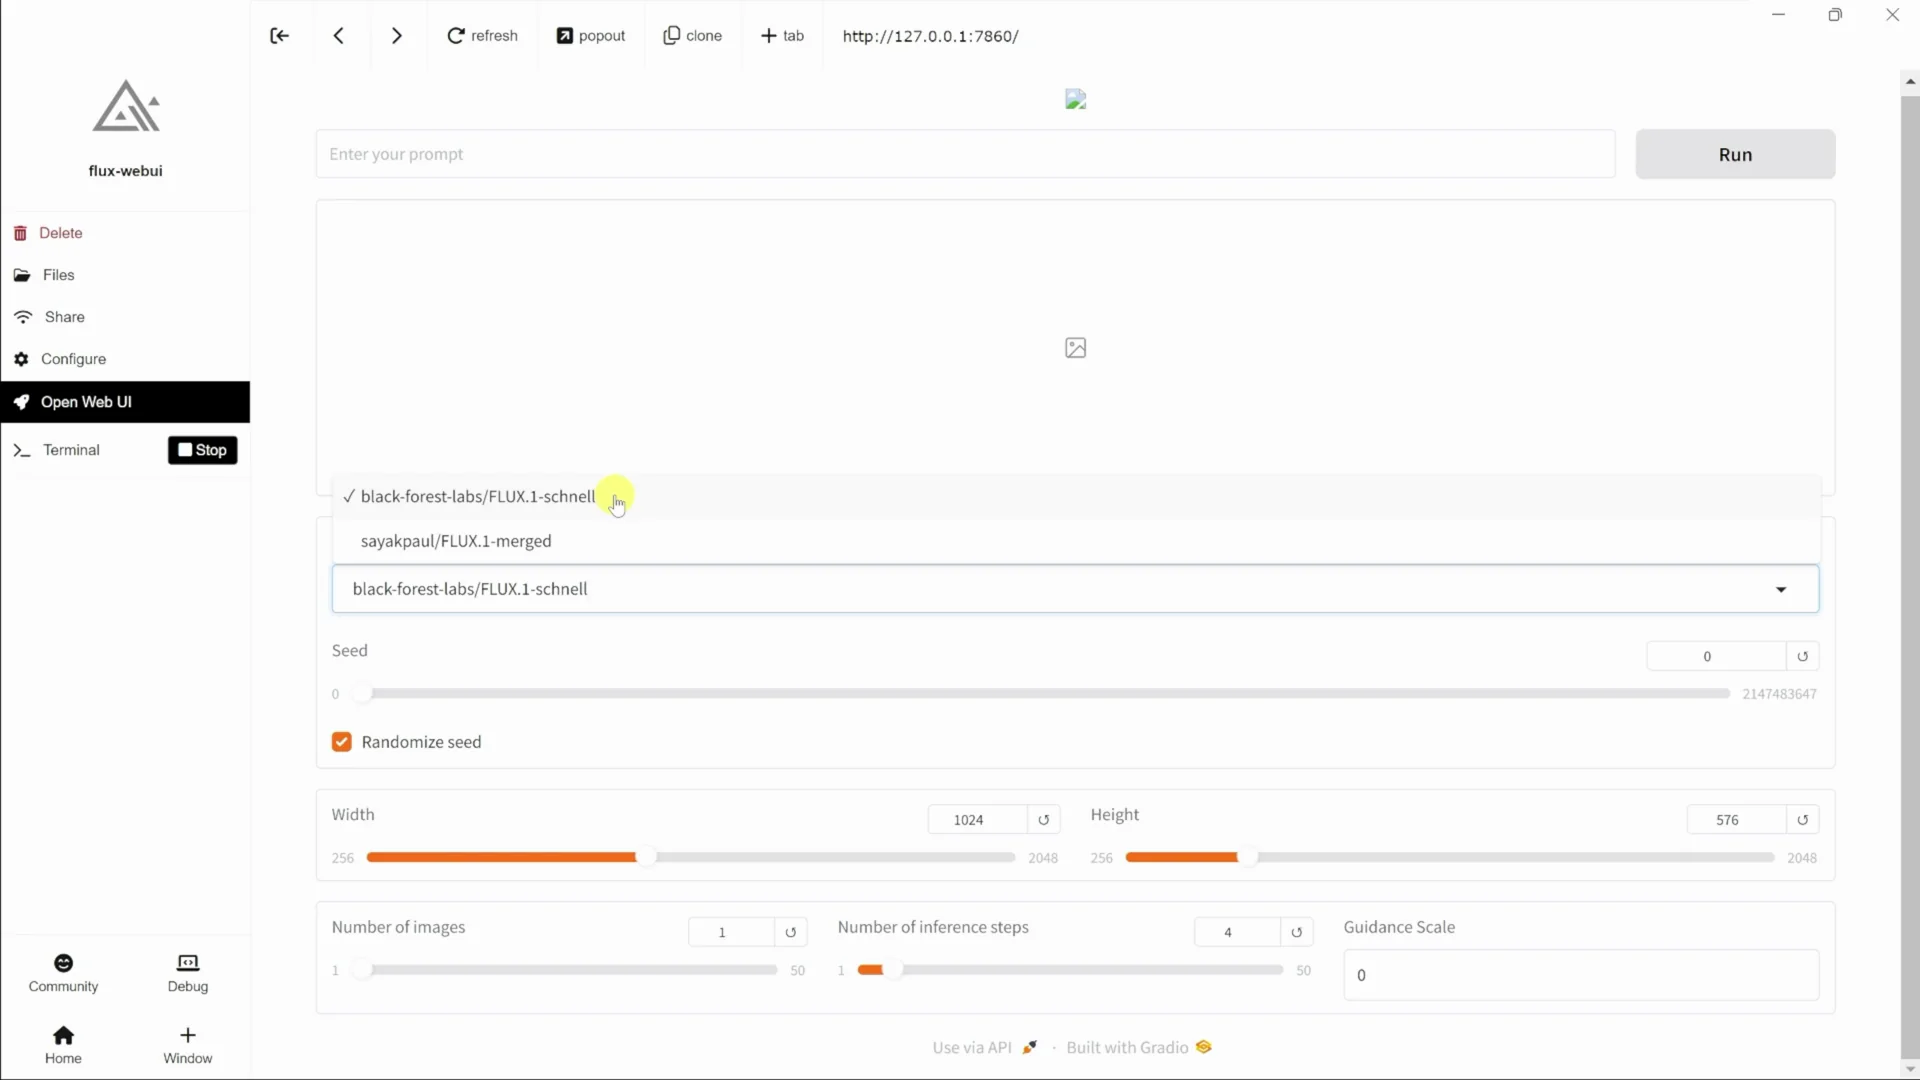
There's another model, the dev model. This one will take a little bit longer, and it'll give you the highest possible quality level. However, you cannot use these commercially.
Settings and Running a Prompt
You can select the seed. I have it set to randomized, and you can also define the width, the height, and a few other settings.

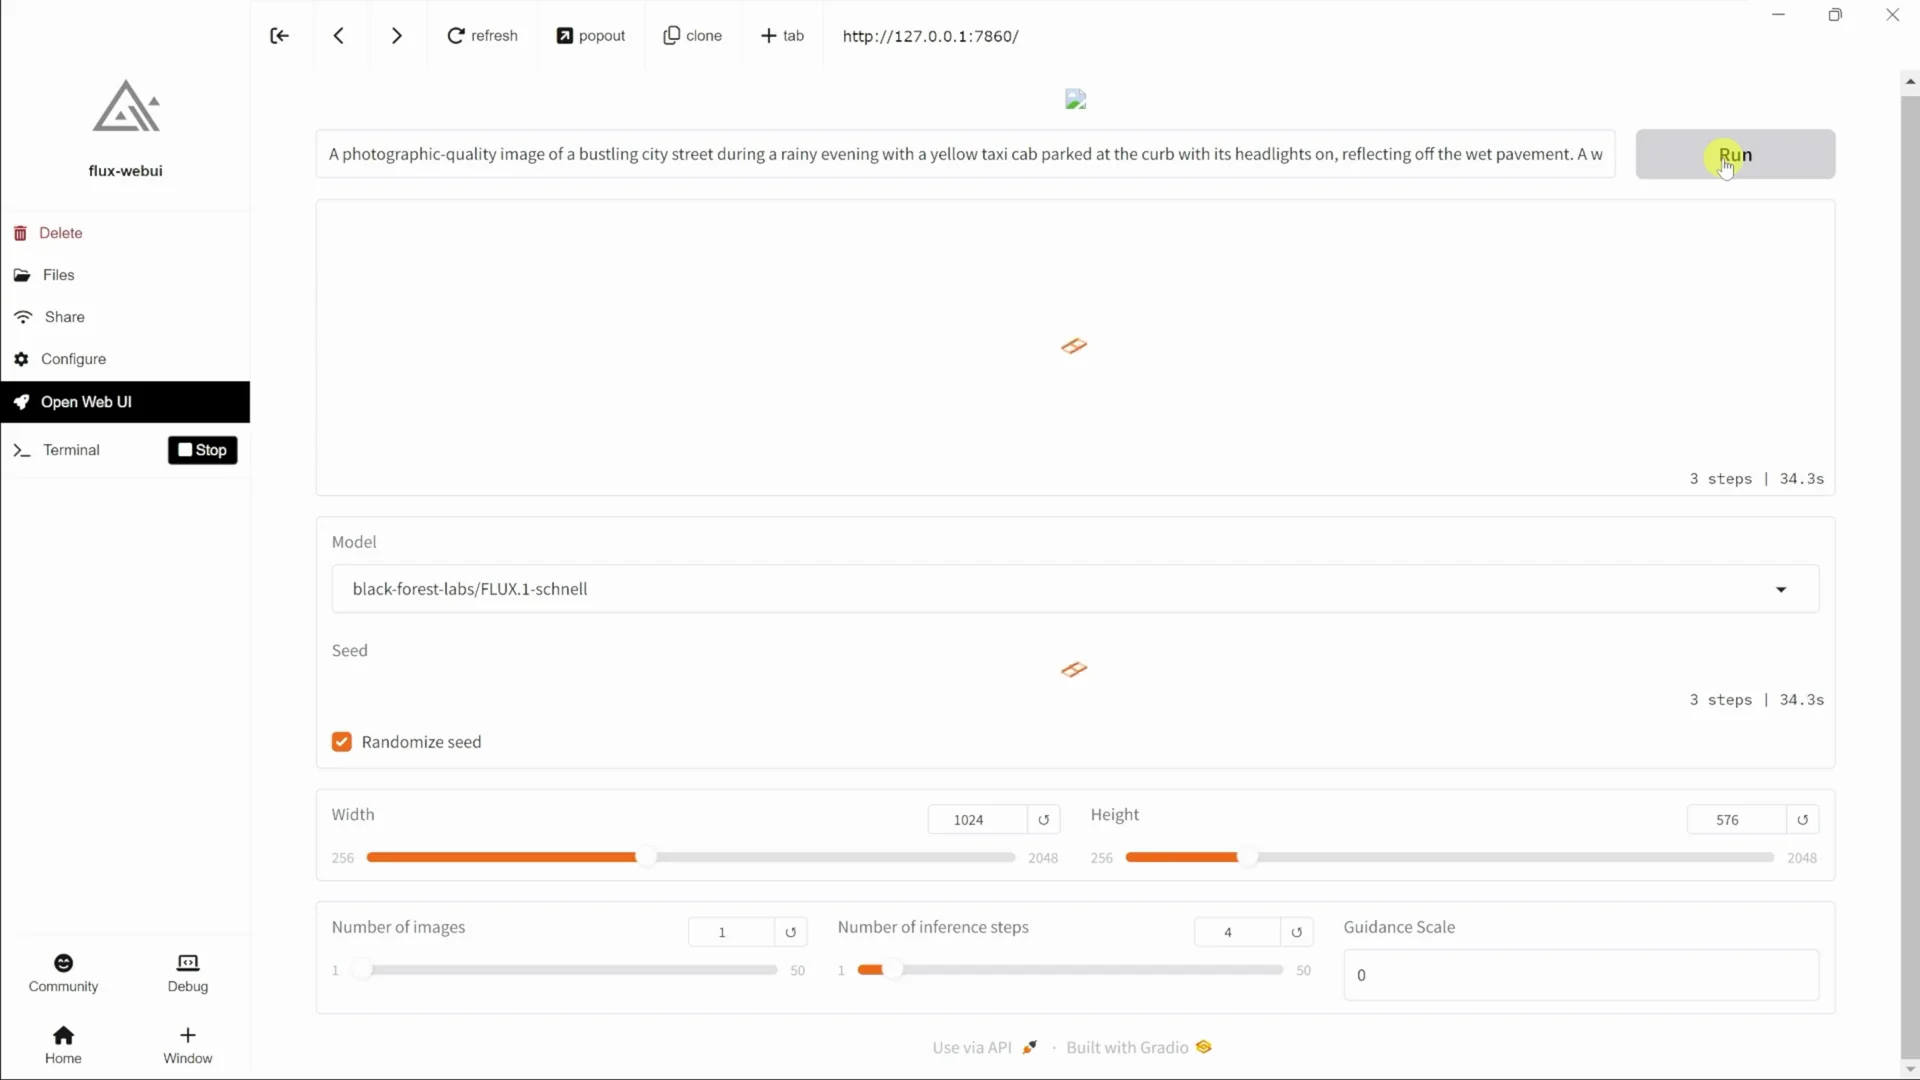
At the top, let me type in a prompt. I'll type this in, and on the right-hand side, I'll click on Run. For the best possible performance, I'd recommend using an NVIDIA RTX graphics card. I can now see my image. It looks like the text is 100% accurate.
Download Your Image
To download this image, click on it. Then choose the option to download as a PNG.
Final Thoughts
Flux makes it easy to generate beautiful looking images directly on your PC. With Pinokio handling the setup and Flux offering fast and high-quality models, you can type a prompt, adjust a few settings, and get impressive results.
Recent Posts

How to use Grok 2.0 Image Generator?
Learn how to access Grok 2.0’s AI image generator (Premium required), write better prompts, and avoid pitfalls like real people and brands. Step-by-step tips.
How to use Instagram AI Image Generator?
Use Meta AI in Instagram DMs to turn text into images—and even animate them. It’s free, fast, and built in. No external apps needed; create art right in chat.
Leonardo AI 2026 Beginner’s Guide: Create Stunning Images Fast
Learn Leonardo AI step by step—sign up, explore Home, and generate or enhance photos with free, powerful tools. A quick, clear starter for beginners.