How to use Canva AI Image Generator?
Canva is full of thousands of amazing stock images. You can do a lot with their graphic design elements, but you will be using things that millions of other people have used. Your project may not look exactly like somebody else's, but there could be similarity, and that may be a big deal if you are doing something in marketing or advertising.
If you want something that is really unique and has not been duplicated by somebody else, the Canva AI Image Generator comes in handy. I am using Canva Pro. You can generate AI images in Canva Free.
Accessing the Canva AI Image Generator
There are a few different options for accessing the Canva AI Image Generator.
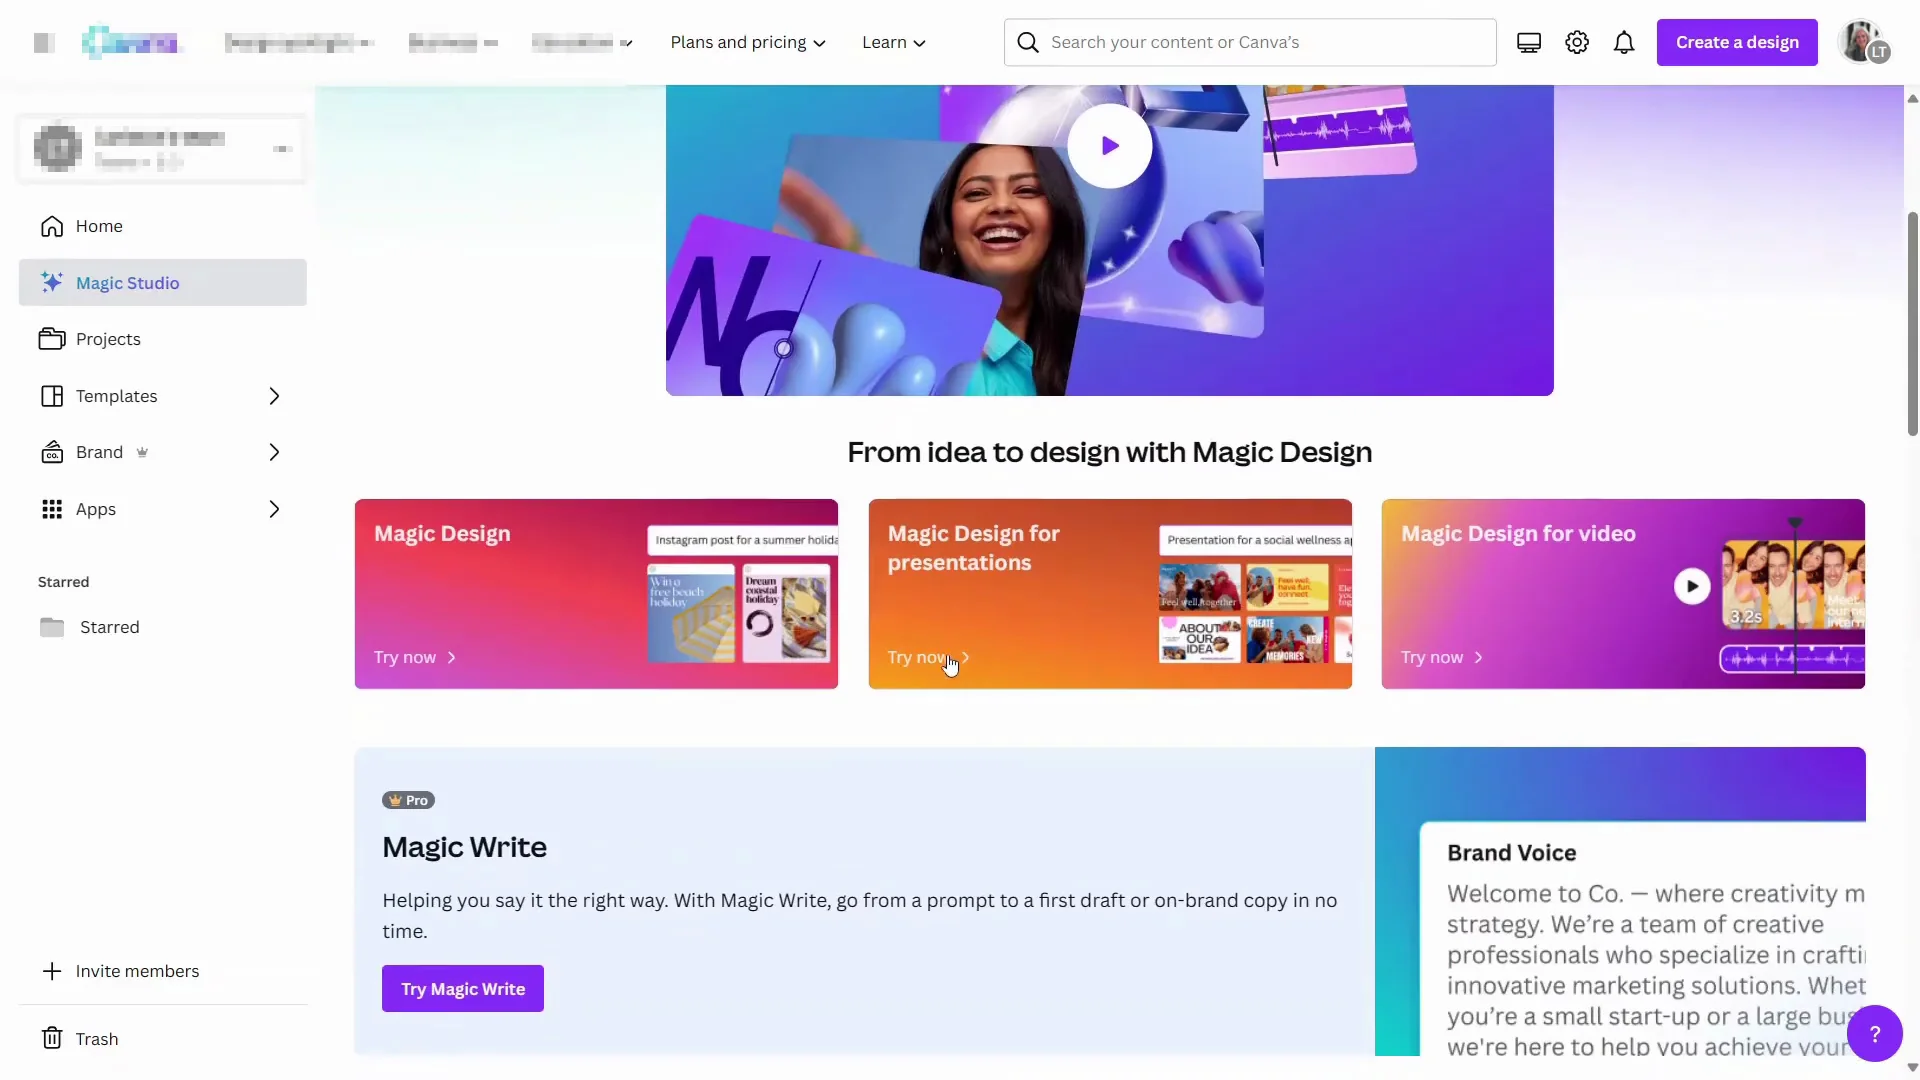
- Click Magic Studio to start building with one of the Try Now options.
- From the homepage, select whatever you want to use as your finished project, then open it.
Each time you generate an image you will be using a credit. With the Canva Pro plan you get 500 per month.
Why Use the Canva AI Image Generator
It not only gives you something unique, but it enables you to come up with images that you probably will not ever find elsewhere in Canva. If you want something extremely specific, it probably will not appear in the stock photos or in the graphics. By using the Canva AI Image Generator, you can come up with exactly what you want and you can tweak it.
Walkthrough: Creating a Book Cover With the Canva AI Image Generator
I will demonstrate by creating a book cover.
Start the Project
- Start with a blank book cover design.
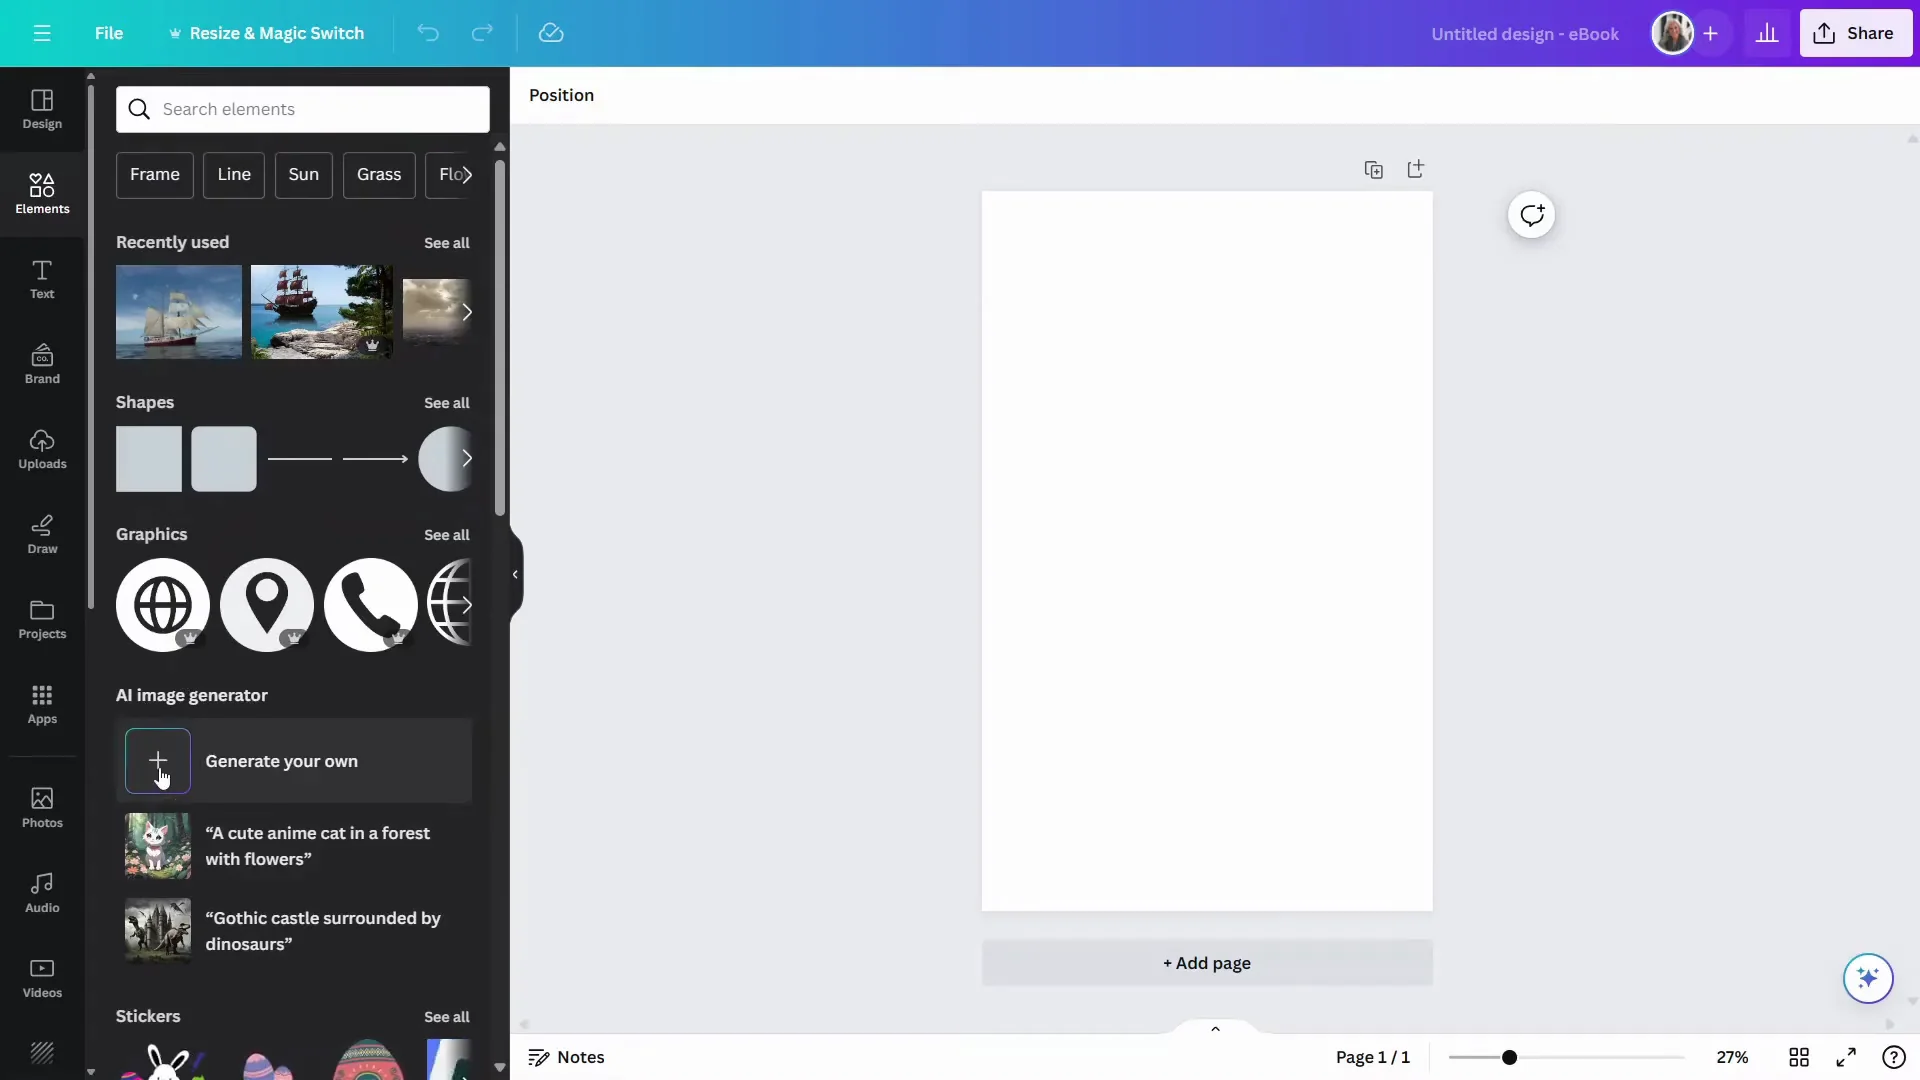
- Click Elements.
- In the AI image generator section, choose Generate your own.
You can do videos with this as well, but here I am sticking with images.
Prompt and Settings
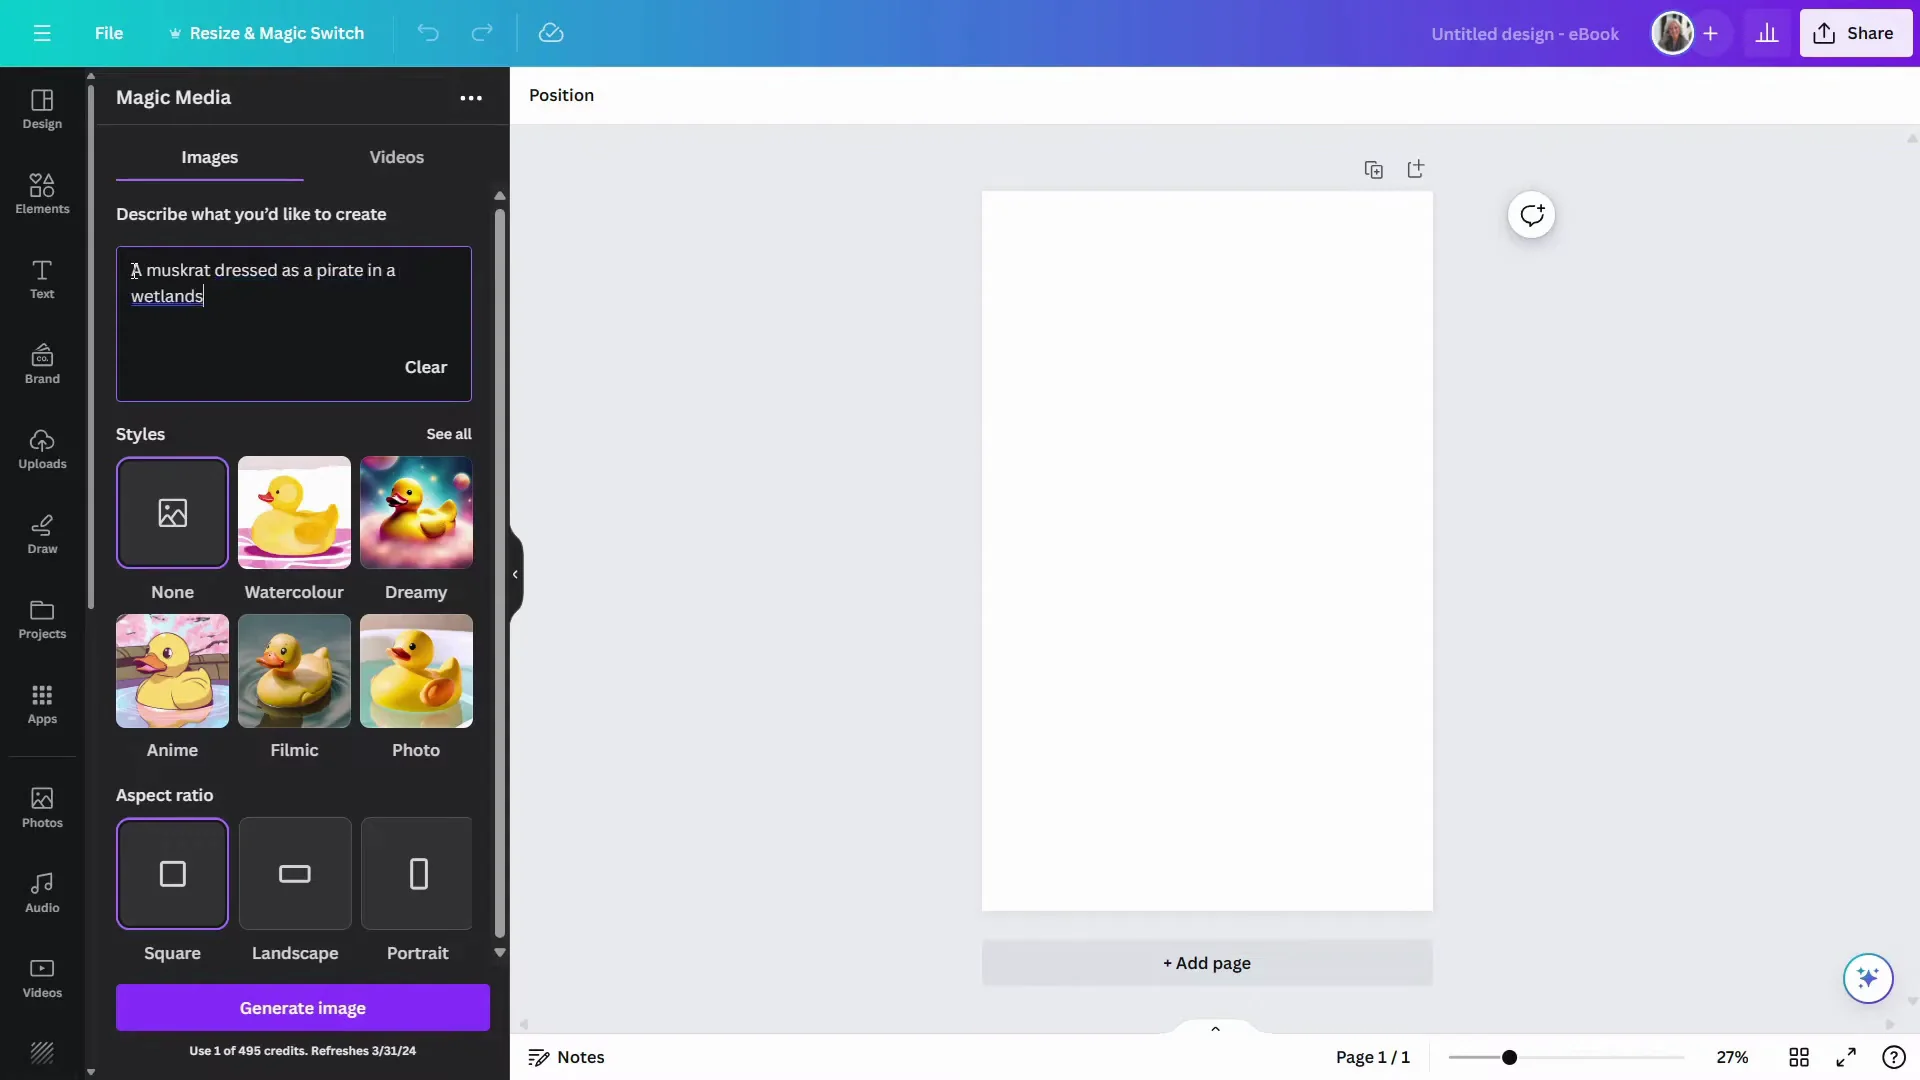
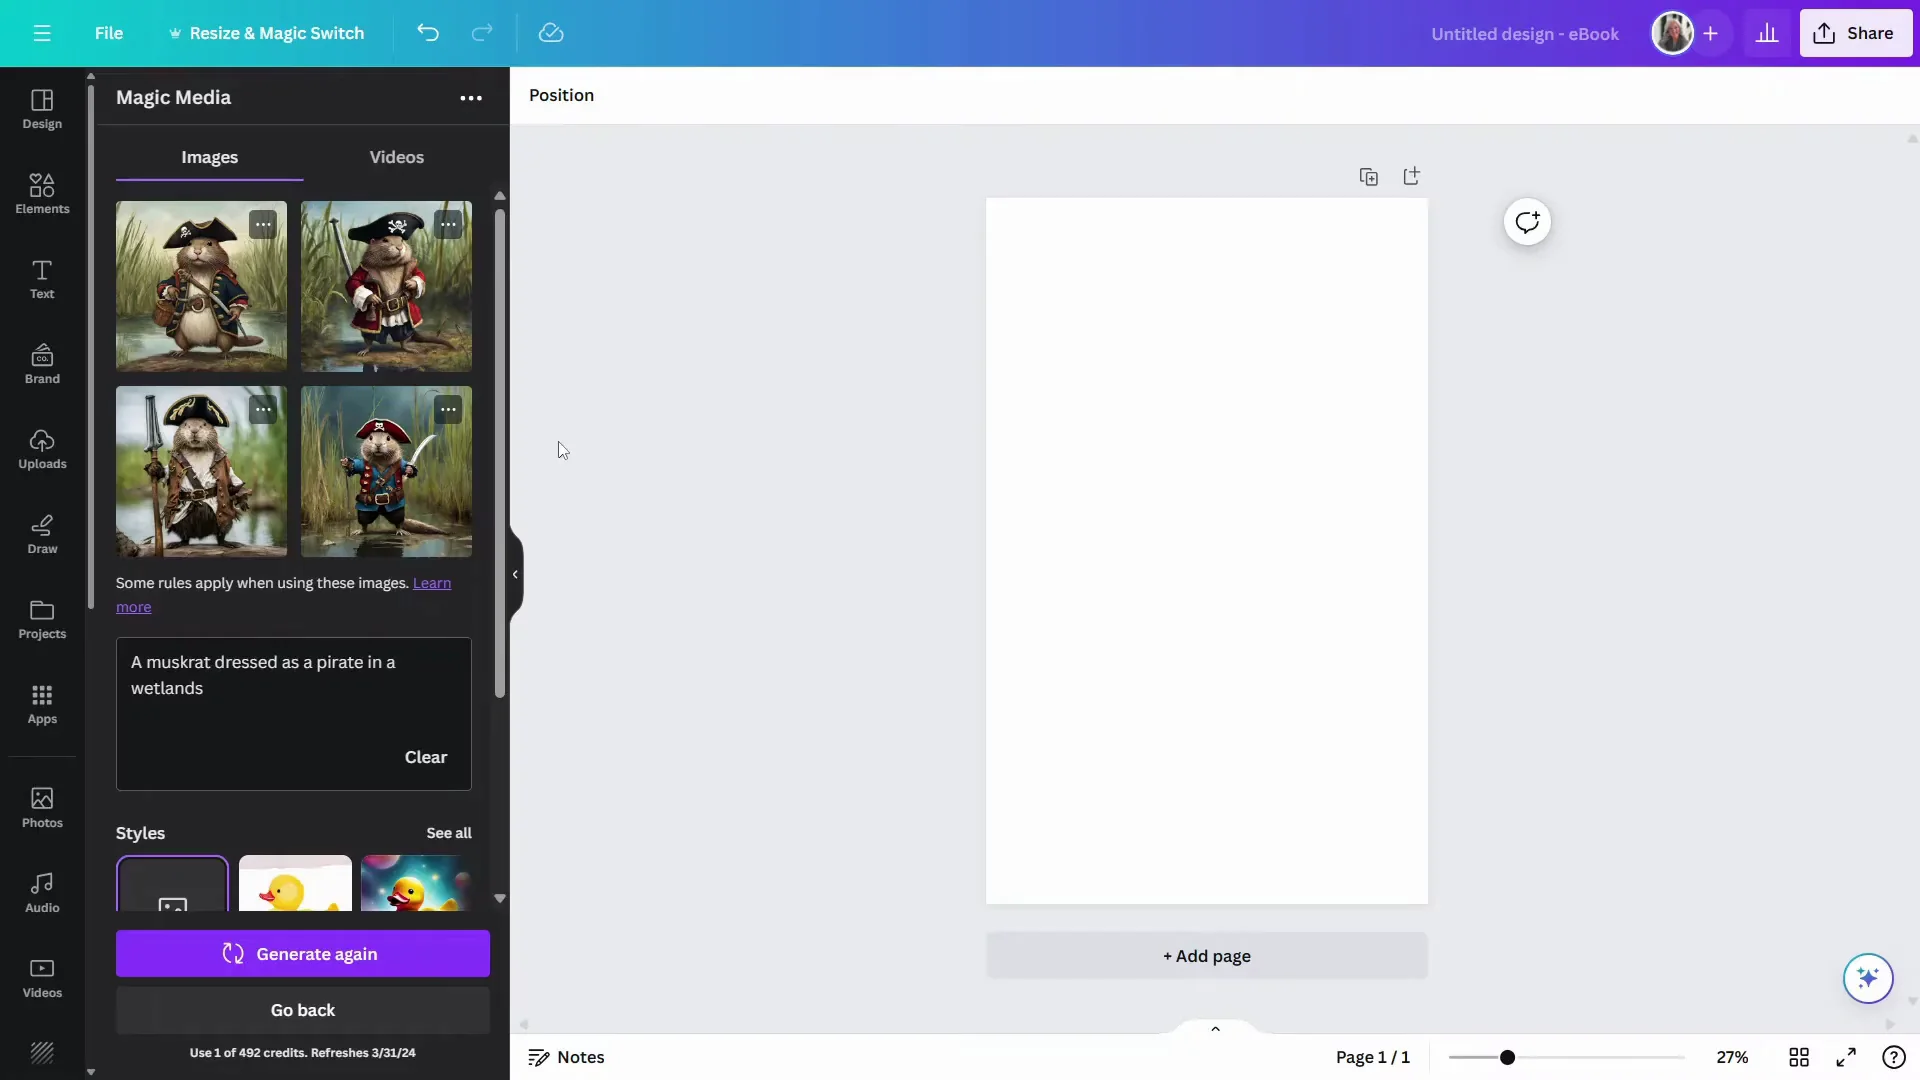
- Enter a description with five or more words. Example: muskrat pirates in a wetlands background.
- In Styles, leave it at None to get more to choose from. You can pick options like anime or photo realistic if you want a specific look.
- Keep the aspect ratio at Square, or choose what fits your project.
- Click Generate image.
It will generate four images for you. AI is a work in progress, so pay close attention to what is in the final image. You can wind up with strange looking things, particularly with hands or fingers, and that can apply to animal characters or humans.
- Drag the one you like onto the canvas.
- Click the ellipses on any option to Generate more like this if you want more in that same style.

Editing the Generated Image in Canva
Once your image is on the canvas, here is how I enhance and customize it.
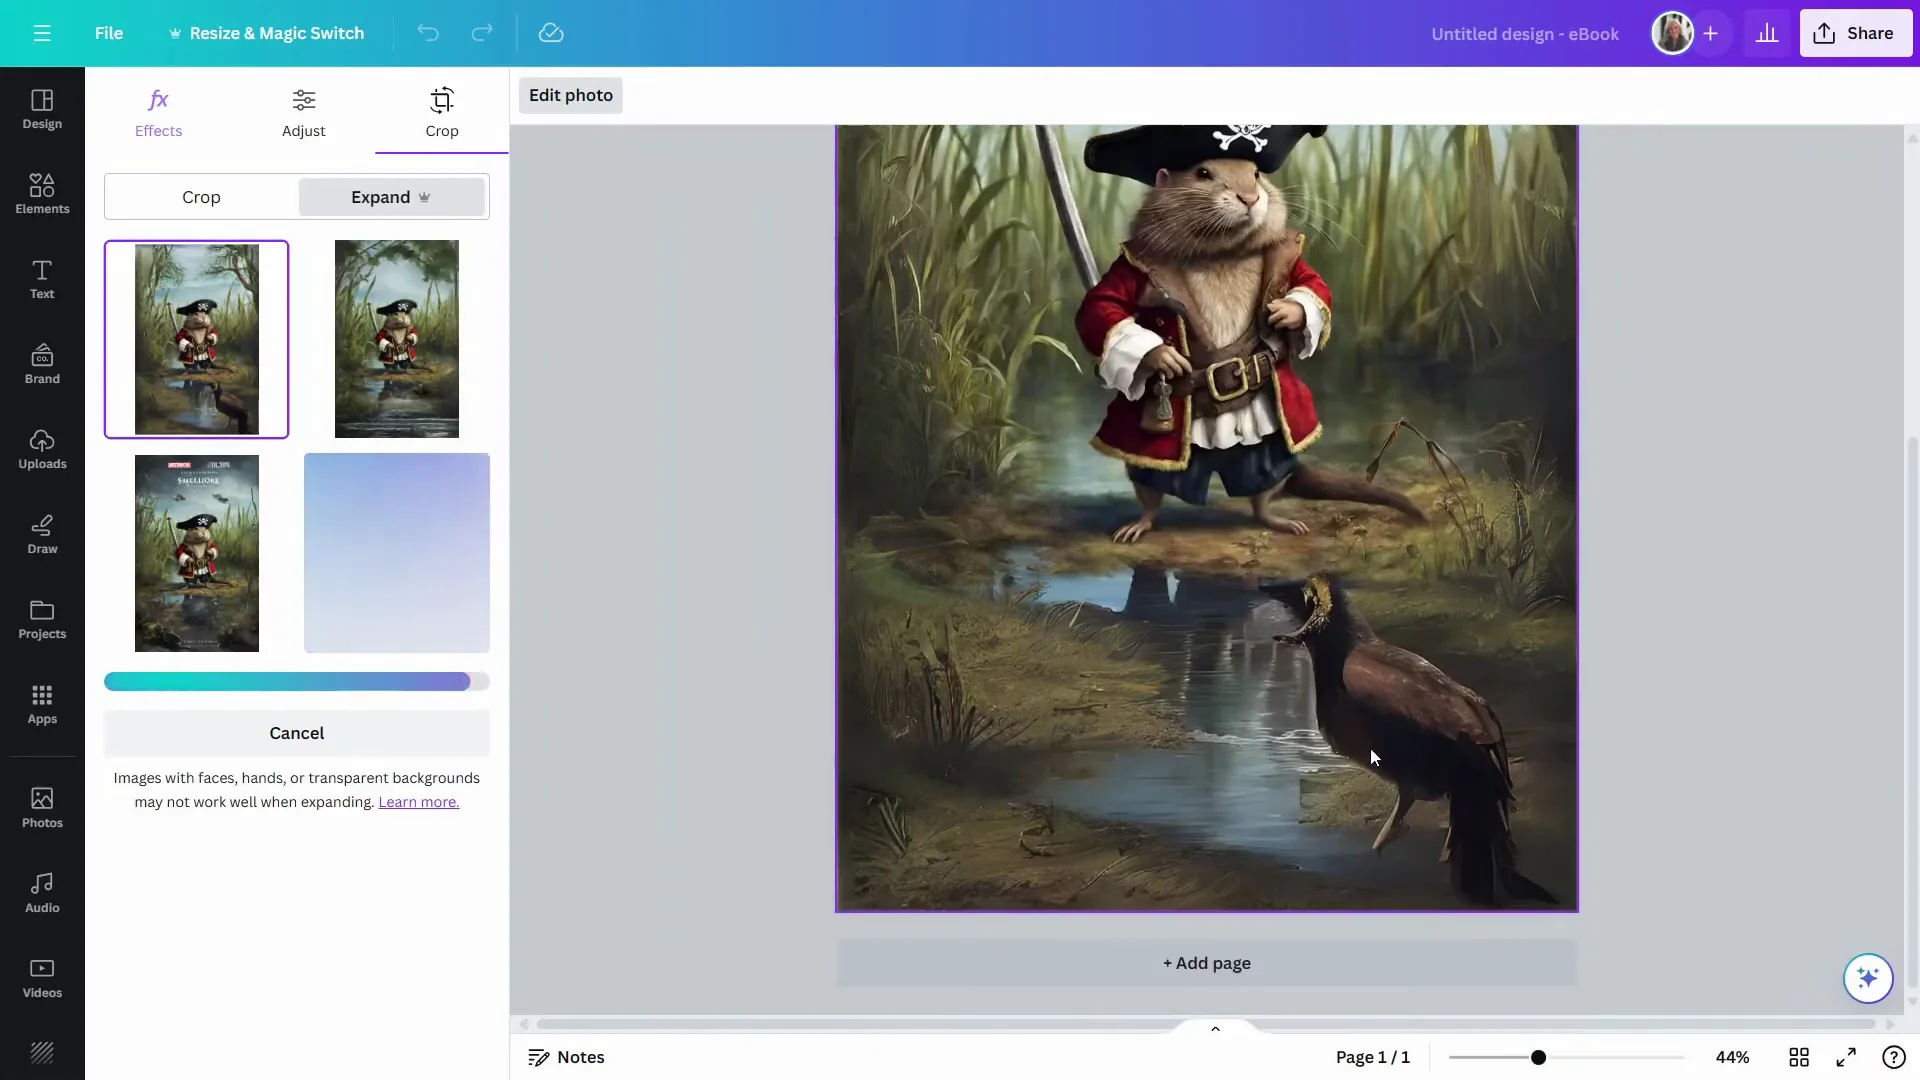
Expand the Background With Magic Expand
- Center the image and make it a bit larger if needed.
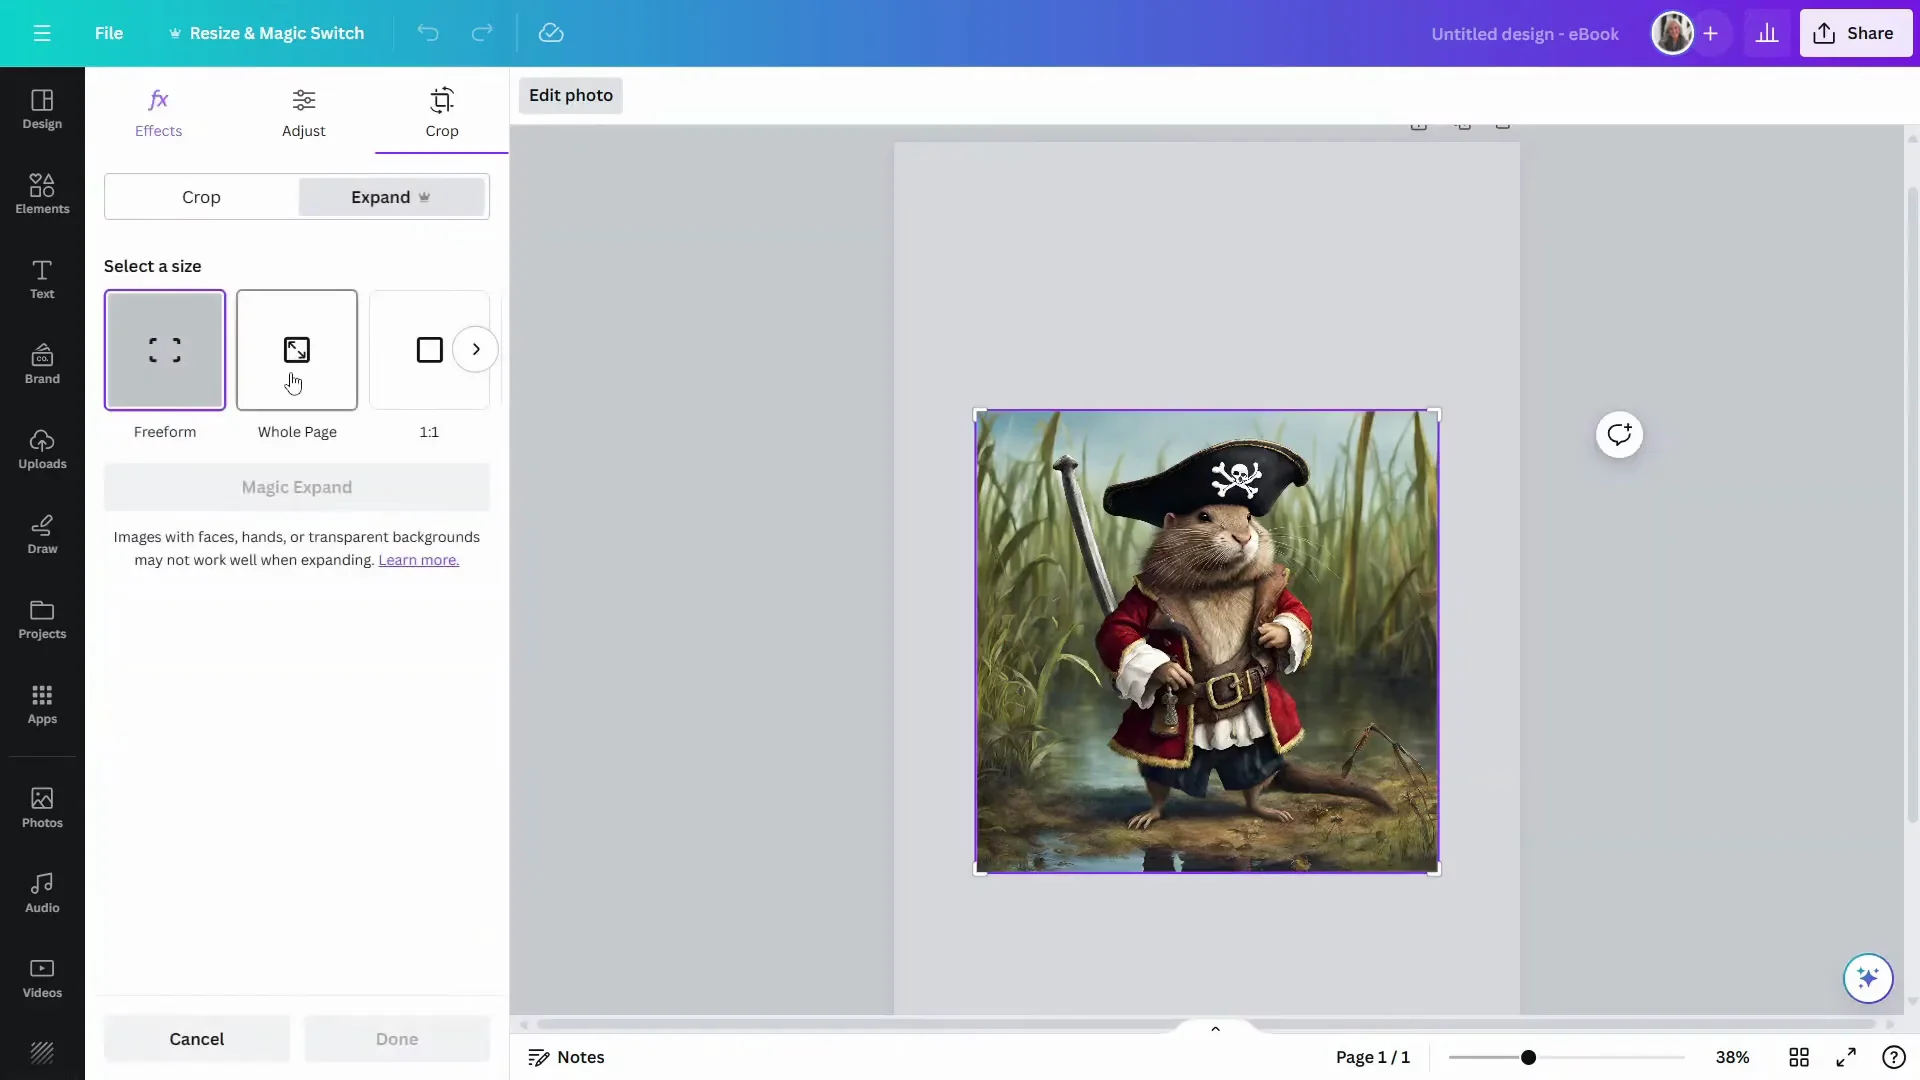
- Click Edit photo.
- Choose Magic expand and select Whole page. It will take the background and increase it in size to fill the entire space.
- Review the variations and pick the one you like.
If something odd appears in the expanded area, plan to fix it later with edits or additional elements.
Resize and Reposition the Subject With Magic Grab
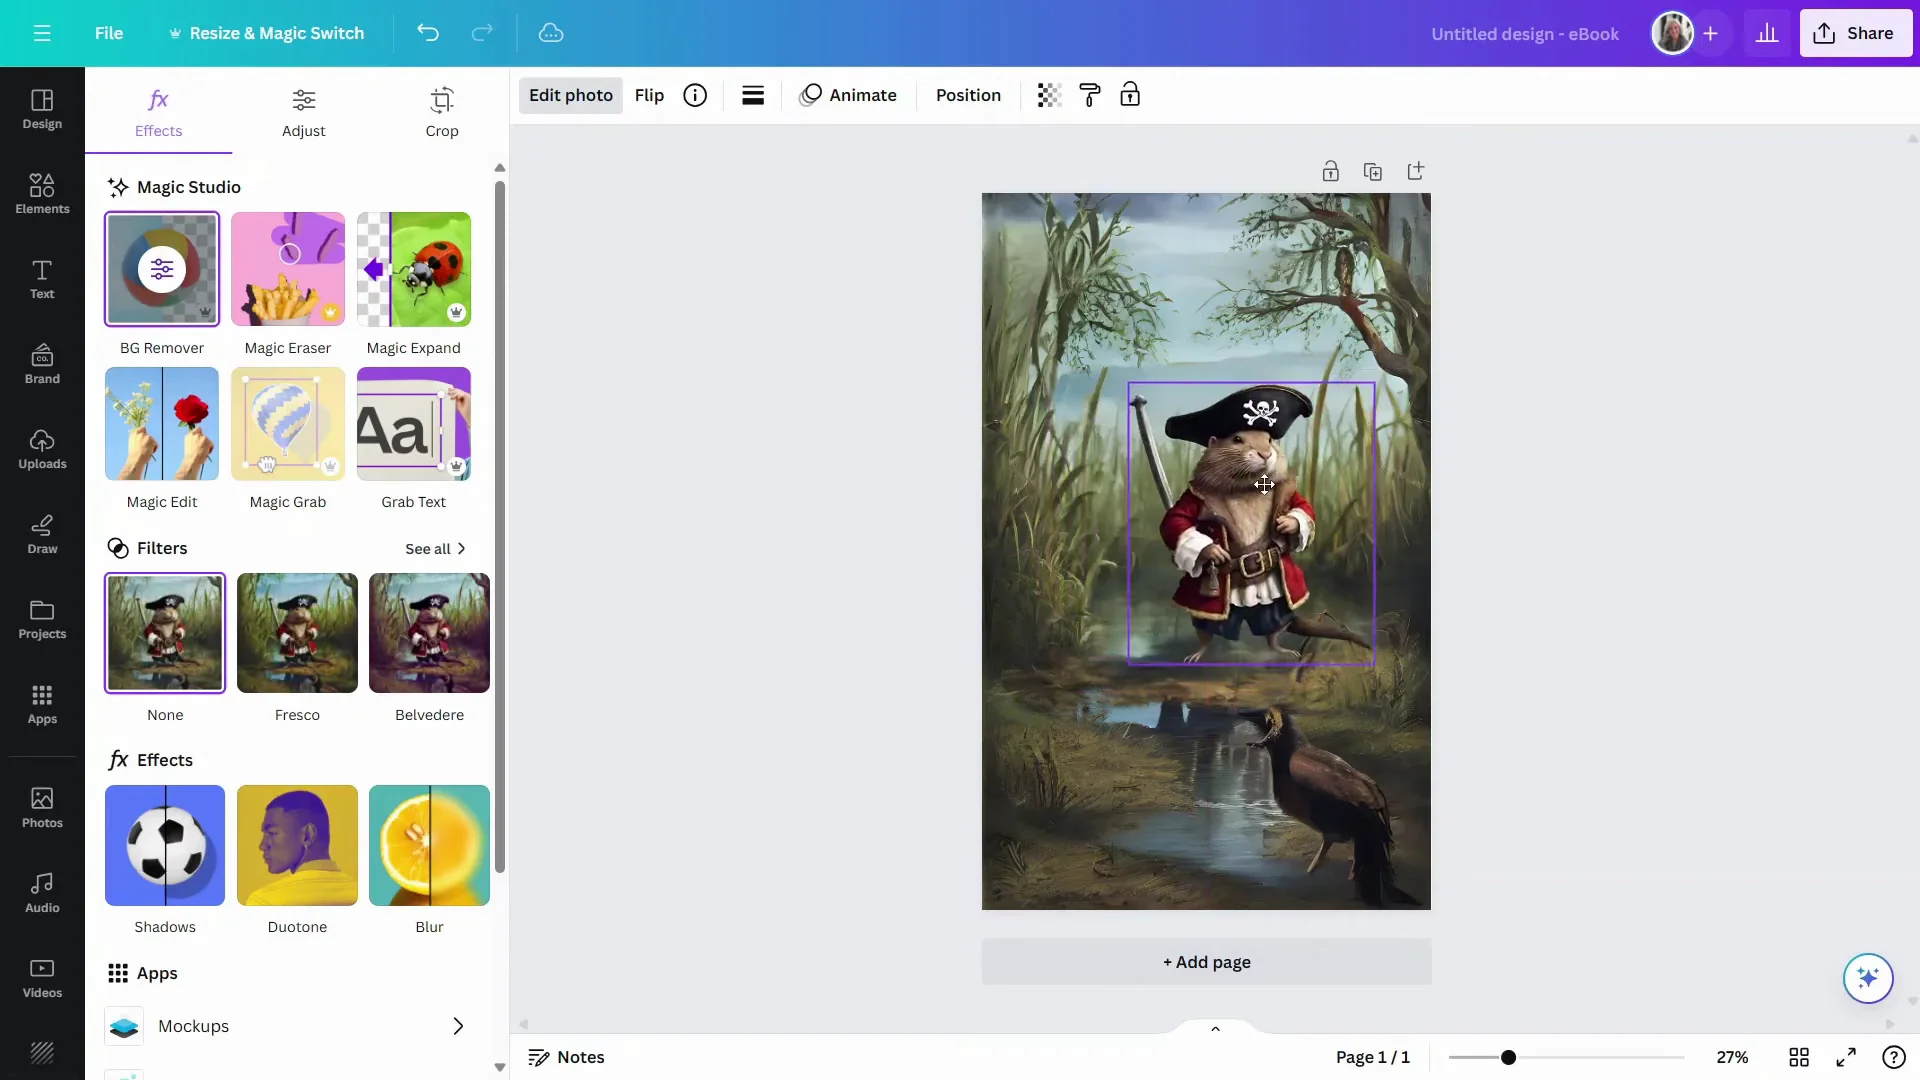
- Click Done, then Edit photo again.
- Choose Magic grab. Canva will detect the subject and let you detach it from the background.
- Click and drag the subject to reposition it.
- Resize it to the size you want.
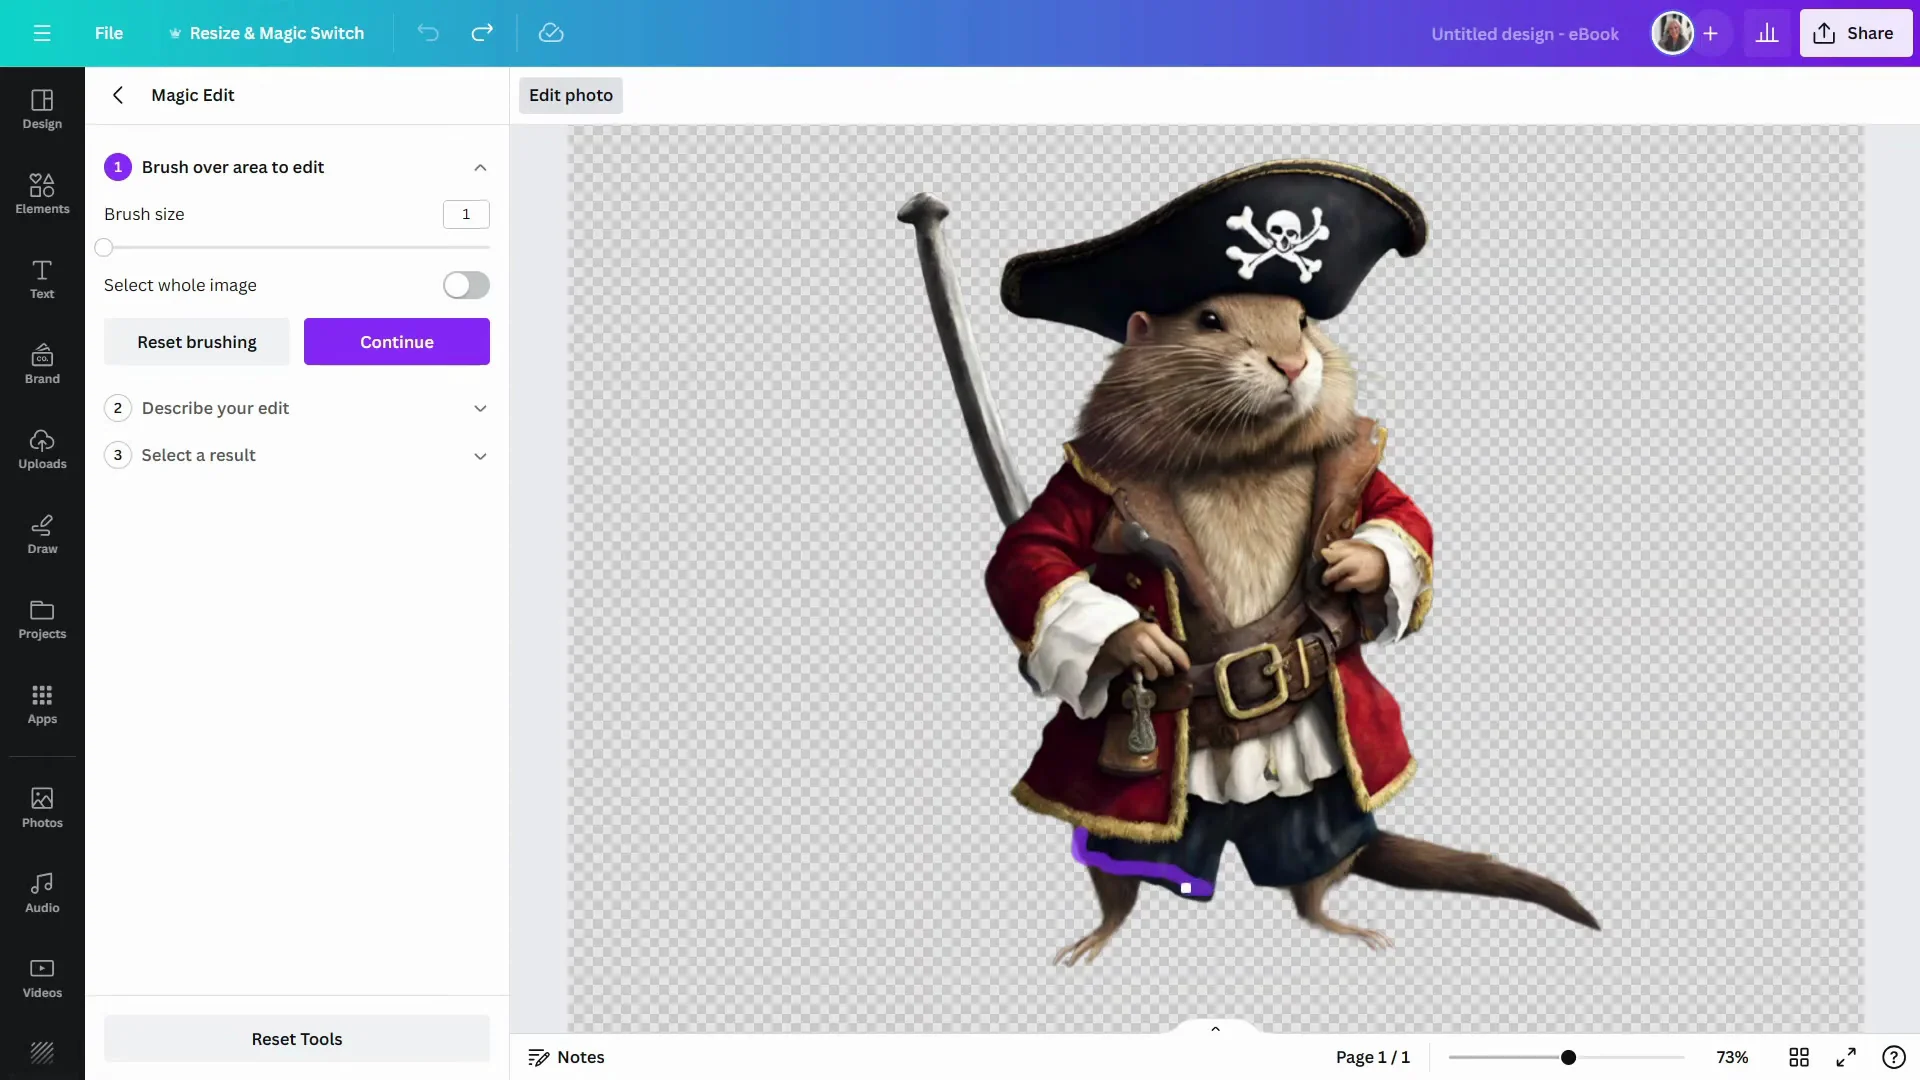
Change Specific Details With Magic Edit
If you want to change a color or swap a detail:
- Click Edit photo, then Magic edit.
- Use a small brush to paint over the area to change. I brushed over the dark blue trousers with red stripes.
- In the prompt, type what you want. Example: change the color to green.
- Click Generate and select the option you prefer.
- Click Done.
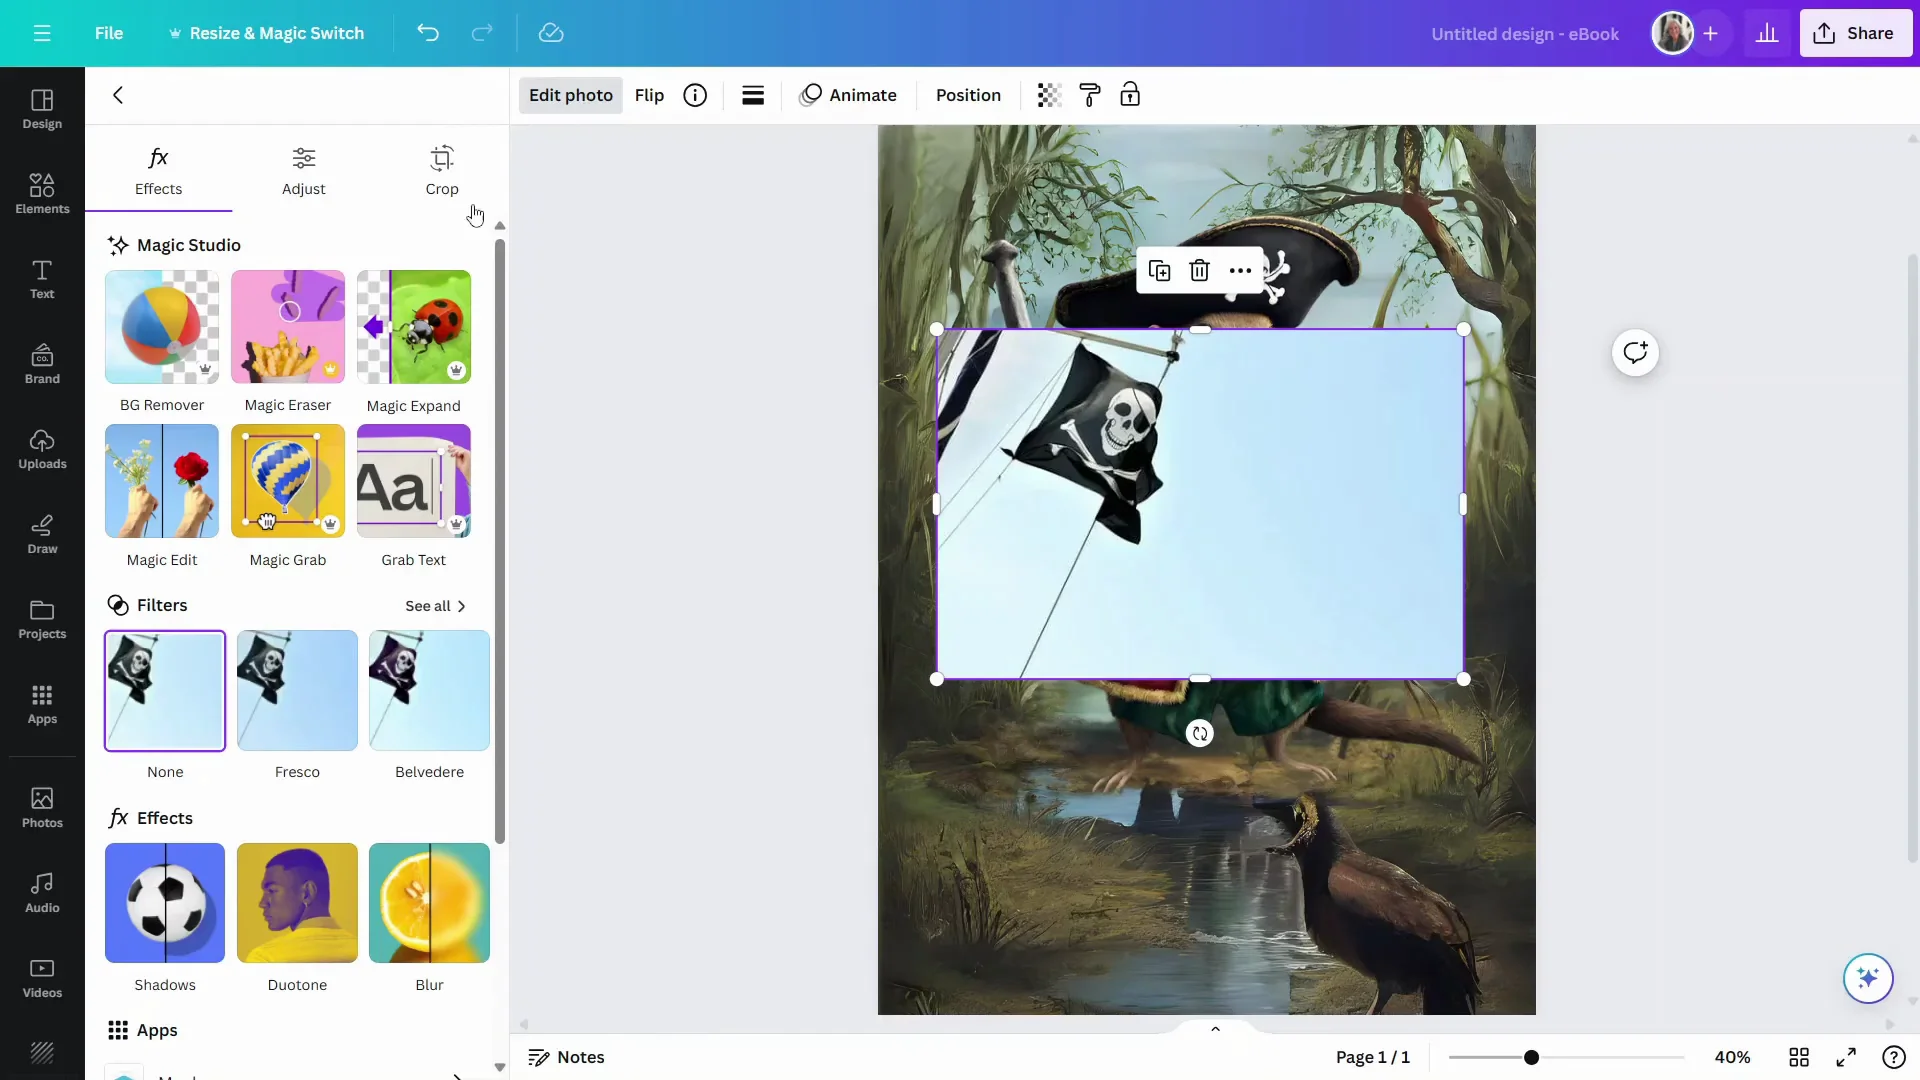
Add Supporting Elements
I wanted to add a pirate flag.
- Go to Photos and search for a pirate flag.
- Place it on the canvas.
- Click Edit photo and use Background remover to knock out the background.
- Resize and position it in the corner.
If there is an odd element in the expanded background, cover or replace it with something that fits the scene. I added a parrot.
- Search Photos for a parrot and place it on the canvas.
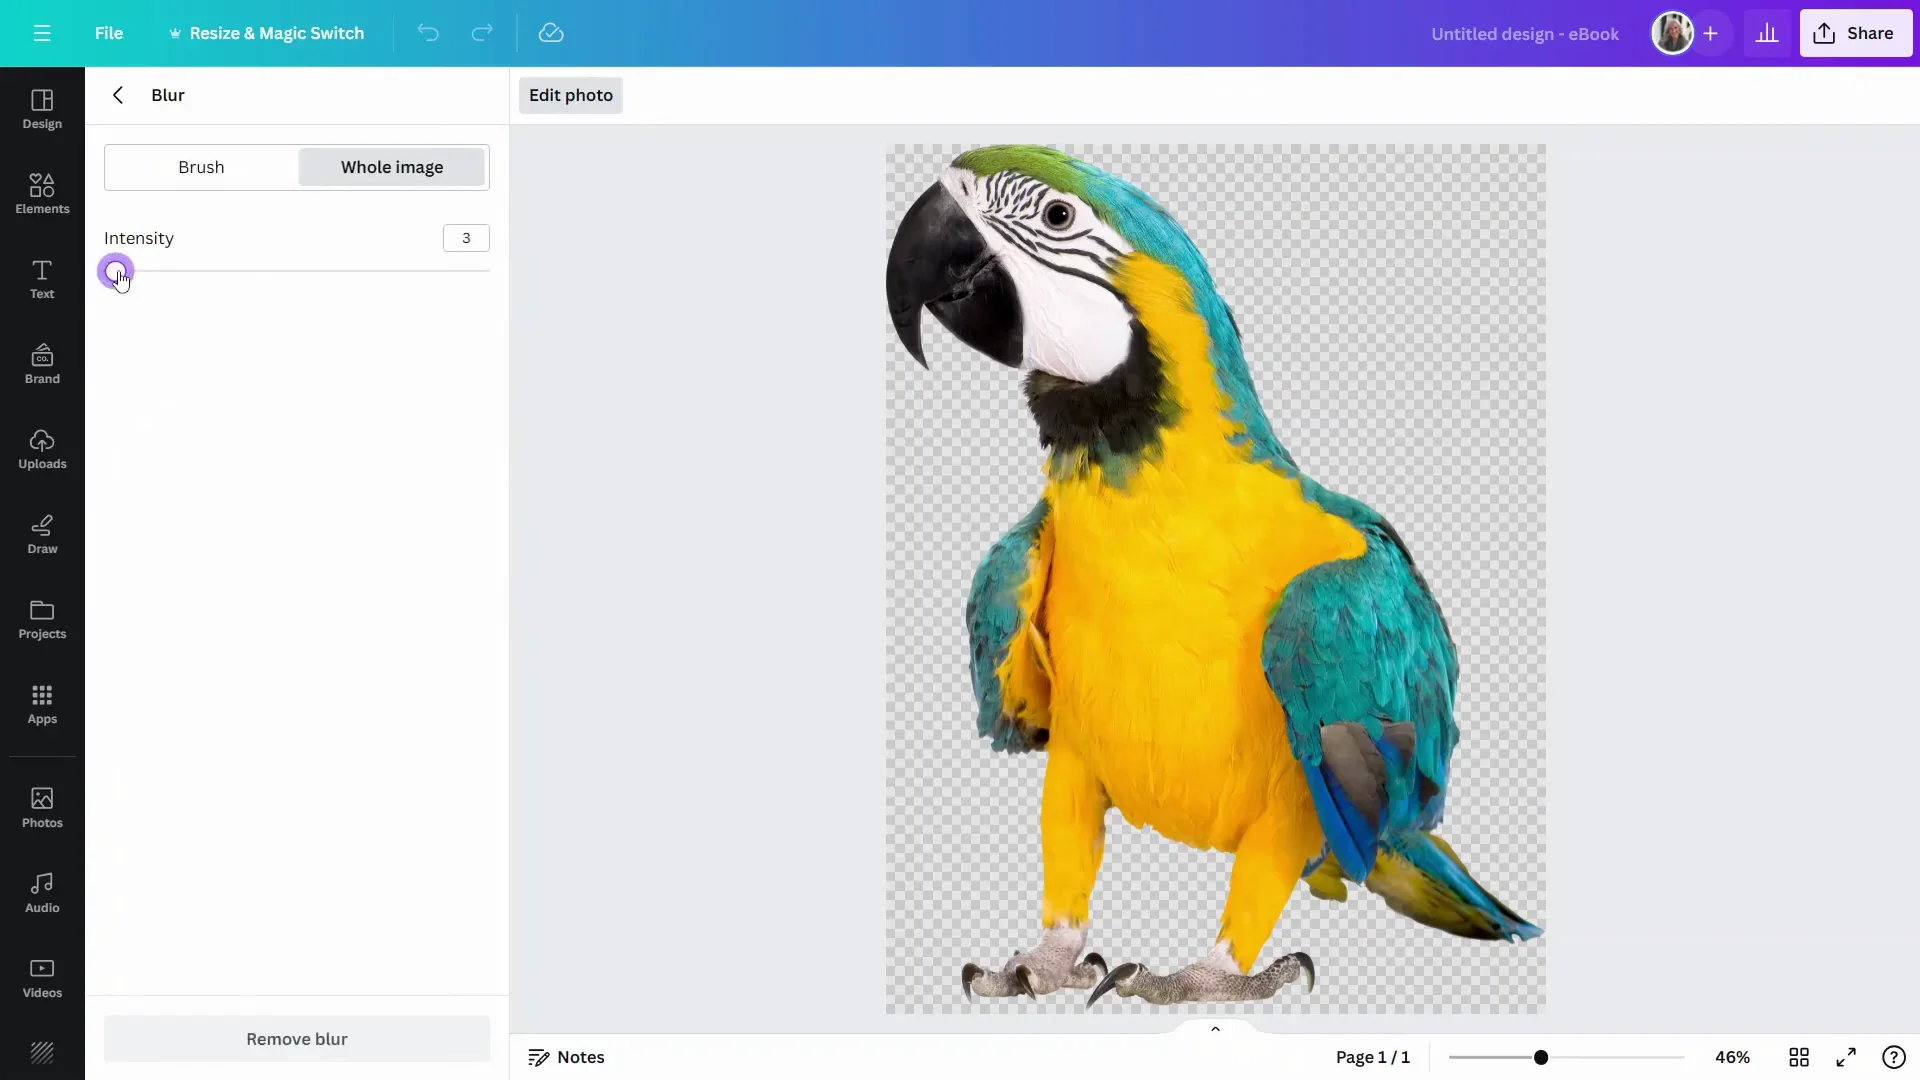
- Click Edit photo and apply a slight Blur to push it into the background.
- Add a Filter to better match the scene so it looks more cohesive.
Add Text and Effects
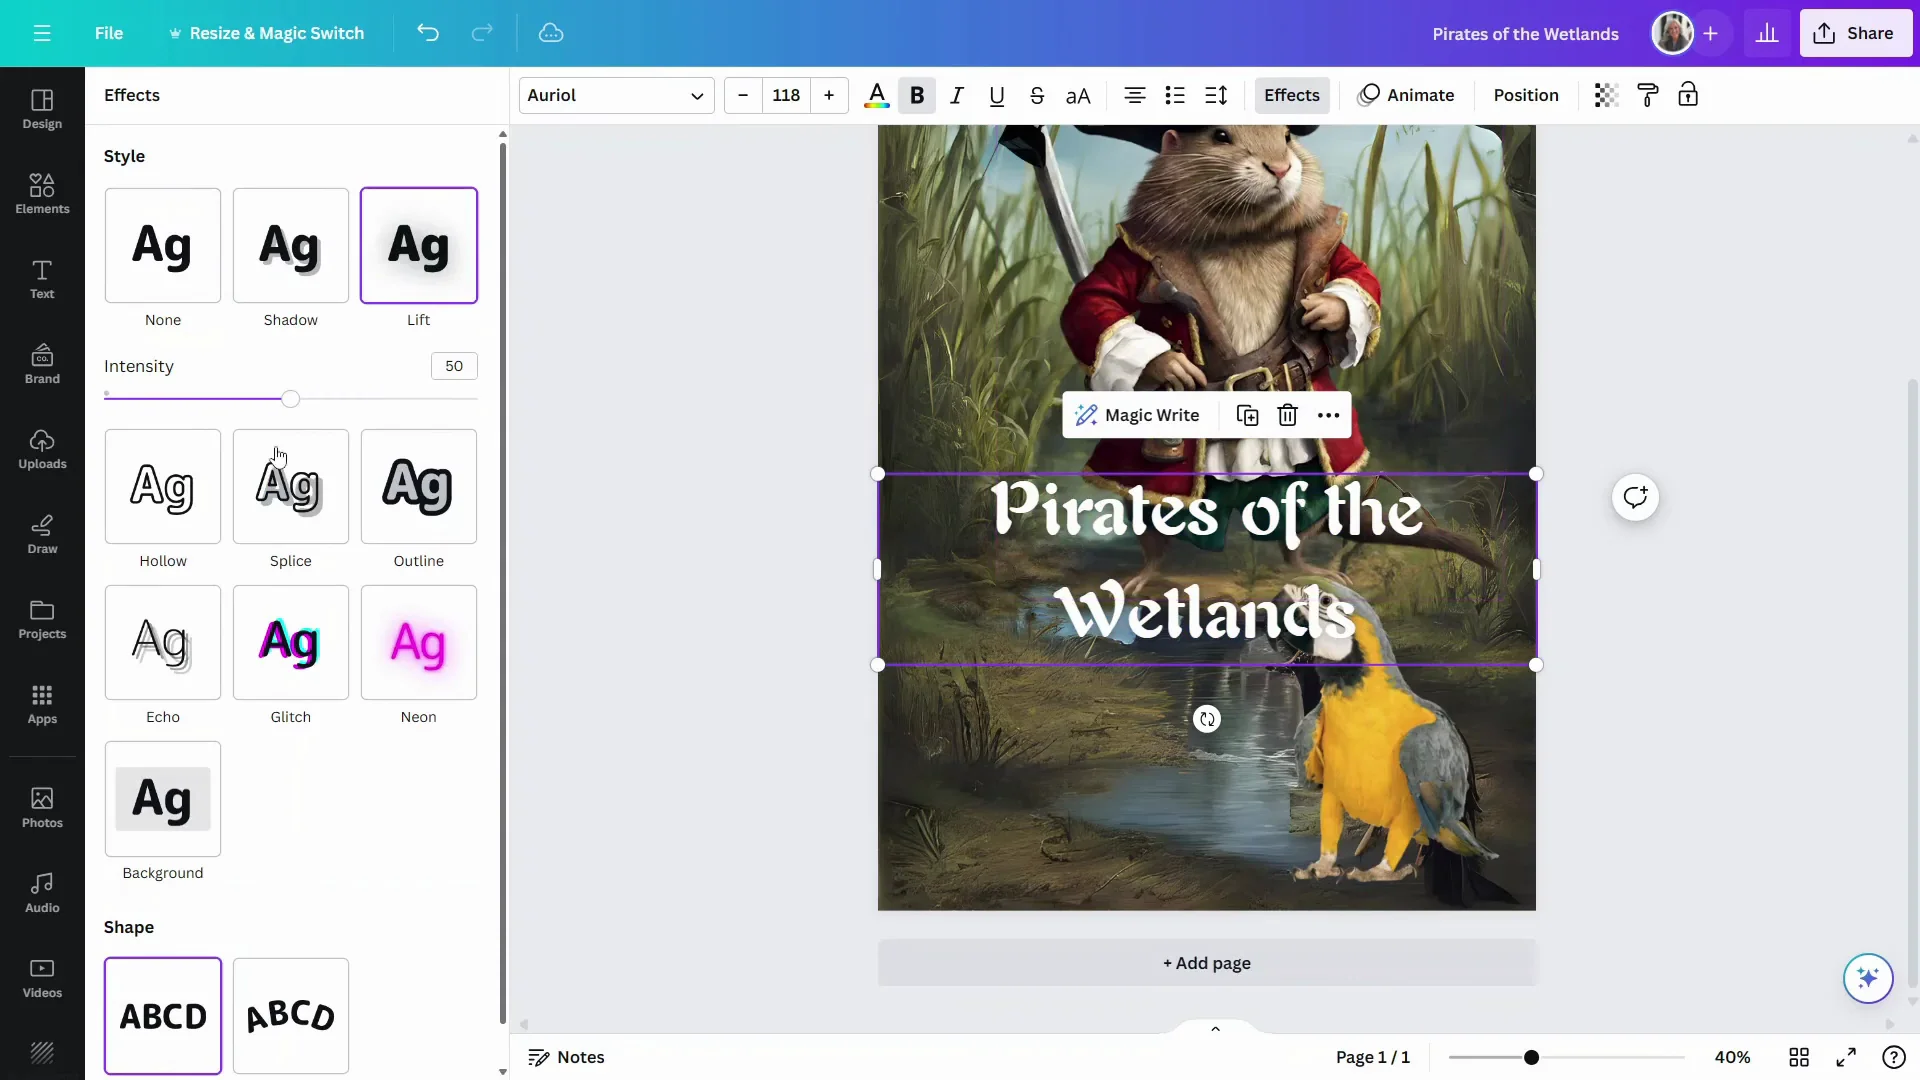
- Add your title text and choose a font that fits the theme.
- Open Effects and apply Lift to help the text stand out from the background.
- Reposition the text for balance.
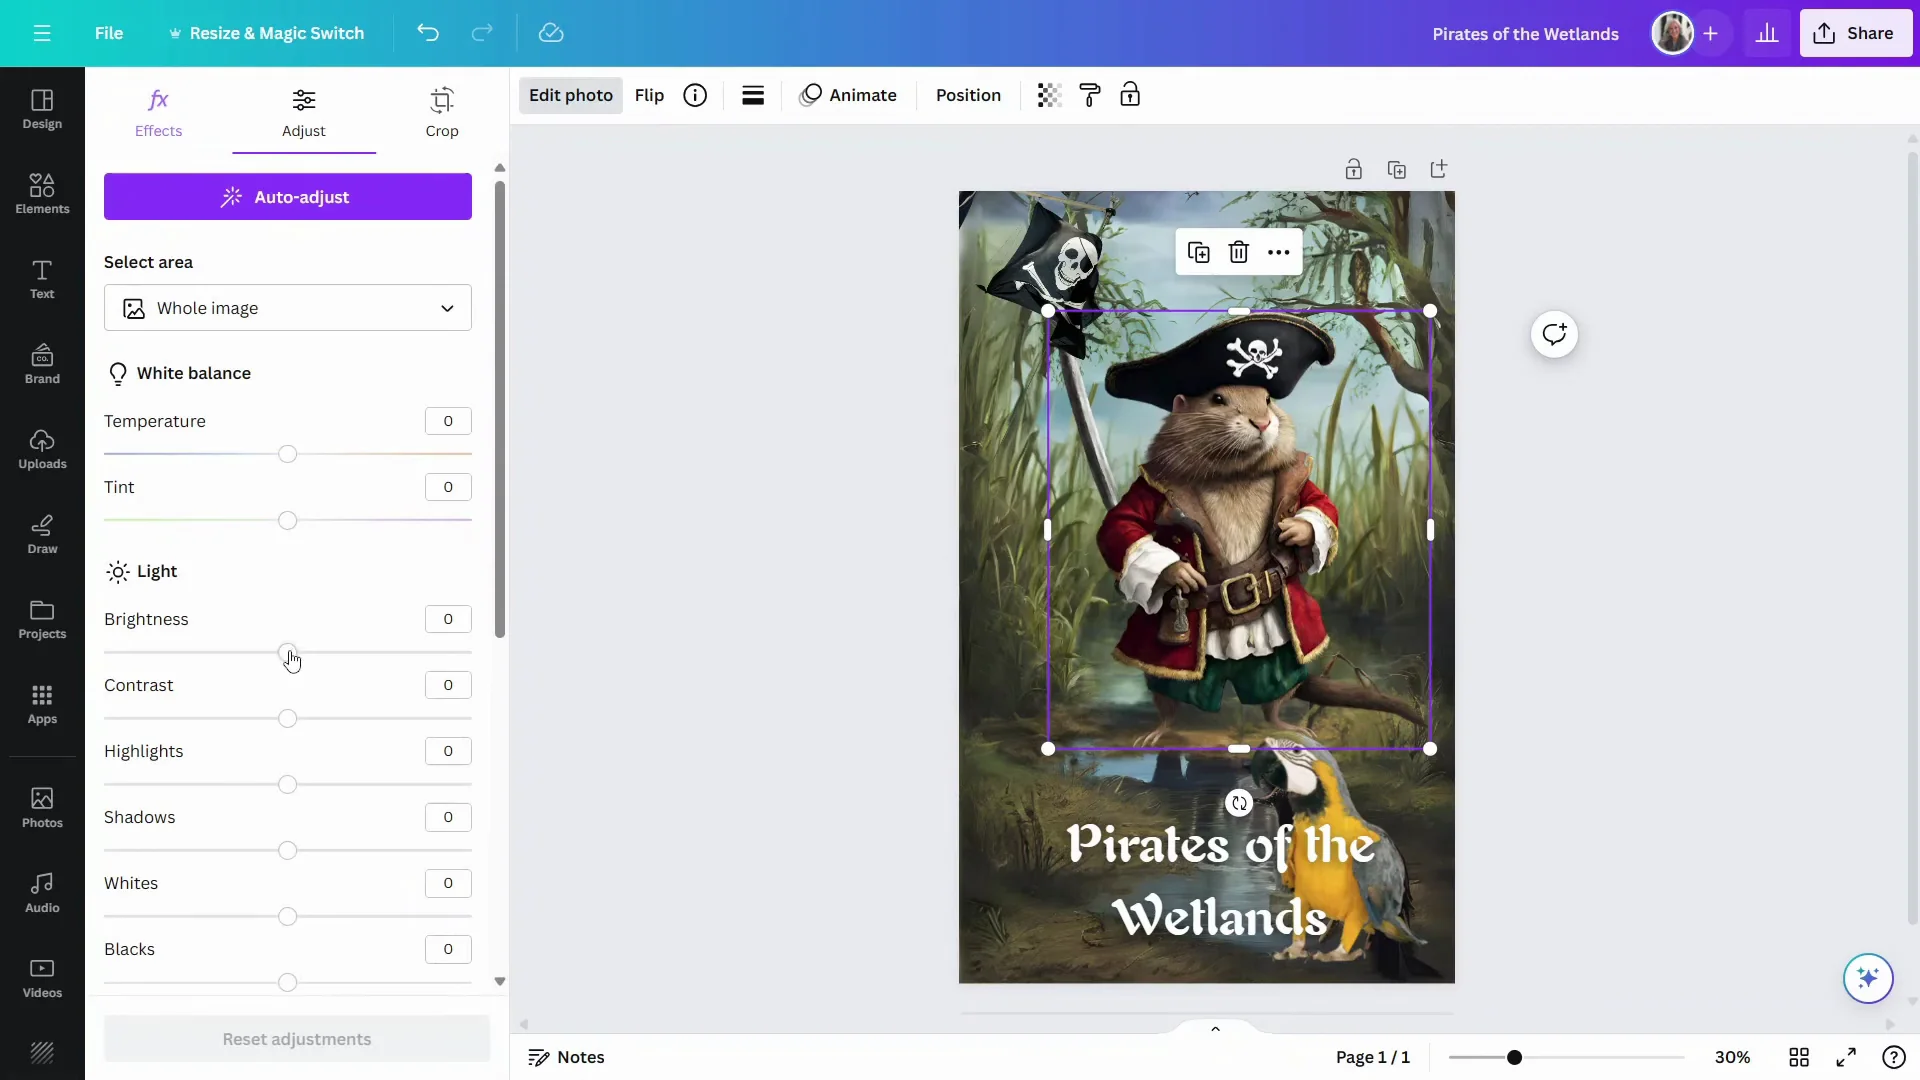
Make Final Adjustments
You can adjust brightness, contrast, highlights, and shadows to fine-tune the look. That also works nicely on added elements like the parrot so they blend better.
Quality Checks for AI-Generated Images
You can get amazing detail, but always look carefully at results with human figures. Strange things can happen with hands or arms, and even with faces. Look at each of the eyes and make sure they match.
Fun Finishing Touch
For a final touch, use Draw to add an eye patch.
- Open Draw.
- Increase the line weight slightly.
- Sketch the patch and strap.
Final Thoughts
The Canva AI Image Generator is a very practical way to create images that are distinctly your own. The more specific you are in your prompt, the better the results will be. Experiment with Magic expand, Magic grab, Magic edit, Background remover, filters, and Draw to refine your design. This approach works well for a book cover, social media, or a YouTube thumbnail, and the results keep improving as the technology evolves.
Recent Posts

How to use Grok 2.0 Image Generator?
Learn how to access Grok 2.0’s AI image generator (Premium required), write better prompts, and avoid pitfalls like real people and brands. Step-by-step tips.
How to use Instagram AI Image Generator?
Use Meta AI in Instagram DMs to turn text into images—and even animate them. It’s free, fast, and built in. No external apps needed; create art right in chat.
Leonardo AI 2026 Beginner’s Guide: Create Stunning Images Fast
Learn Leonardo AI step by step—sign up, explore Home, and generate or enhance photos with free, powerful tools. A quick, clear starter for beginners.