How to use Adobe Photoshop AI: Generative Expand Tutorial
I will show you Adobe Photoshop Generative Expand AI tools. I’m starting in the current full version of Photoshop installed on my computer, and I’ll also show the beta version that has more powerful Generative Expand features.
If you’ve been intimidated in the past by all of the Photoshop options and tools, you can set those concerns aside for now. Photoshop has never been so user friendly and so powerful, even for beginners.
Expand a Square Image to Widescreen with Photoshop Generative Expand
I often need images for slides or documents that are widescreen, not square. Here’s how to turn a square image into a widescreen image using Generative Expand.
Steps
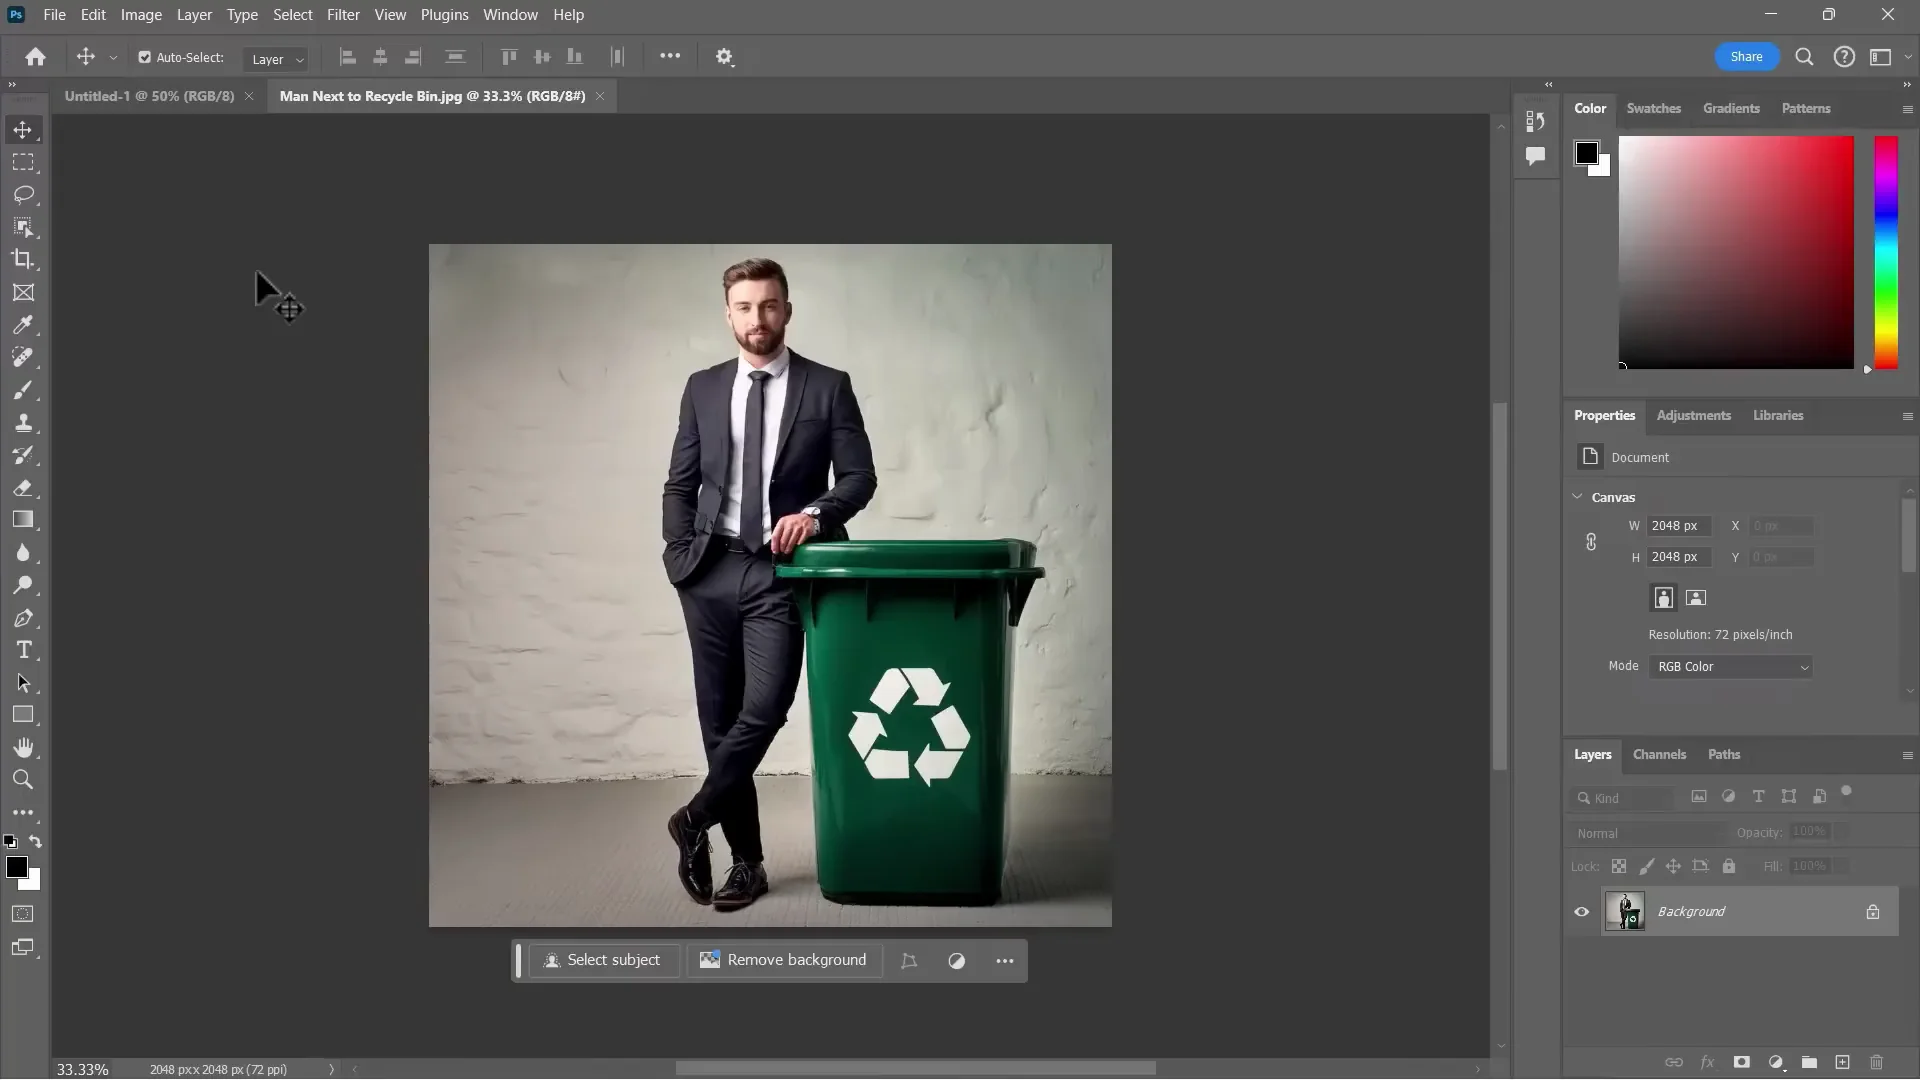
- Open your image: File - Open.
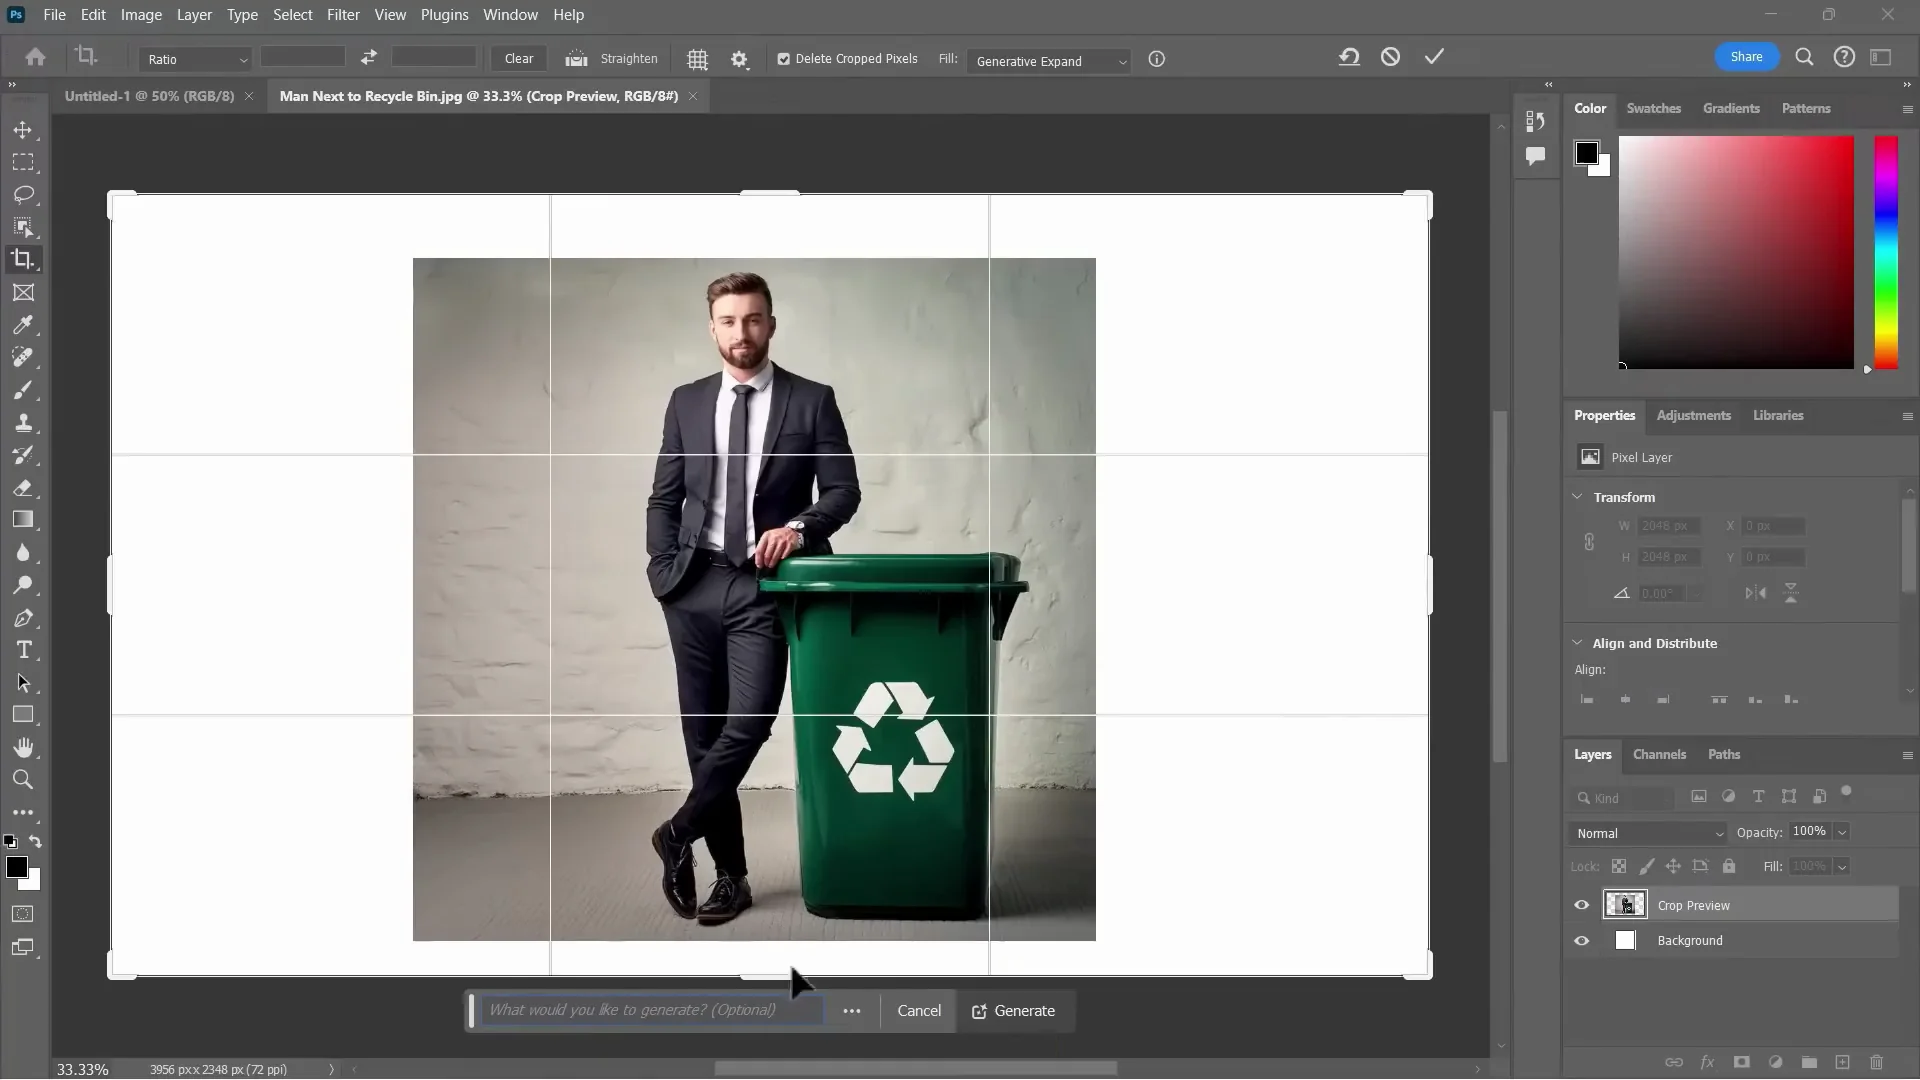
- Reveal the crop handles:
- If you don’t see handles around the image, tap C on the keyboard.
- You can also click the Crop tool on the toolbar to make them stay.
- Drag the edges to expand the canvas:
- Pull left and right to add width.
- Add space above and below if needed.
- In the Generative Expand box, leave the prompt empty and click Generate.
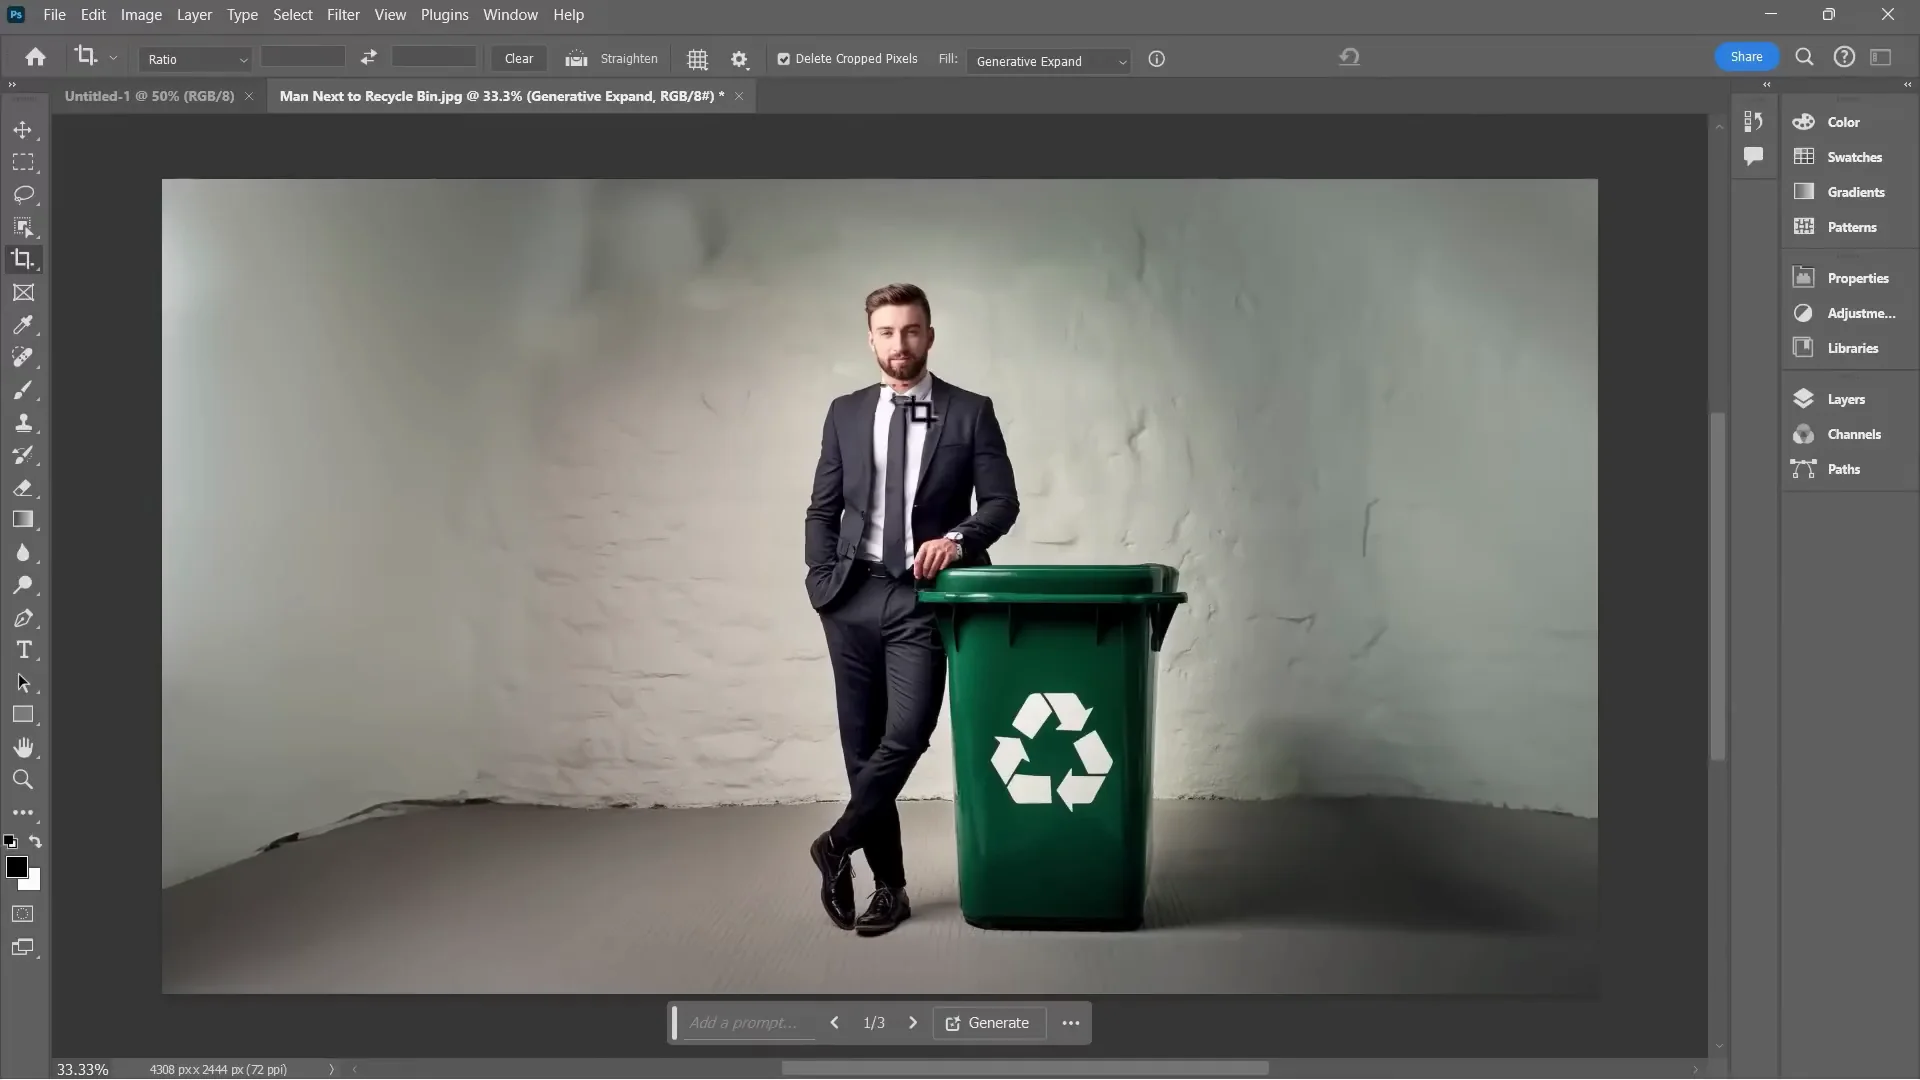
- Review the AI results:
- Click through the variations to pick your favorite.
- Each variation adds to the file size. To reduce the file size, click the three dots on variations you don’t want and delete them.
- Export if you’re done: File - Export - Quick Export as PNG. Optionally rename the file, then Save.

I love the results. It’s not perfect, but the expanded areas generally blend well with the original image.
Photoshop Generative Expand on an Artistic Image
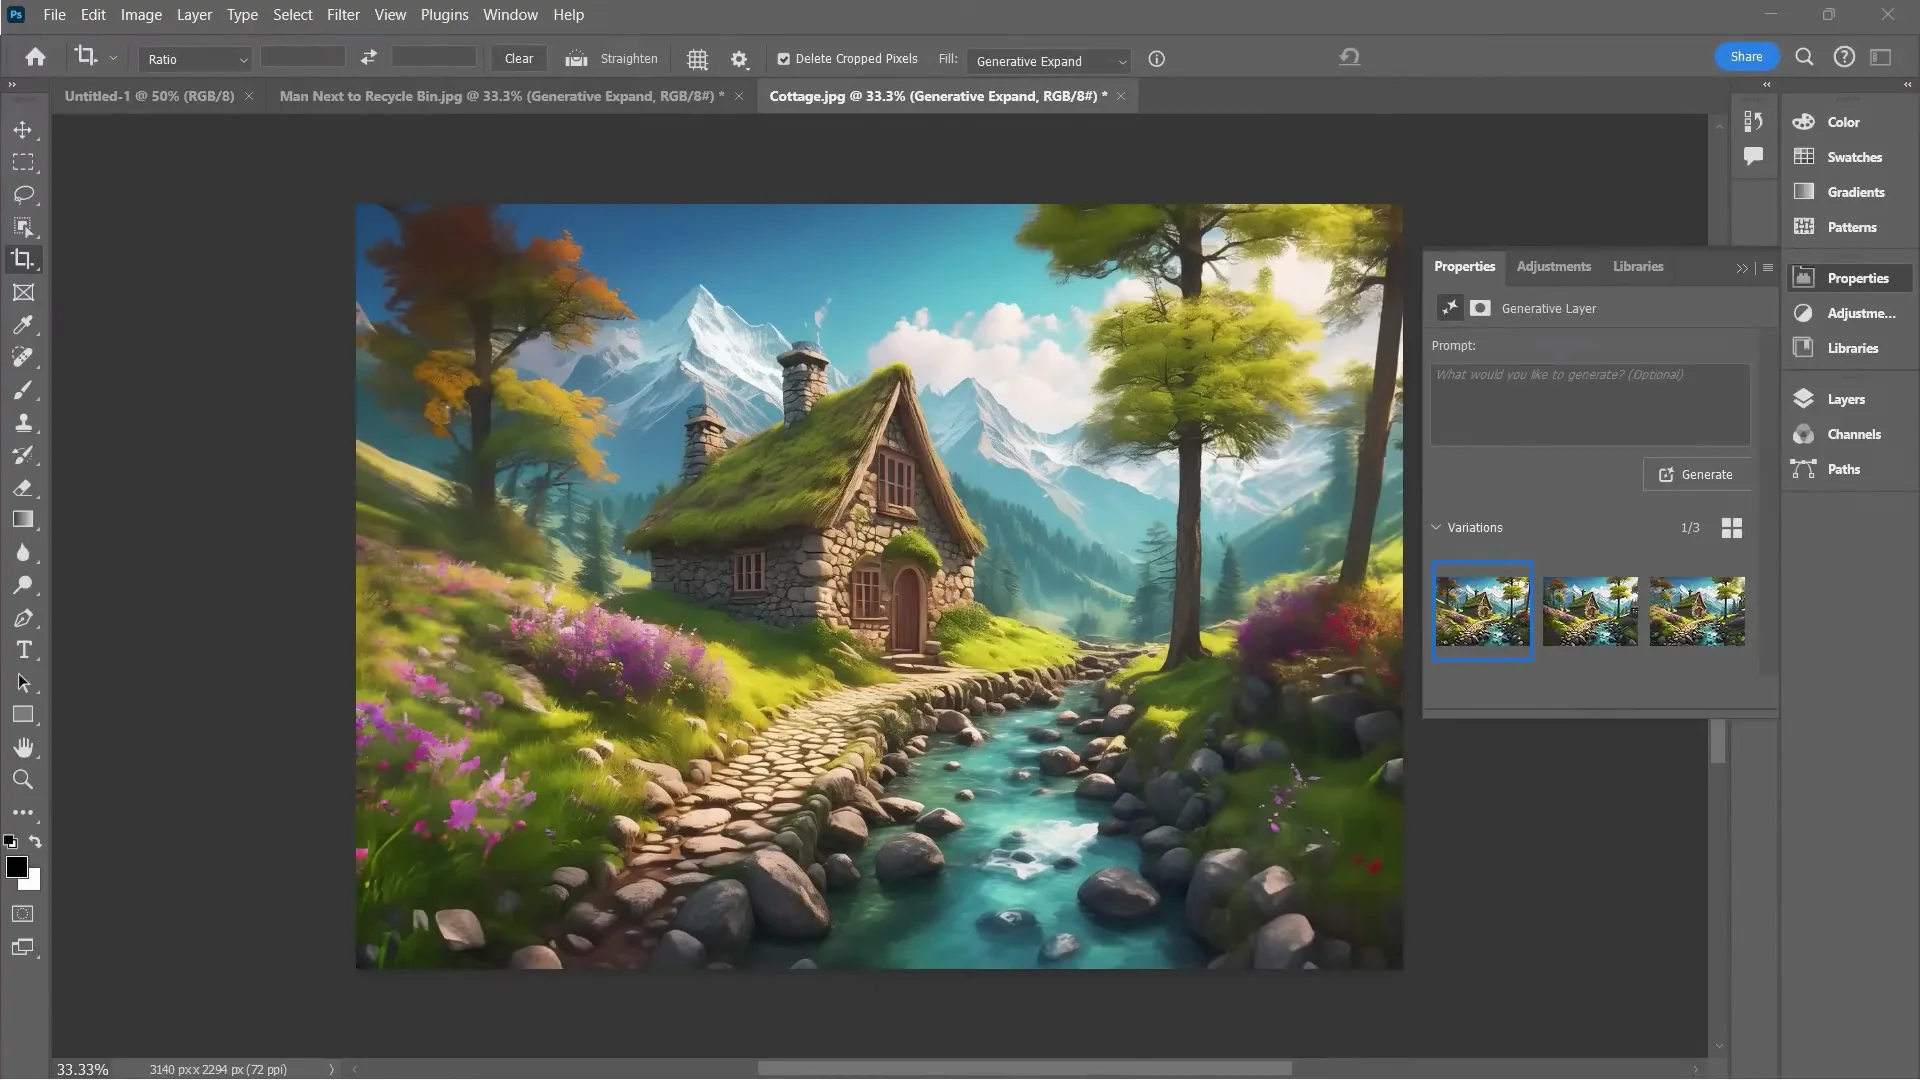
Here’s another example using an AI generated image of a cottage. The generator produced a square image with more of an artistic look, but Generative Expand still works well in Photoshop.
Steps
- Use the crop handles:
- Tap C if the handles aren’t visible.
- Drag the edges to the dimensions you want.
- Click Generate without typing a prompt.
- Compare variations and pick your favorite.
- Delete the variations you don’t want to keep.
- Export if needed: File - Export - Quick Export as PNG.
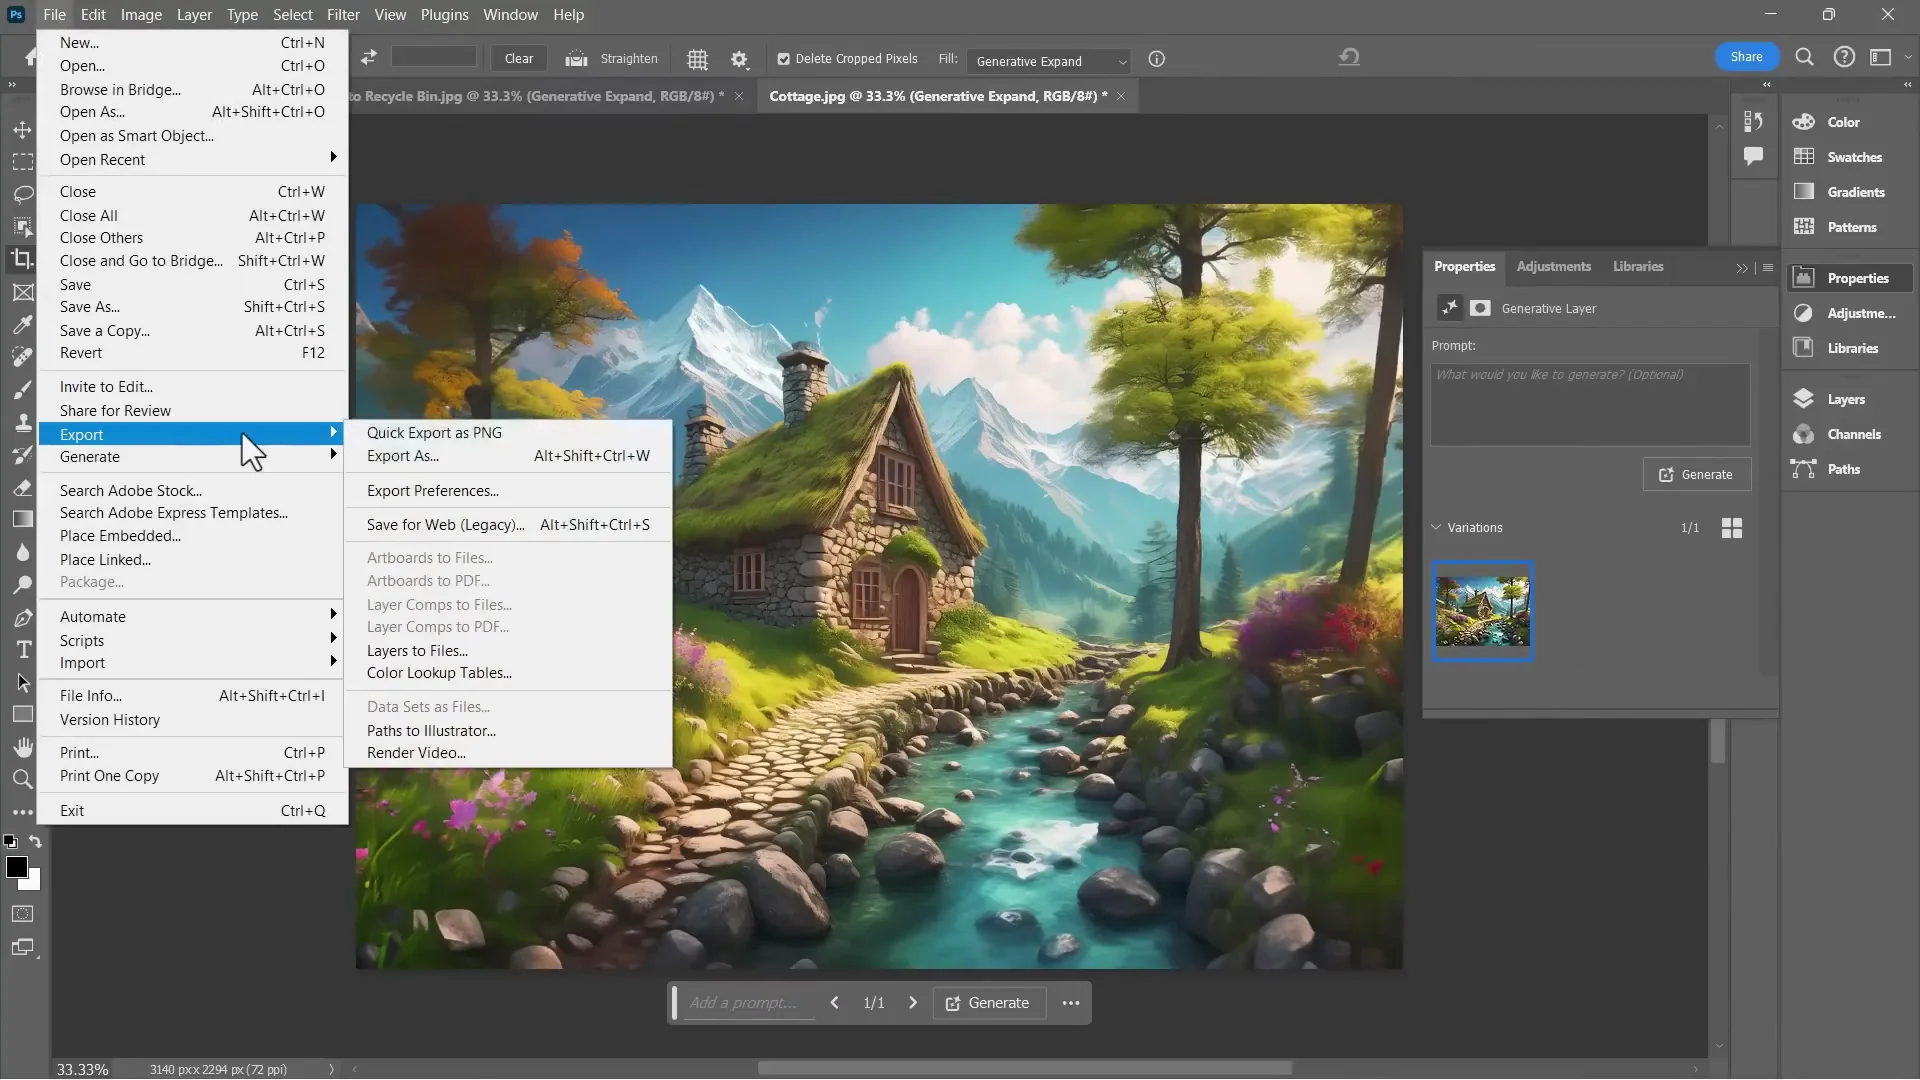

These added parts of the image often look like they were meant to go with the rest of the image. Every once in a while that won’t be the case, and that’s why you have alternatives.
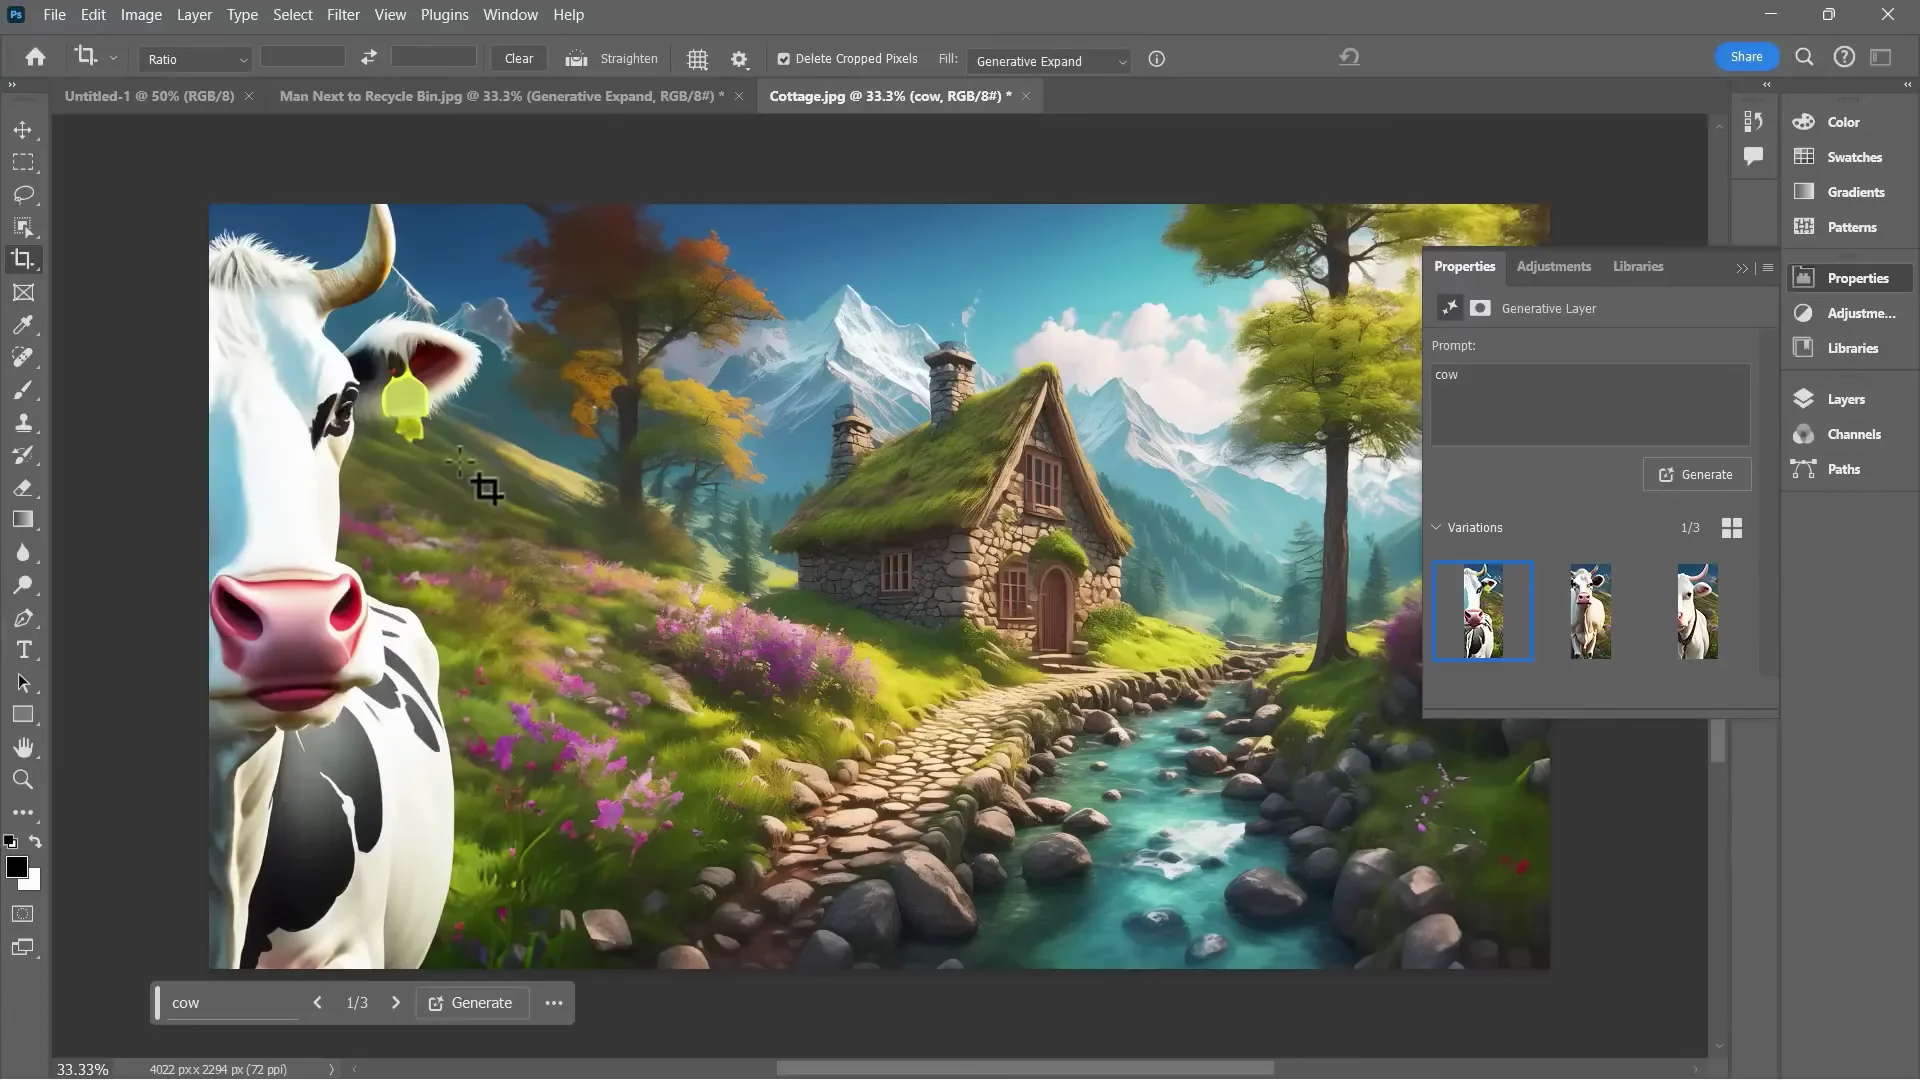
Add Specific Content With a Prompt
Instead of a generic expand, you can be specific about what gets generated.
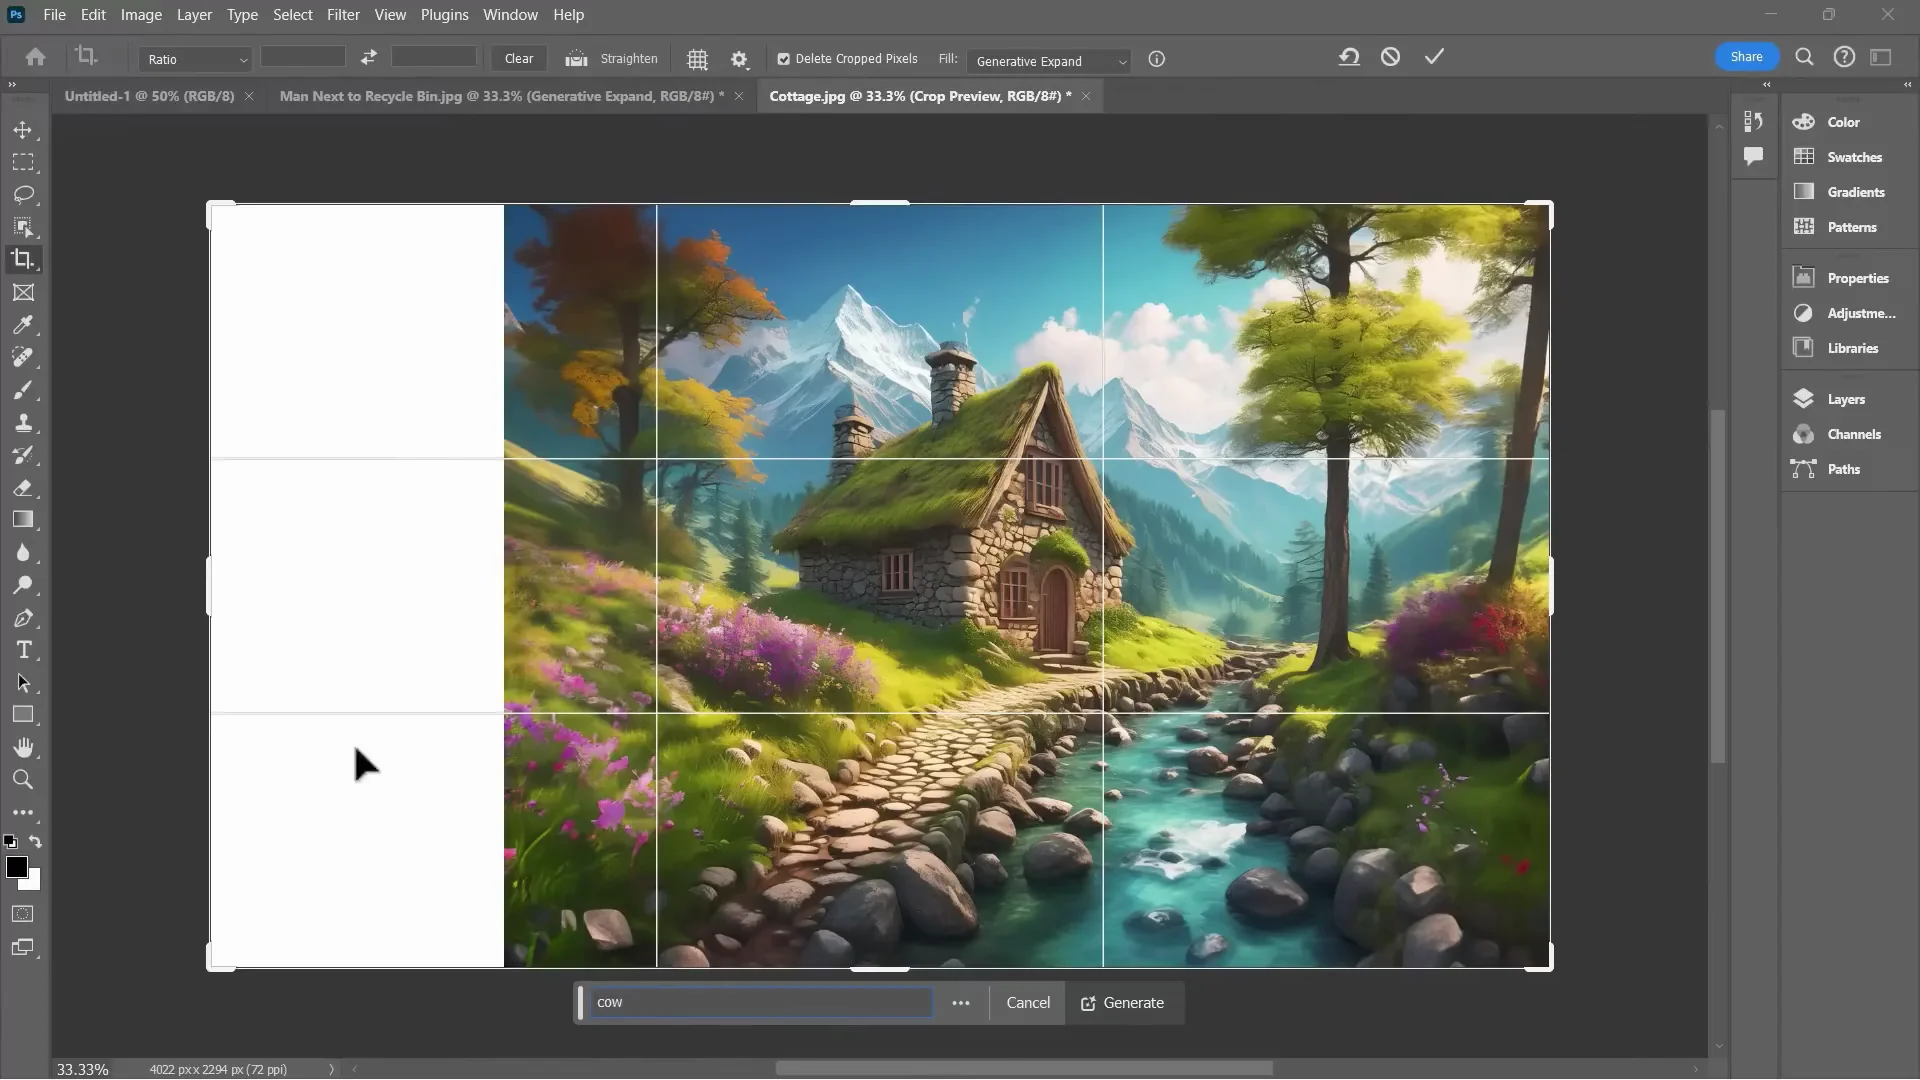
- Expand only to the left.
- In the prompt box, type: a cow added here at the left.
- Click Generate.
- Photoshop fills in details to match the image and adds a cow that fits the style.
- Click through the options and keep the one you like best. Delete the others if you want to reduce file size.
Photoshop Generative Expand in the Photoshop Beta
The Photoshop beta available in June 2024 includes updates to Generative Expand. If you’re using Photoshop in 2025 or later, there may be a newer version with even better AI features.
One of the changes is a feature called Generate Background. It’s similar to Generative Expand in some ways.

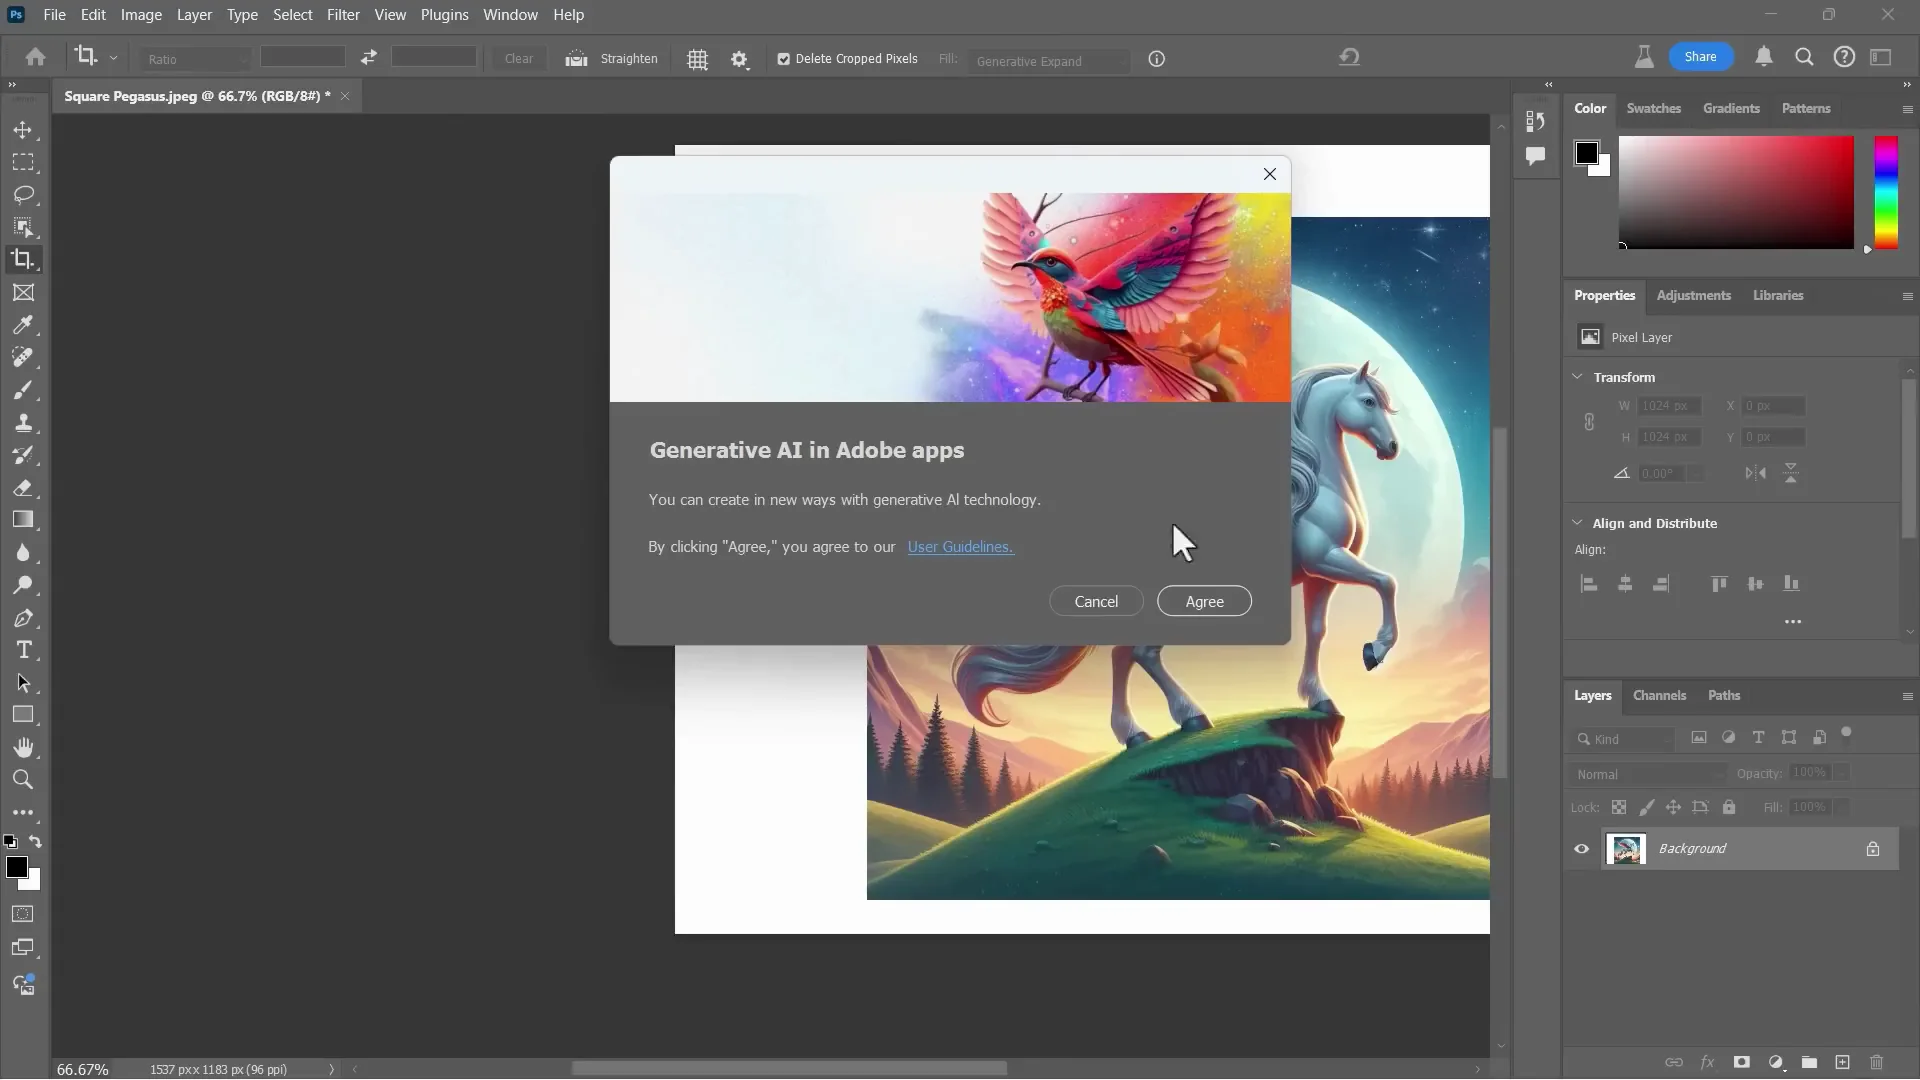
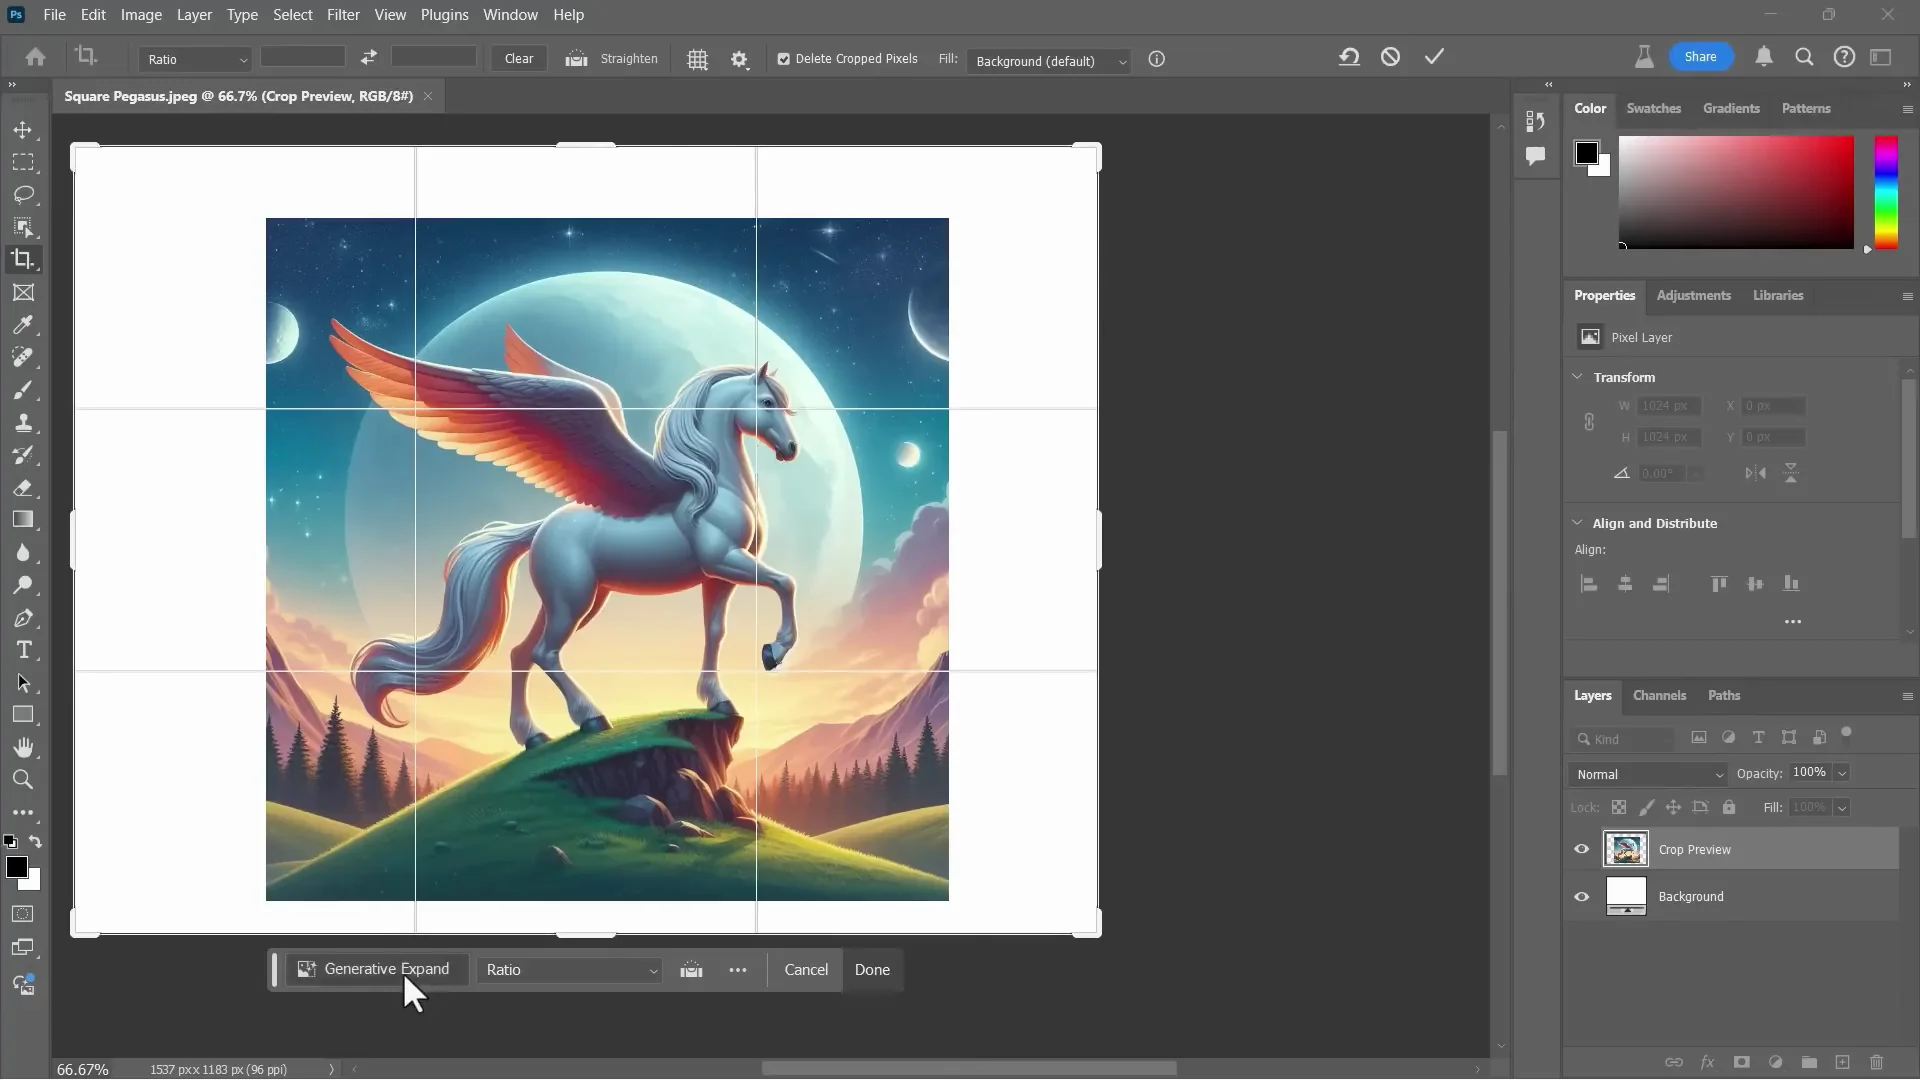
Example: Expanding a Square Pegasus Image
I have a square image of a Pegasus that I want in a different shape.
- Open the image: File - Open.
- If you don’t see crop handles, hold the C key to make them appear.
- Drag the handles to the dimensions you want.
- Click Generative Expand, then click Generate.
- In the beta, you may need to agree and opt in the first time.
- Review the results and pick the variation you like.
I got the results quicker in the beta version. I don’t know if that was a coincidence or if it’s actually faster in the beta.
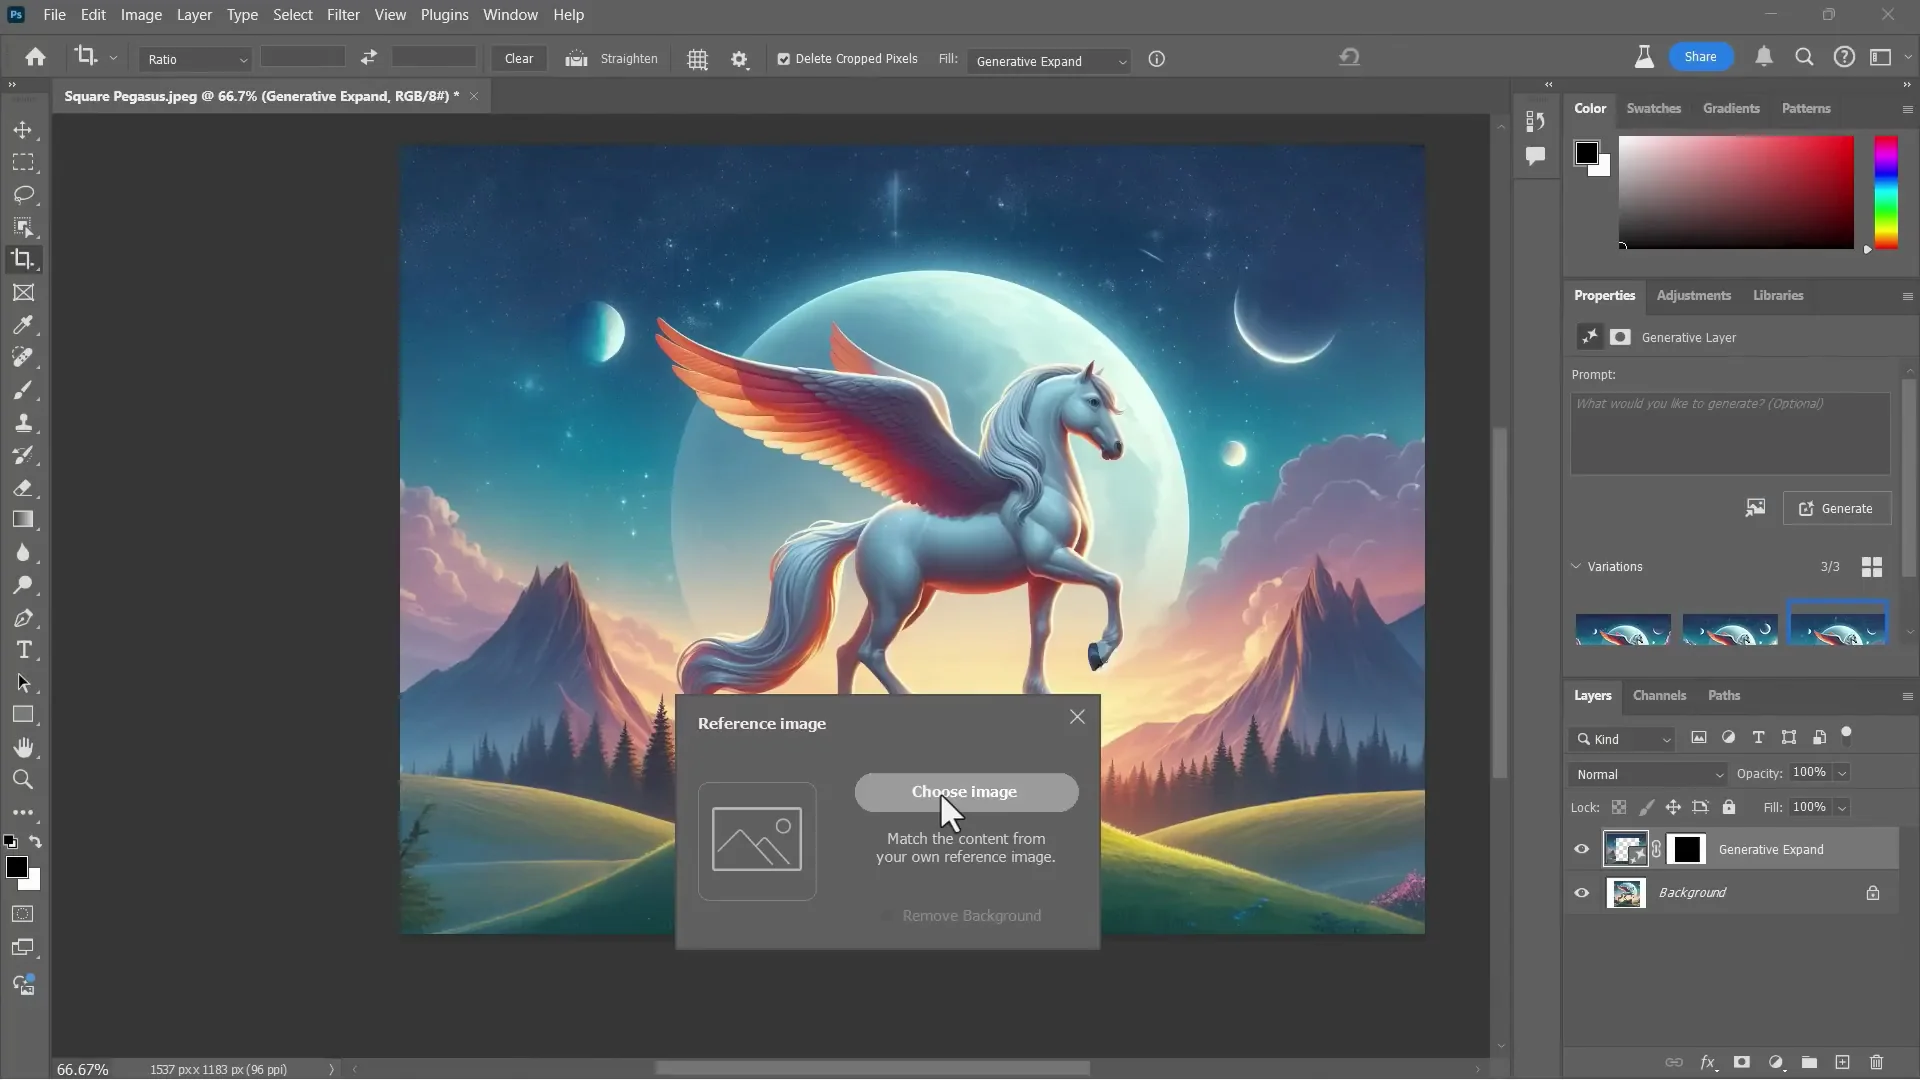
Use a Reference Image in the Beta
A new feature in the beta is the ability to upload a reference image.
- Click to upload a reference image.
- Choose the image you want to reference and confirm.
- Click Generate.
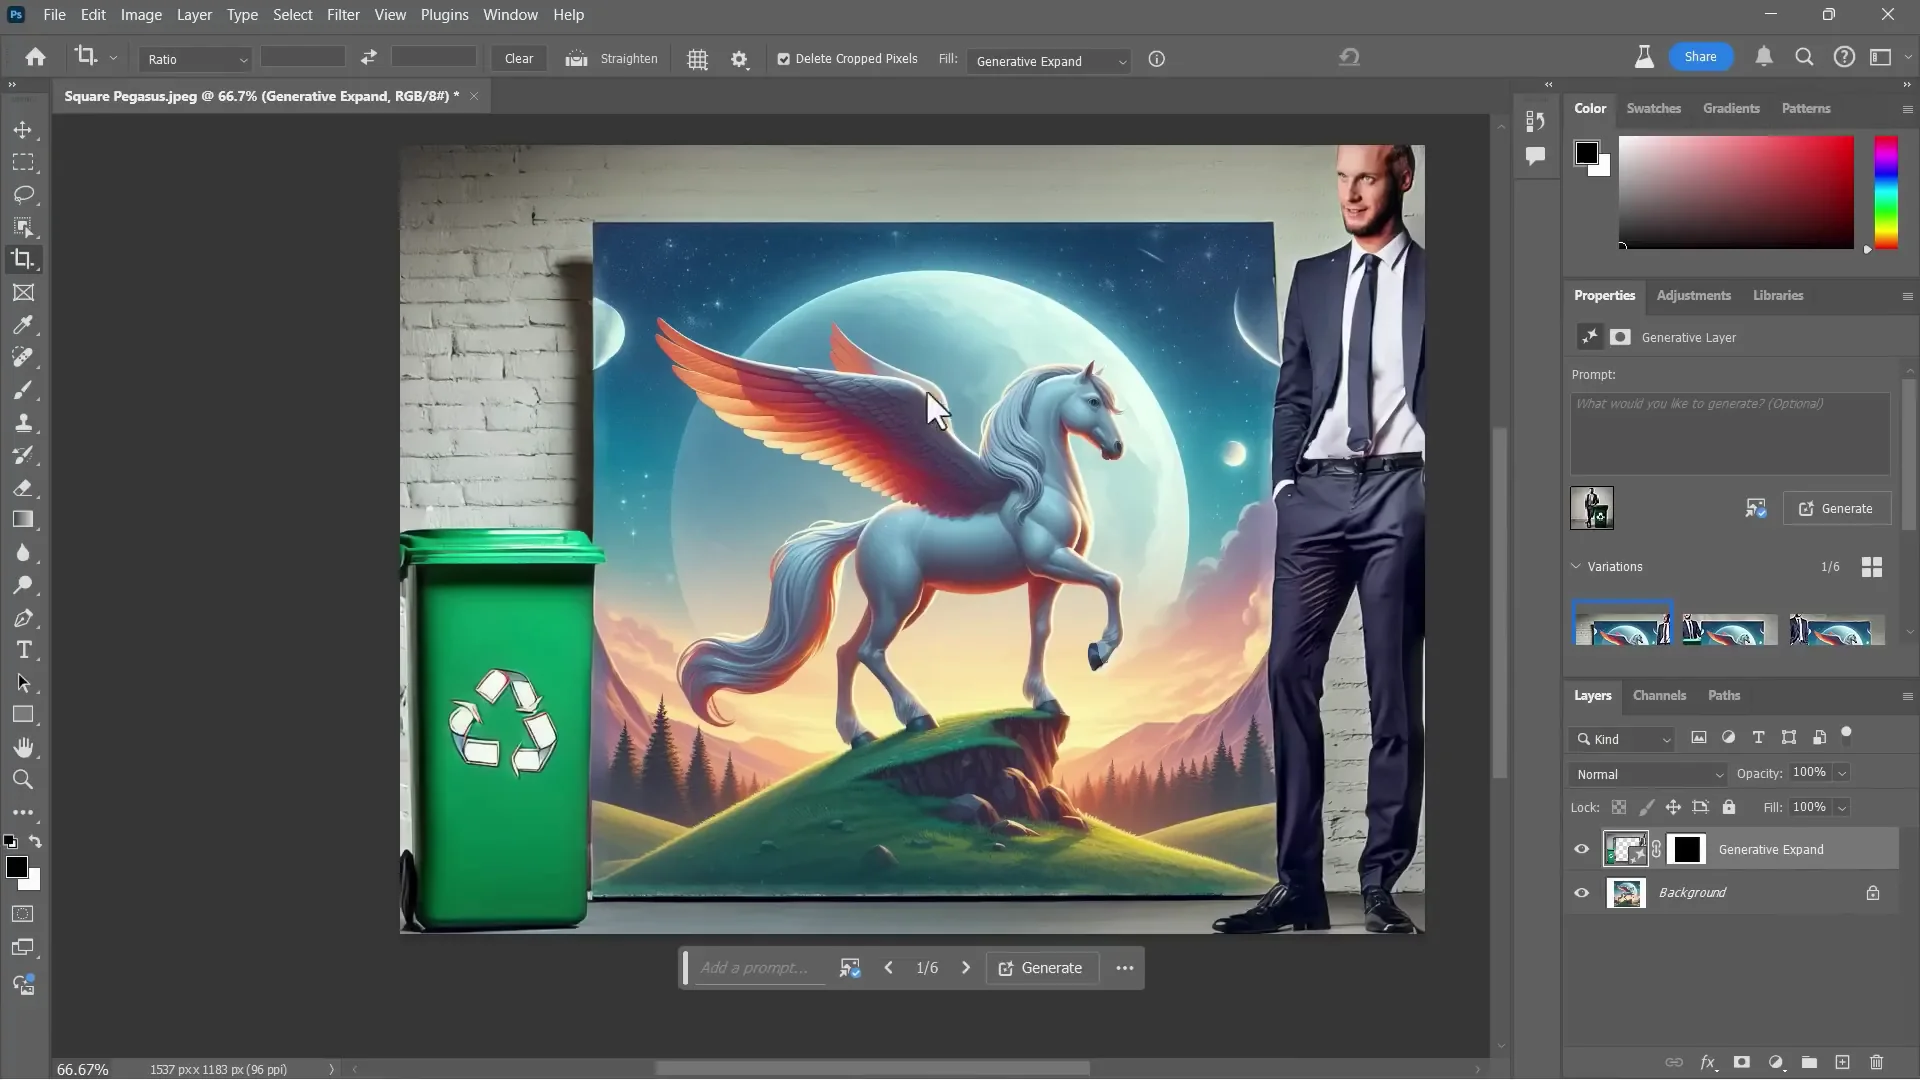
Because I used a reference image, Photoshop combined aspects of the two images in a way that still incorporated the Pegasus. It used the reference to create something similar while adapting it to the current image.
Final Thoughts
Generative Expand makes it fast to turn square images into widescreen images, add meaningful space around a subject, and even place specific content with a short prompt. Use the crop handles, generate with or without a prompt, compare variations, delete the ones you don’t need to keep file sizes down, and export when you’re done. In the beta, try the reference image feature for creative control over the expanded areas.
Recent Posts

How to use Grok 2.0 Image Generator?
Learn how to access Grok 2.0’s AI image generator (Premium required), write better prompts, and avoid pitfalls like real people and brands. Step-by-step tips.
How to use Instagram AI Image Generator?
Use Meta AI in Instagram DMs to turn text into images—and even animate them. It’s free, fast, and built in. No external apps needed; create art right in chat.
Leonardo AI 2026 Beginner’s Guide: Create Stunning Images Fast
Learn Leonardo AI step by step—sign up, explore Home, and generate or enhance photos with free, powerful tools. A quick, clear starter for beginners.